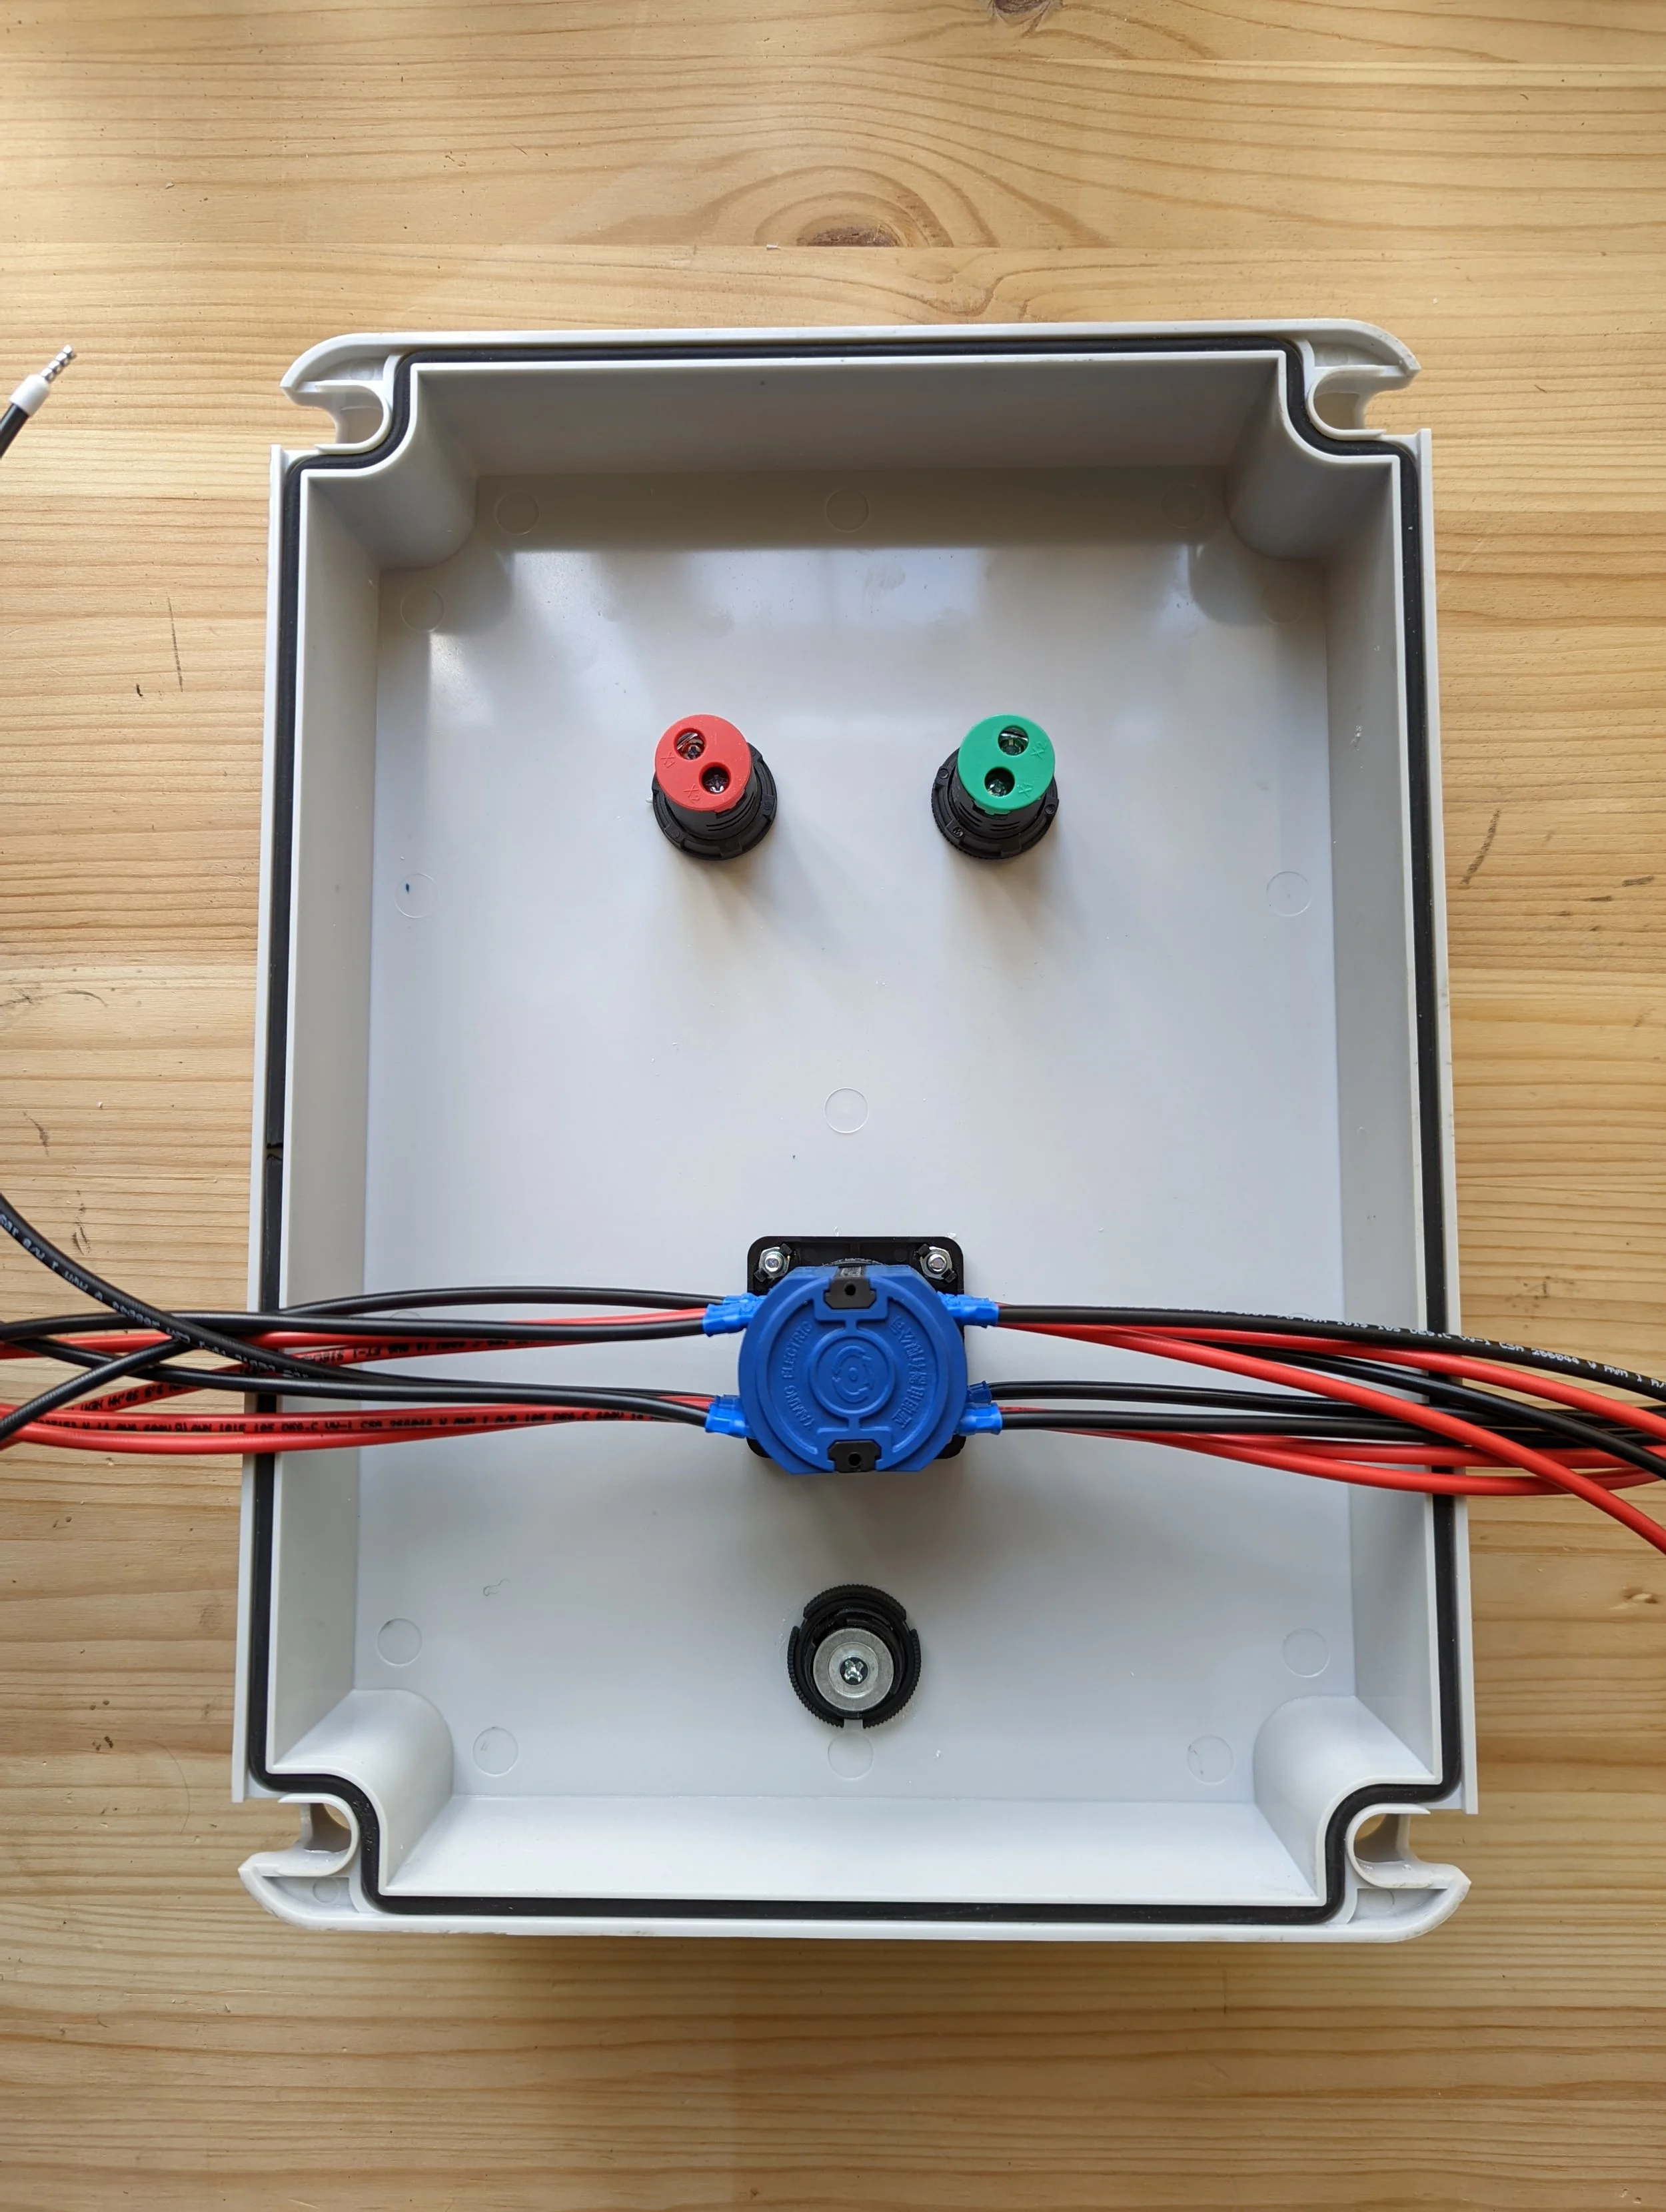
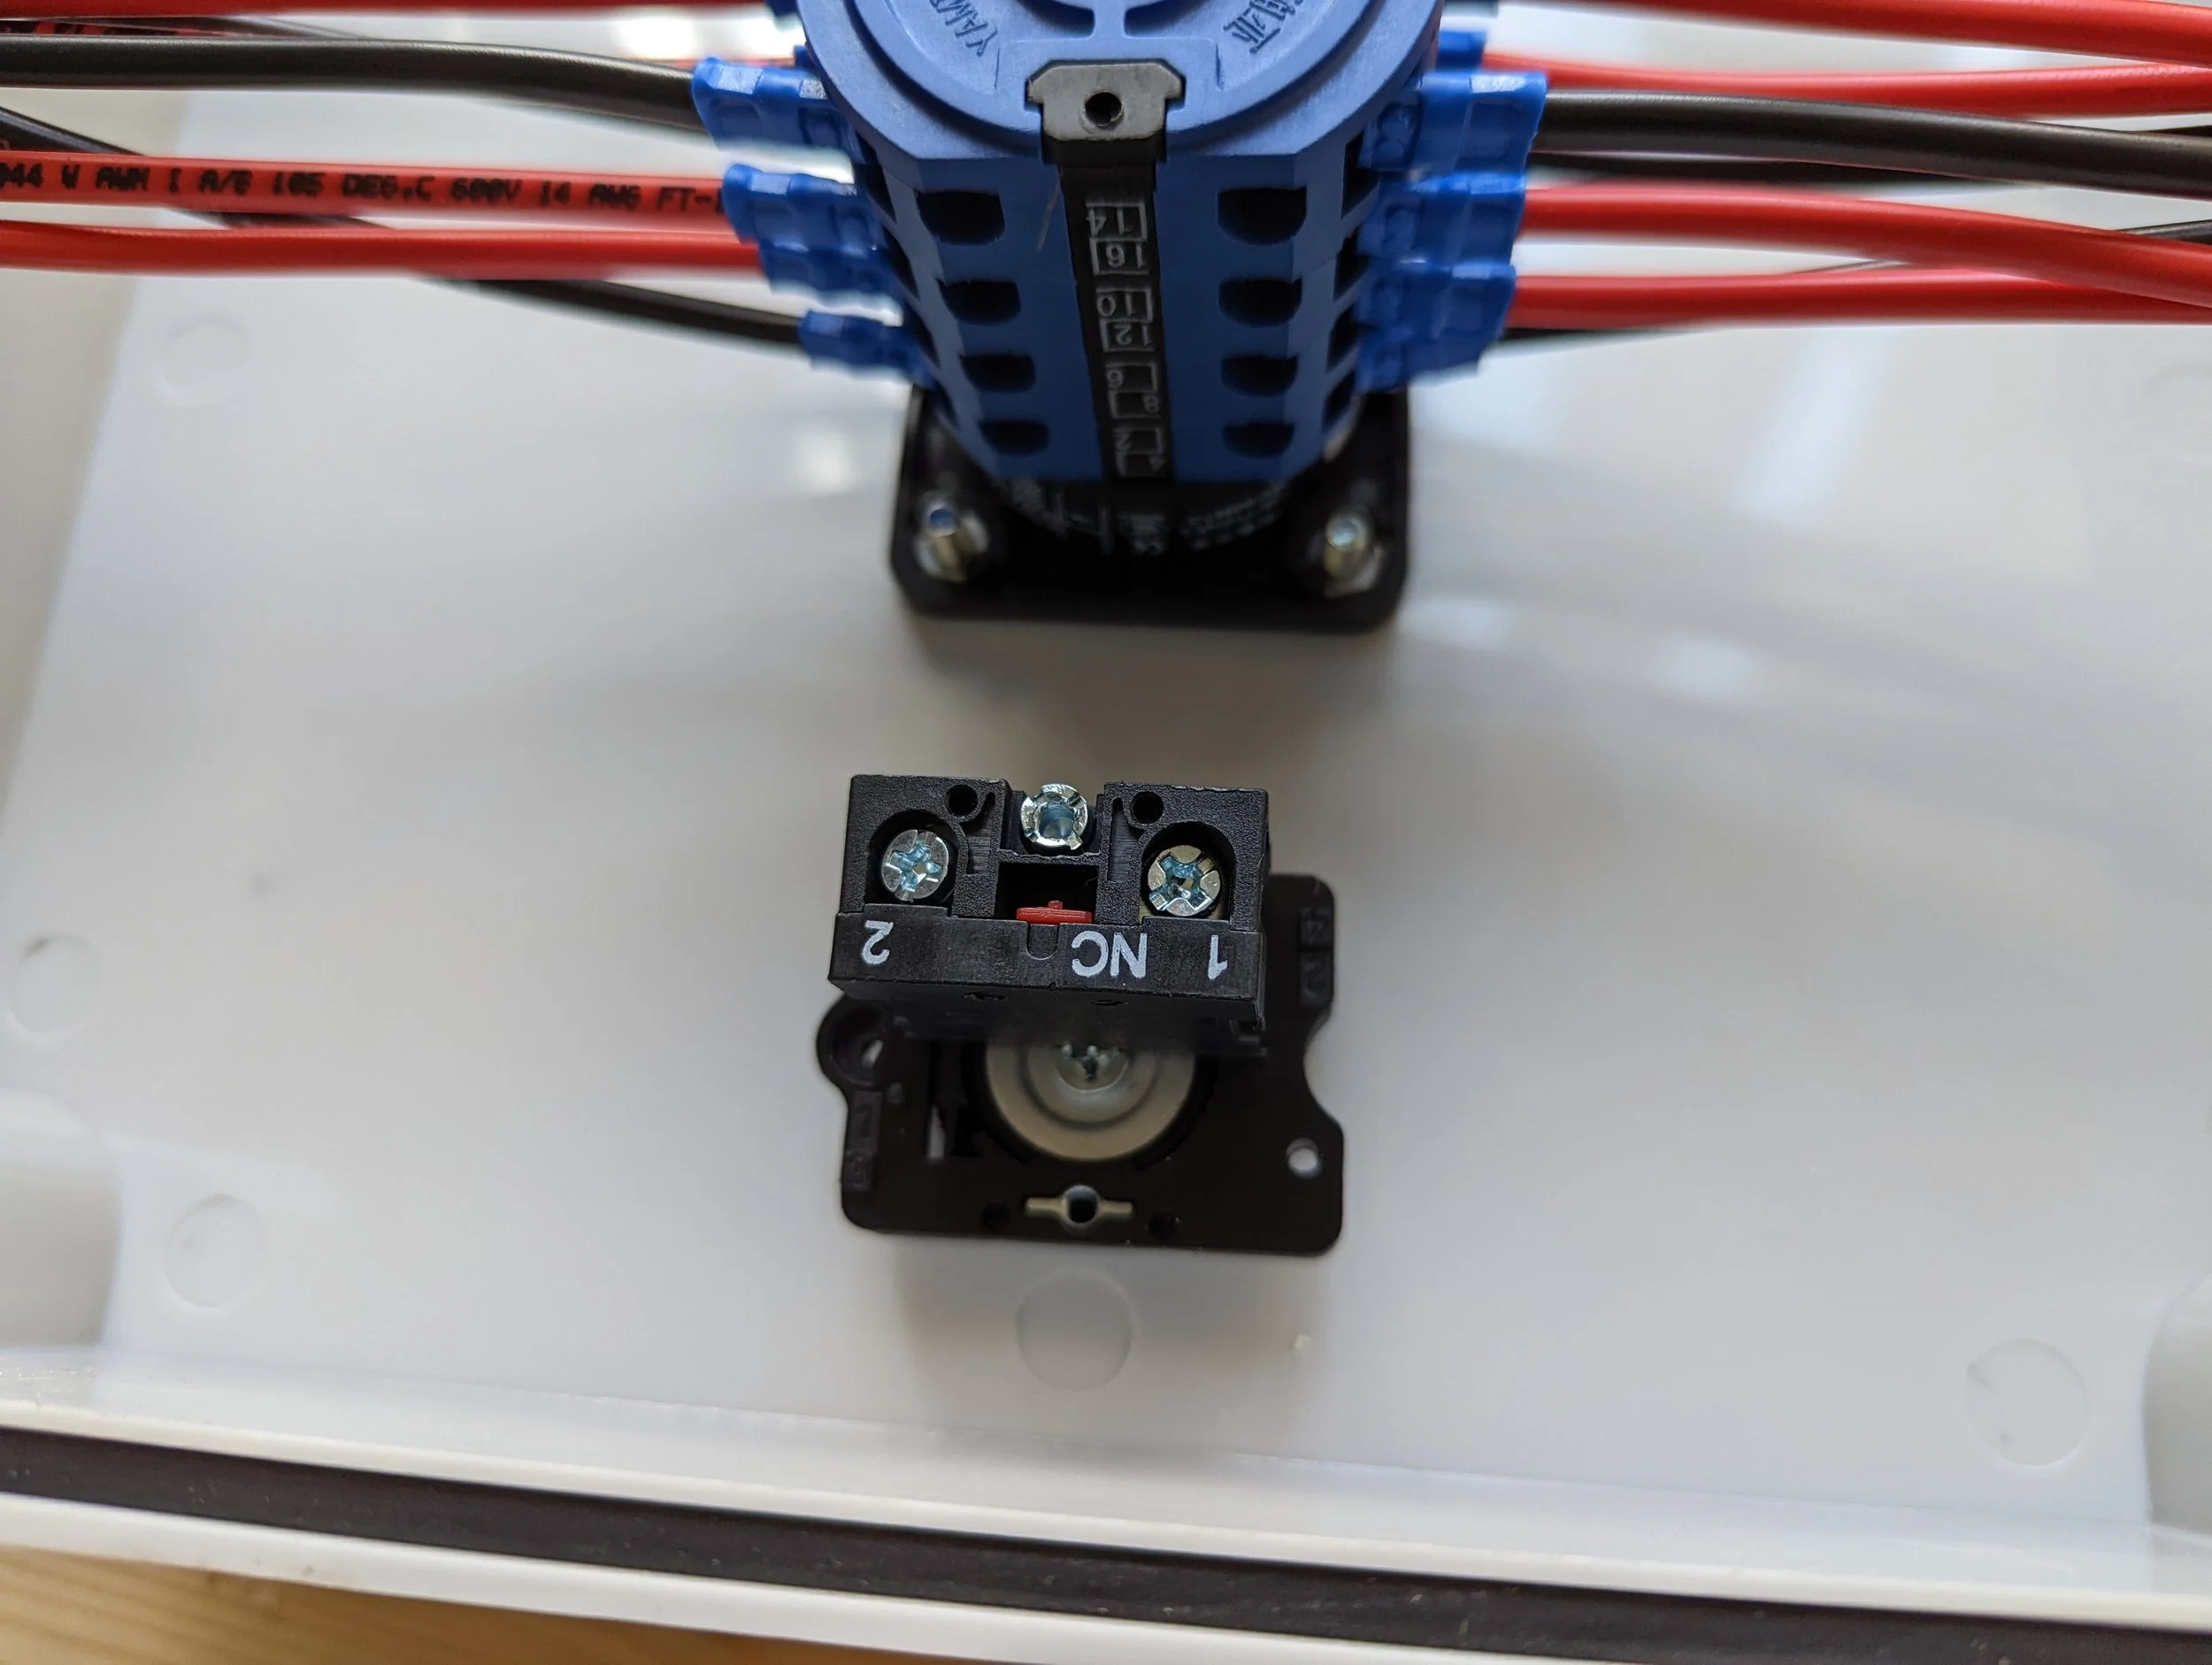
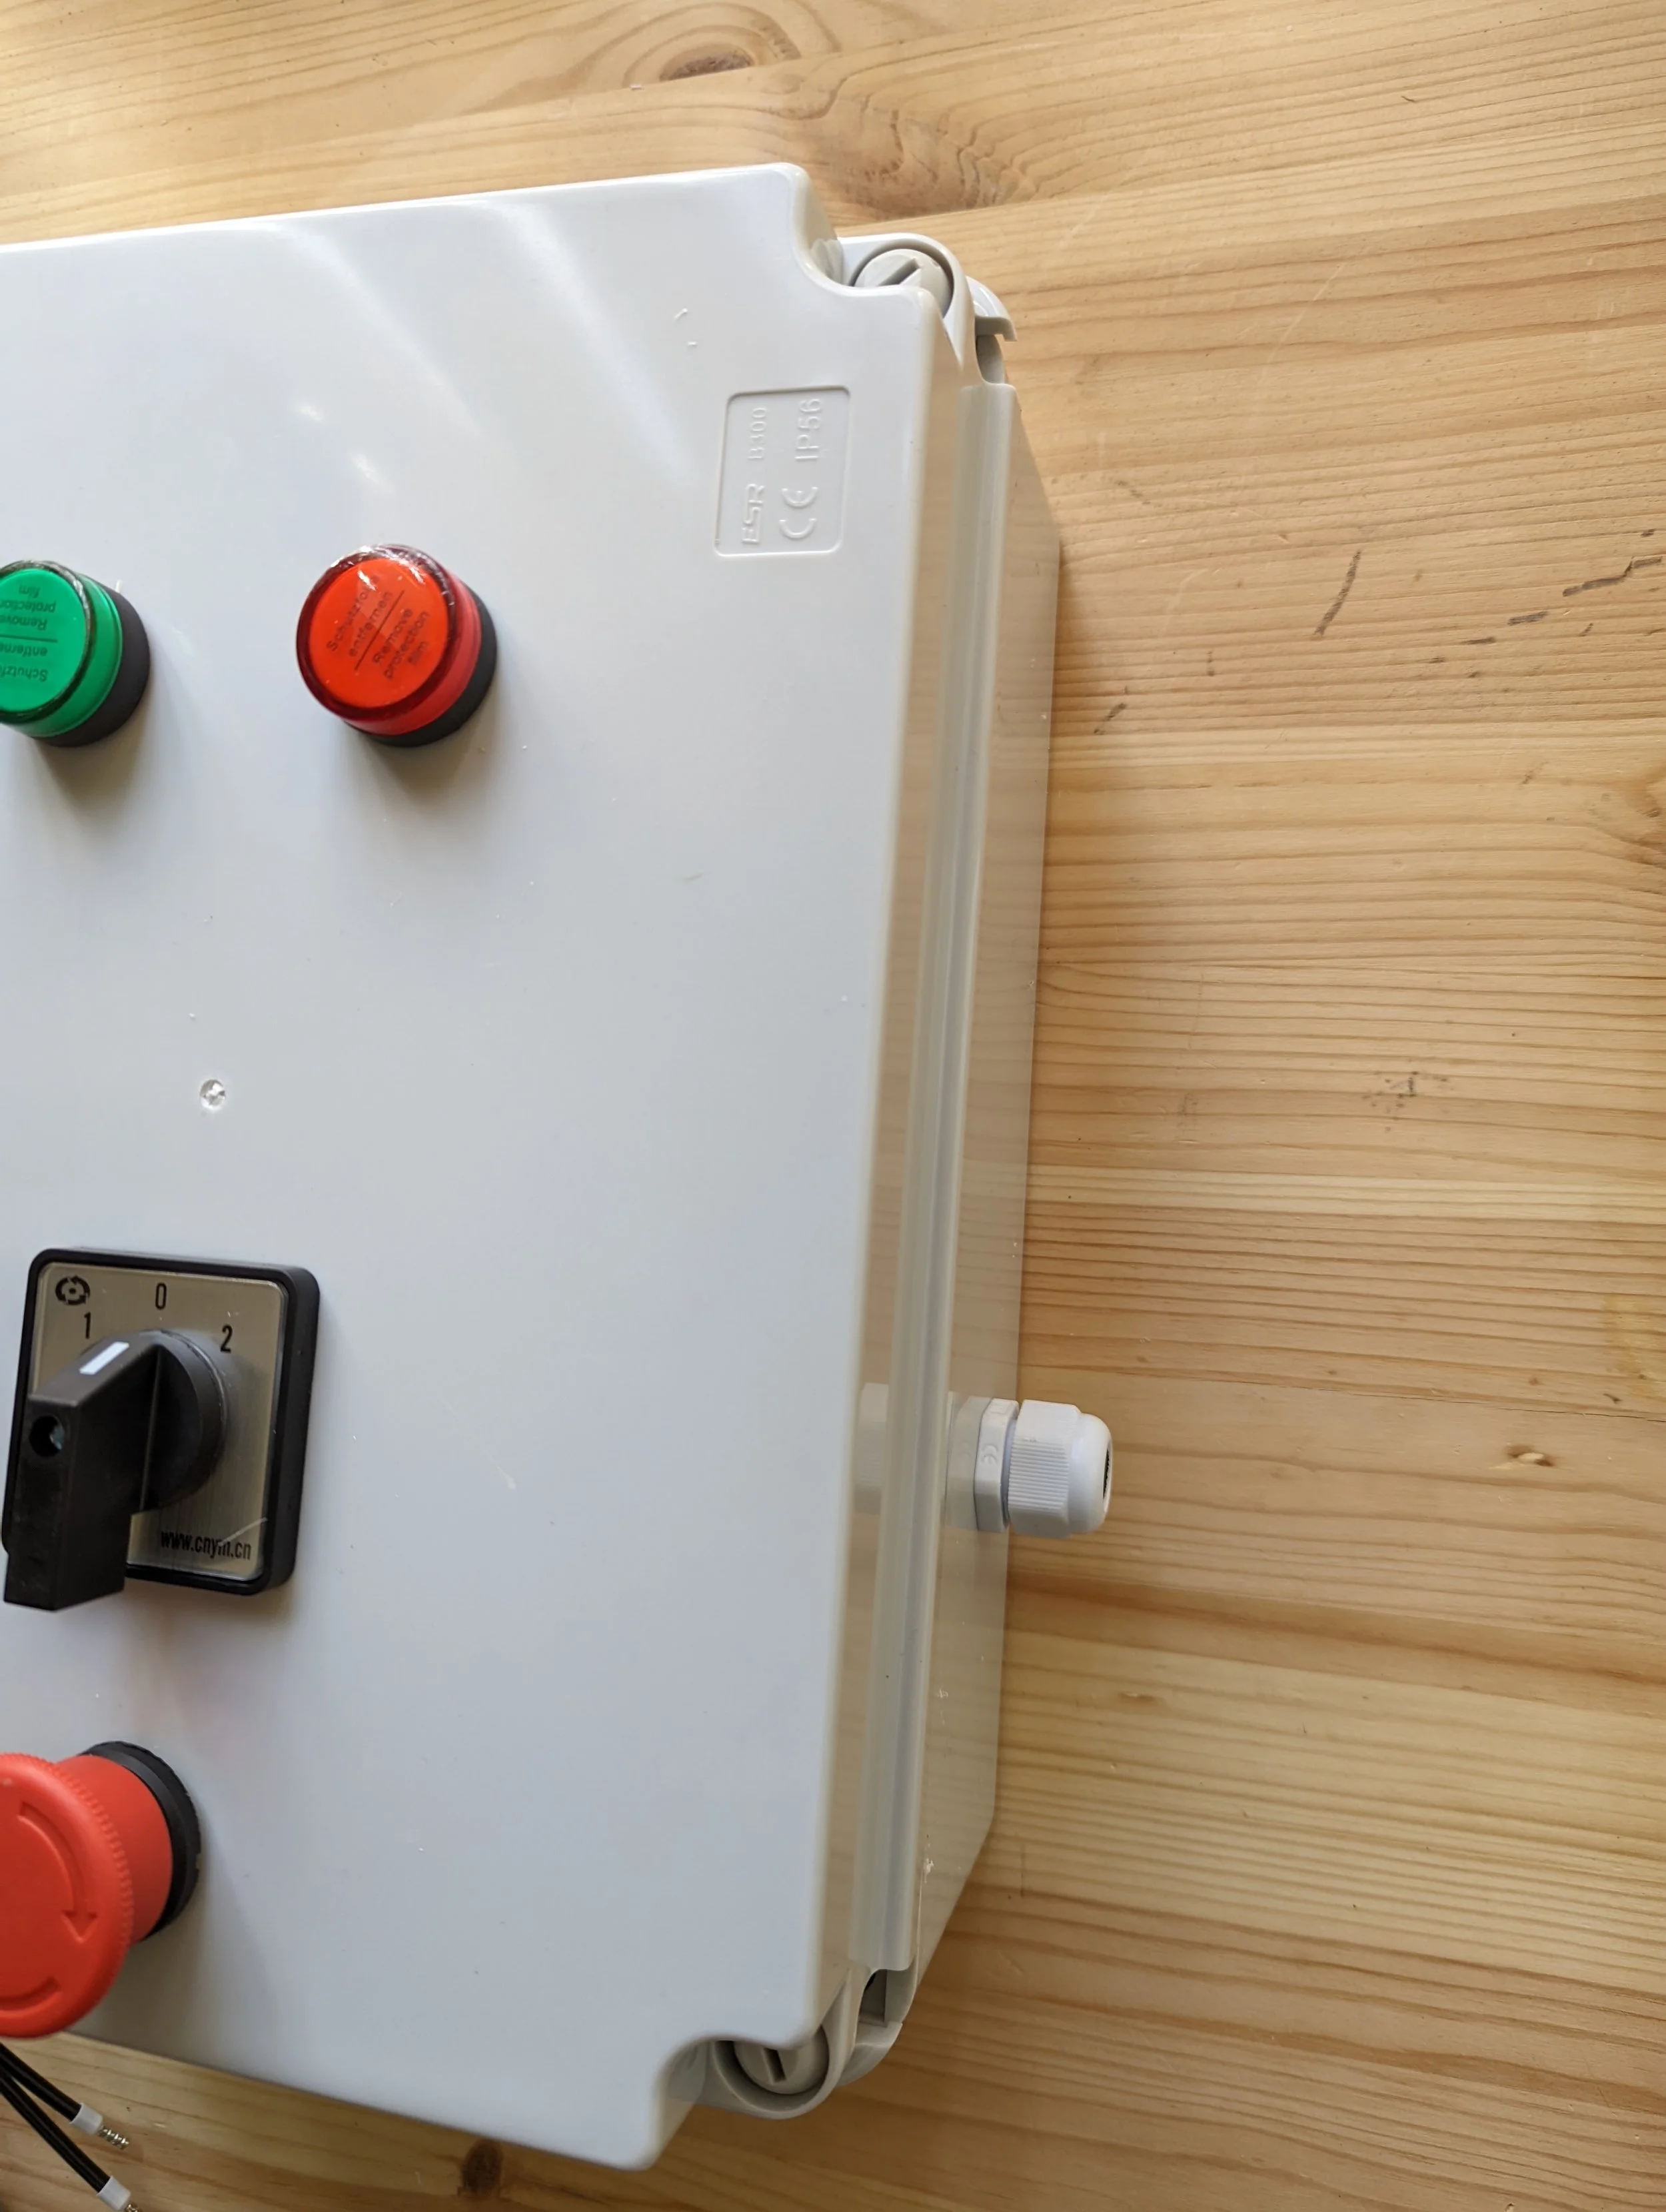
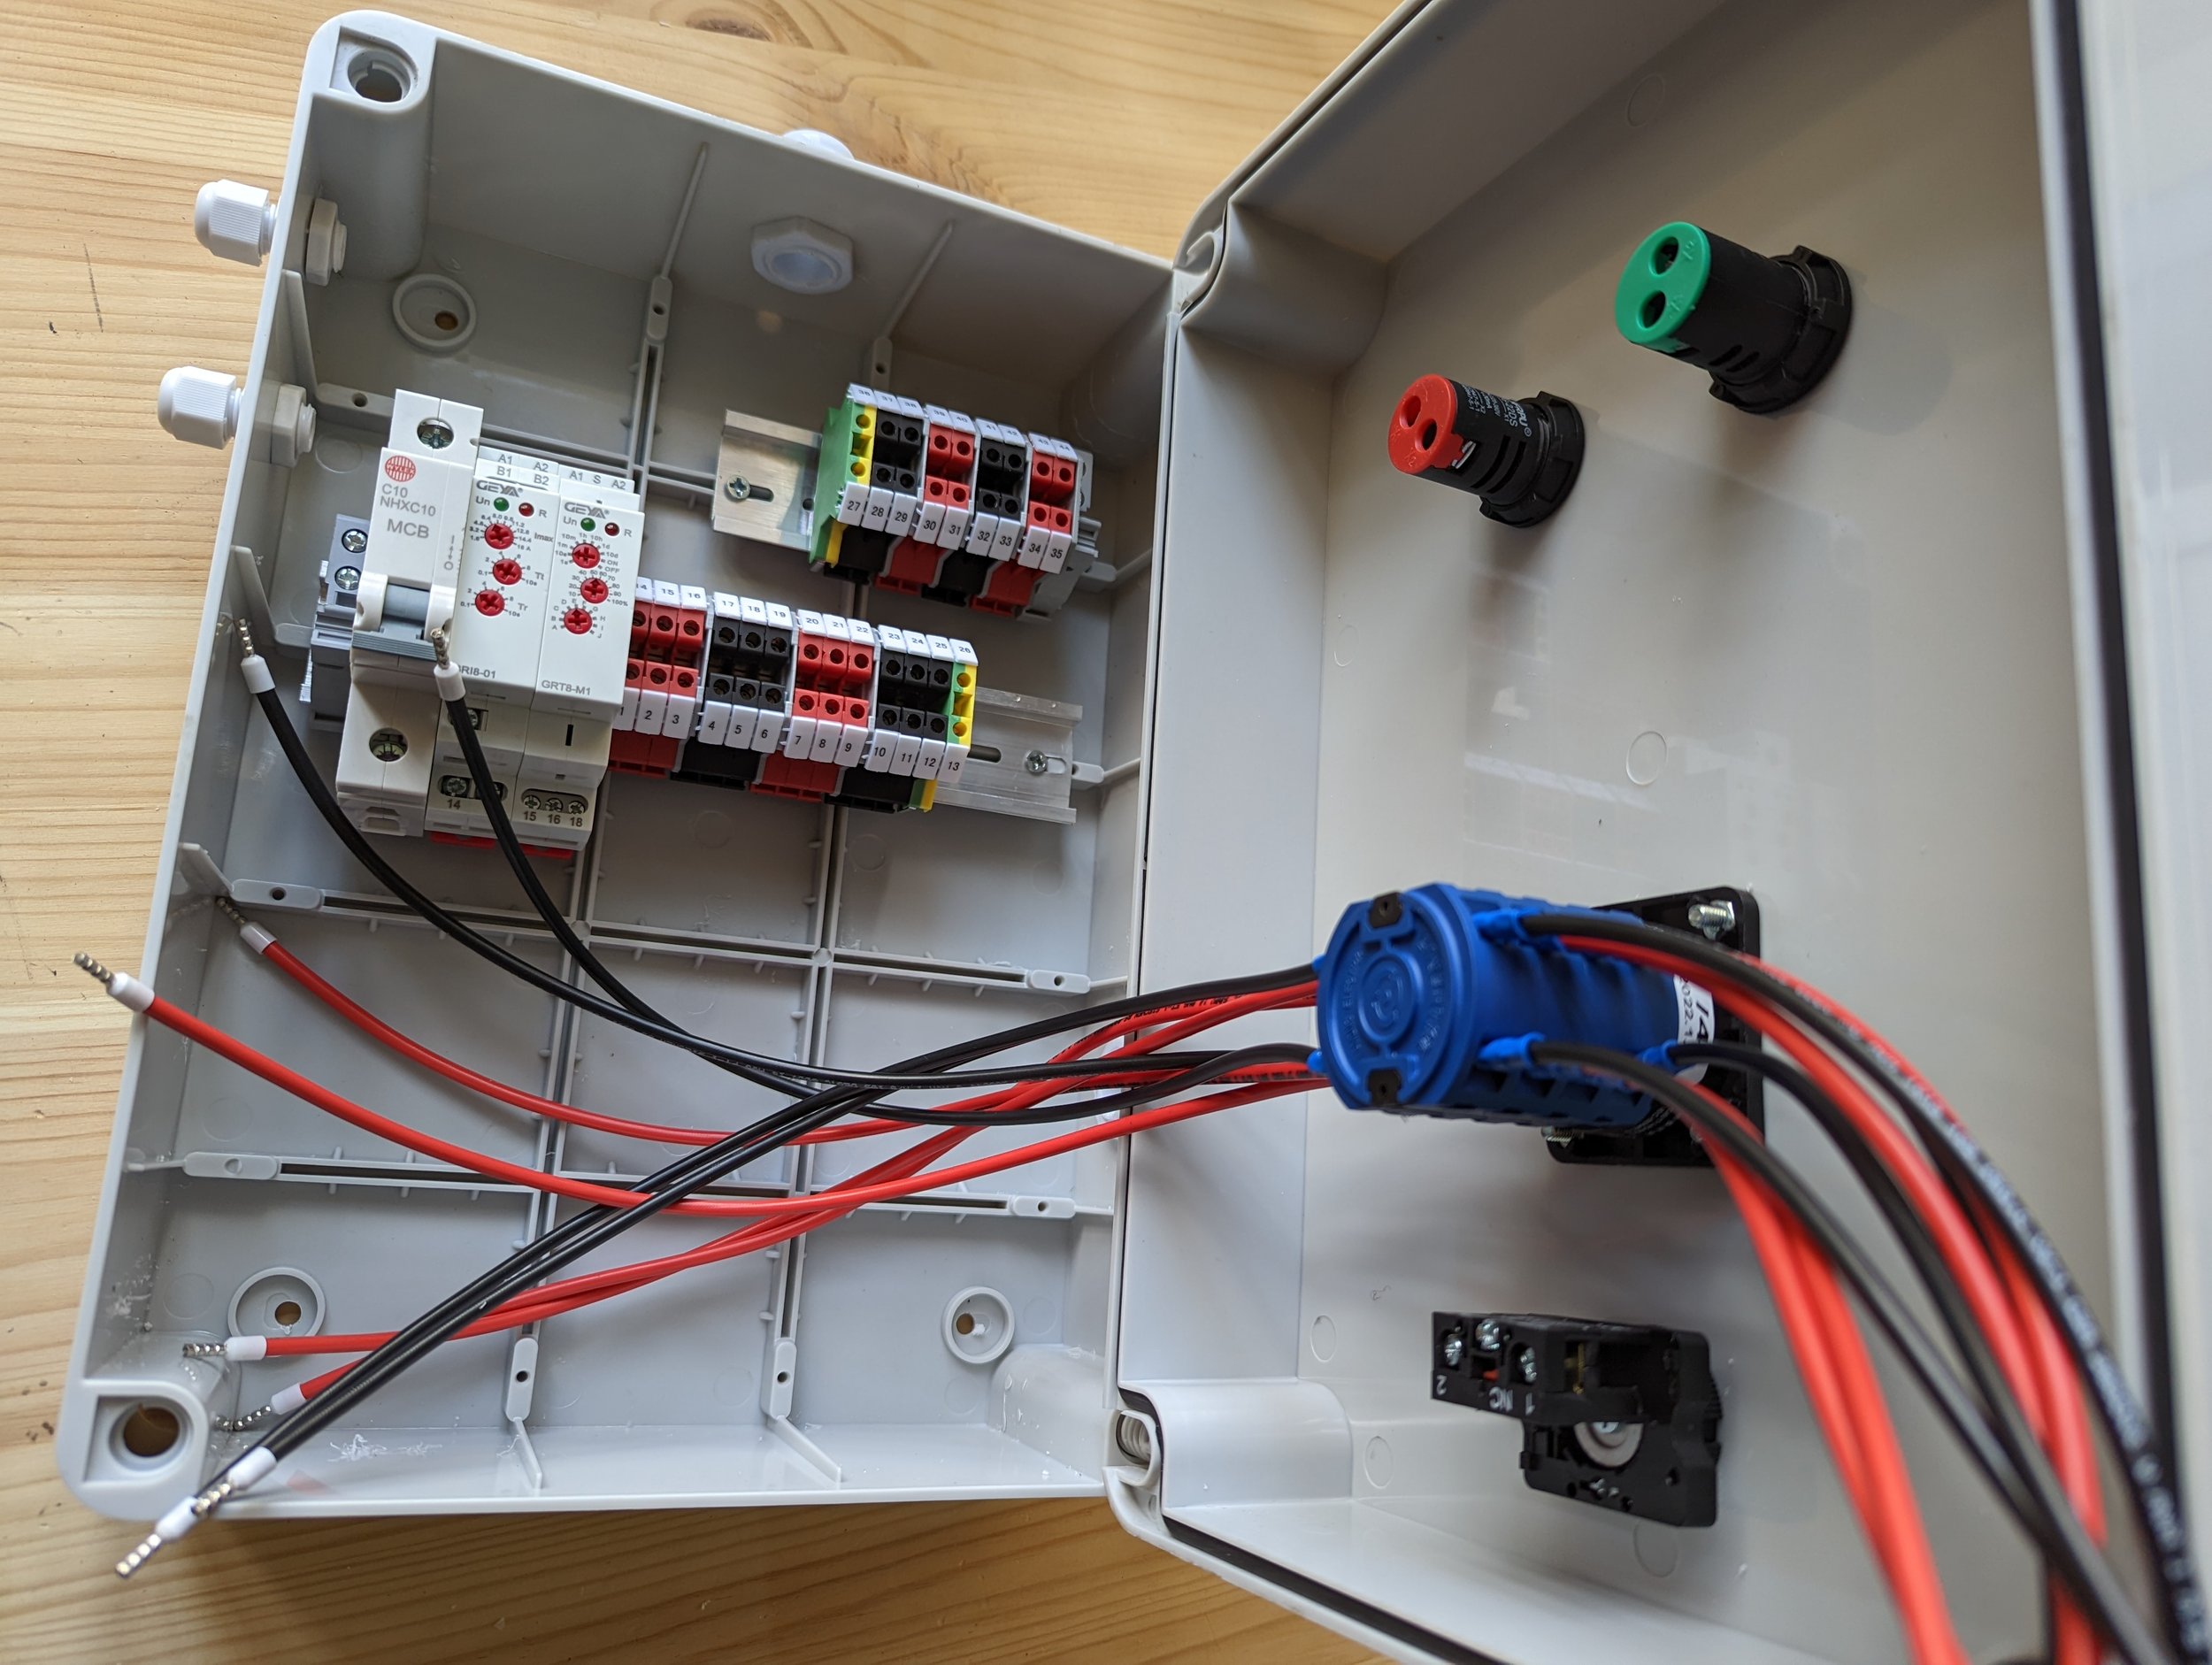
Building the Shredder Basic Machine V1
Shredder Basic Full Assembly
Required Tools
To complete this build you will need the following tools:
Digital Multimeter
Adjustable Spanner/Wrench
Metric Allen Keys
Needles Nosed Pliers
Philips Head Screw Driver
Step 1
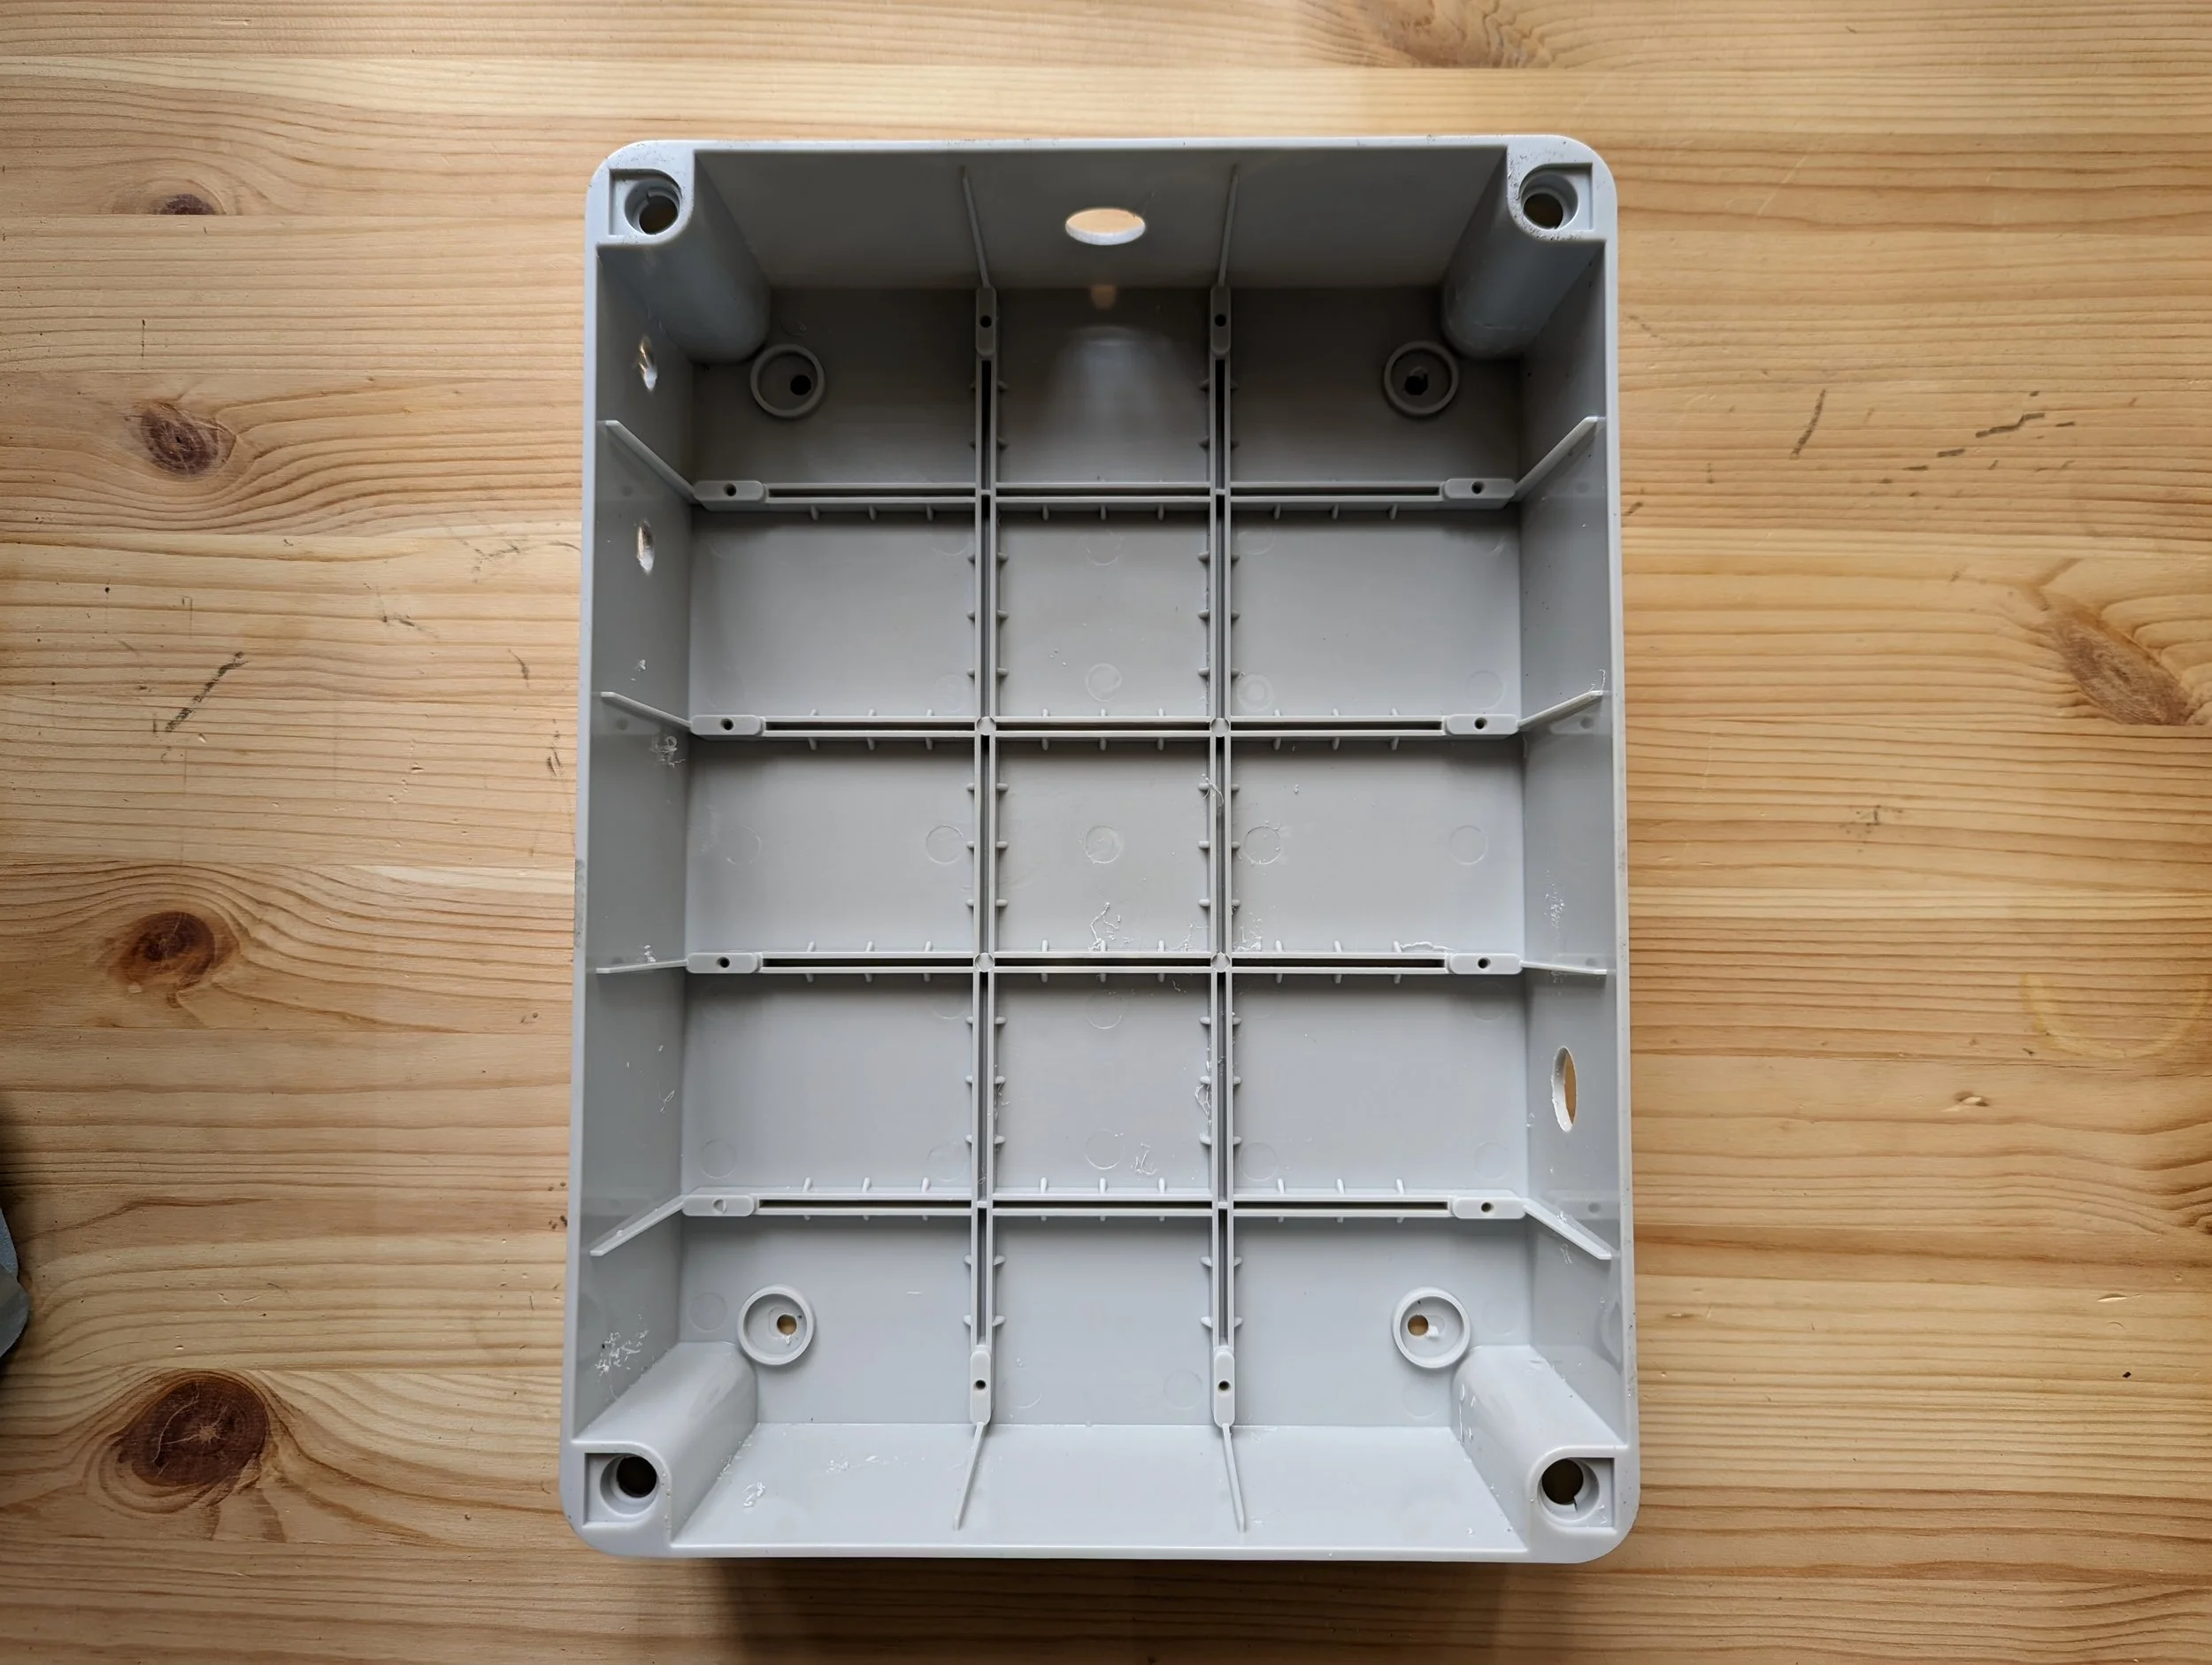
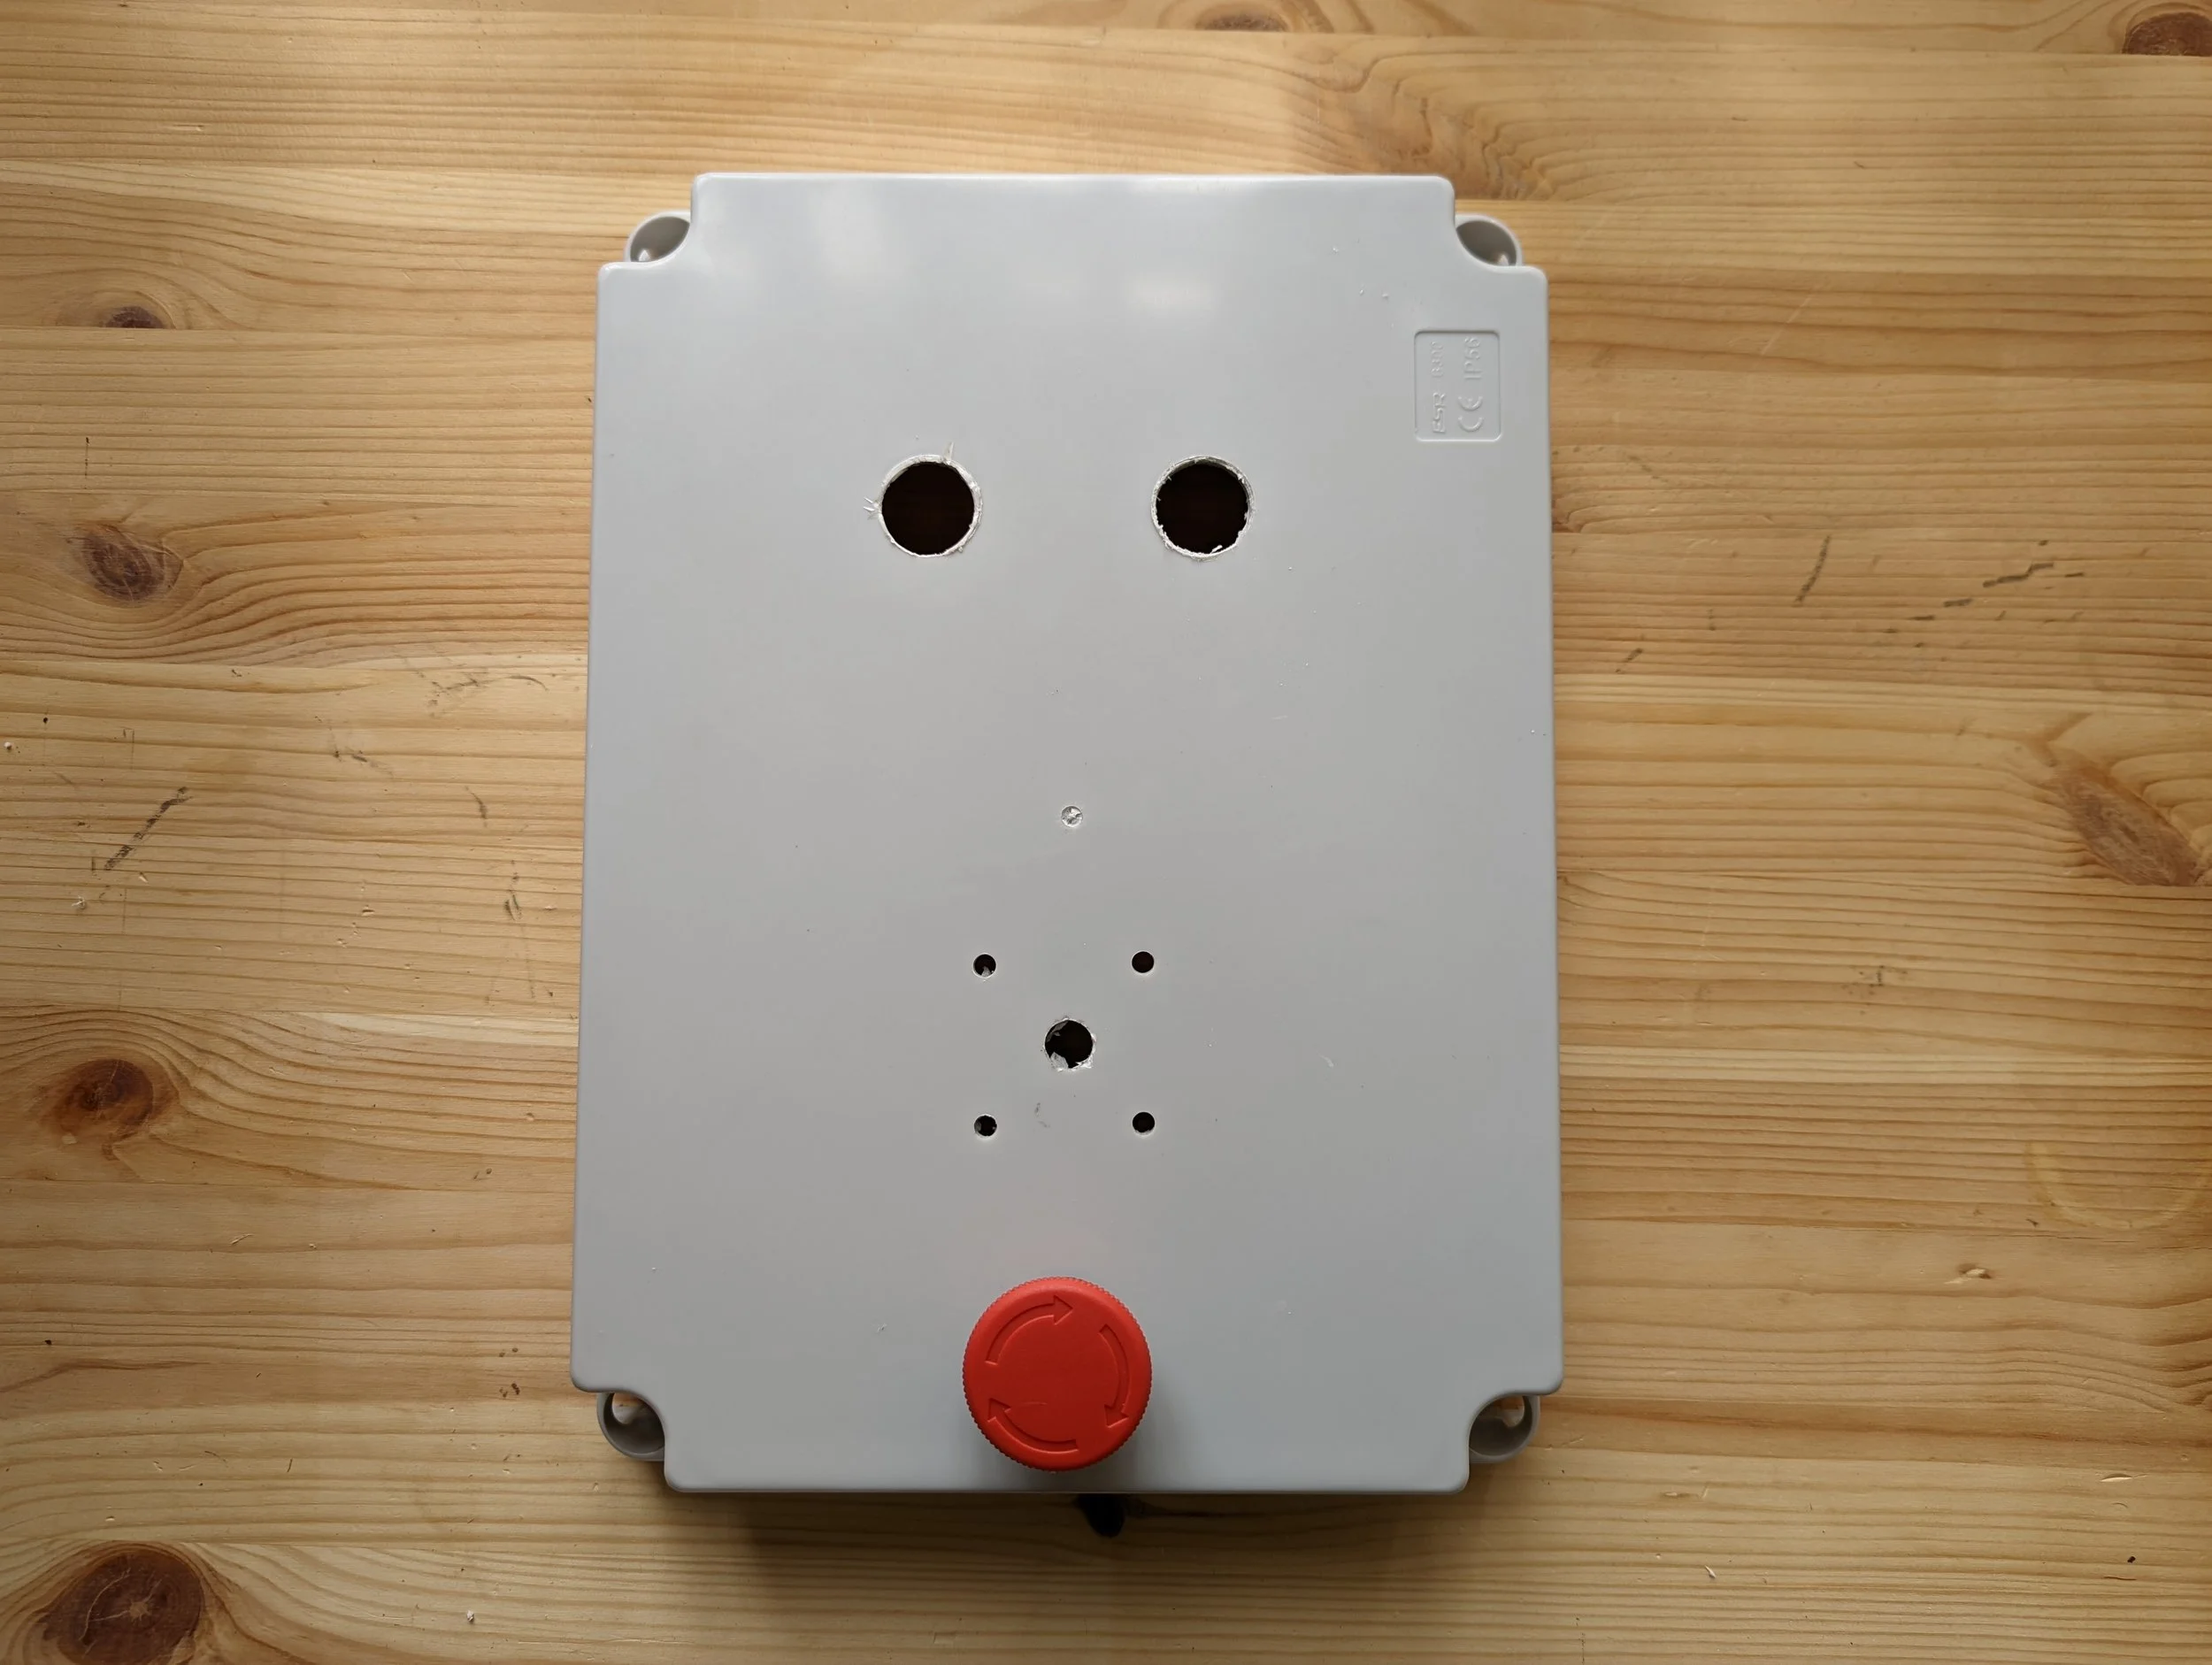
First, start by taking the grey electronics box (with pre-drilled holes) and remove all 4 of the plastic screws from the front.
Step 2
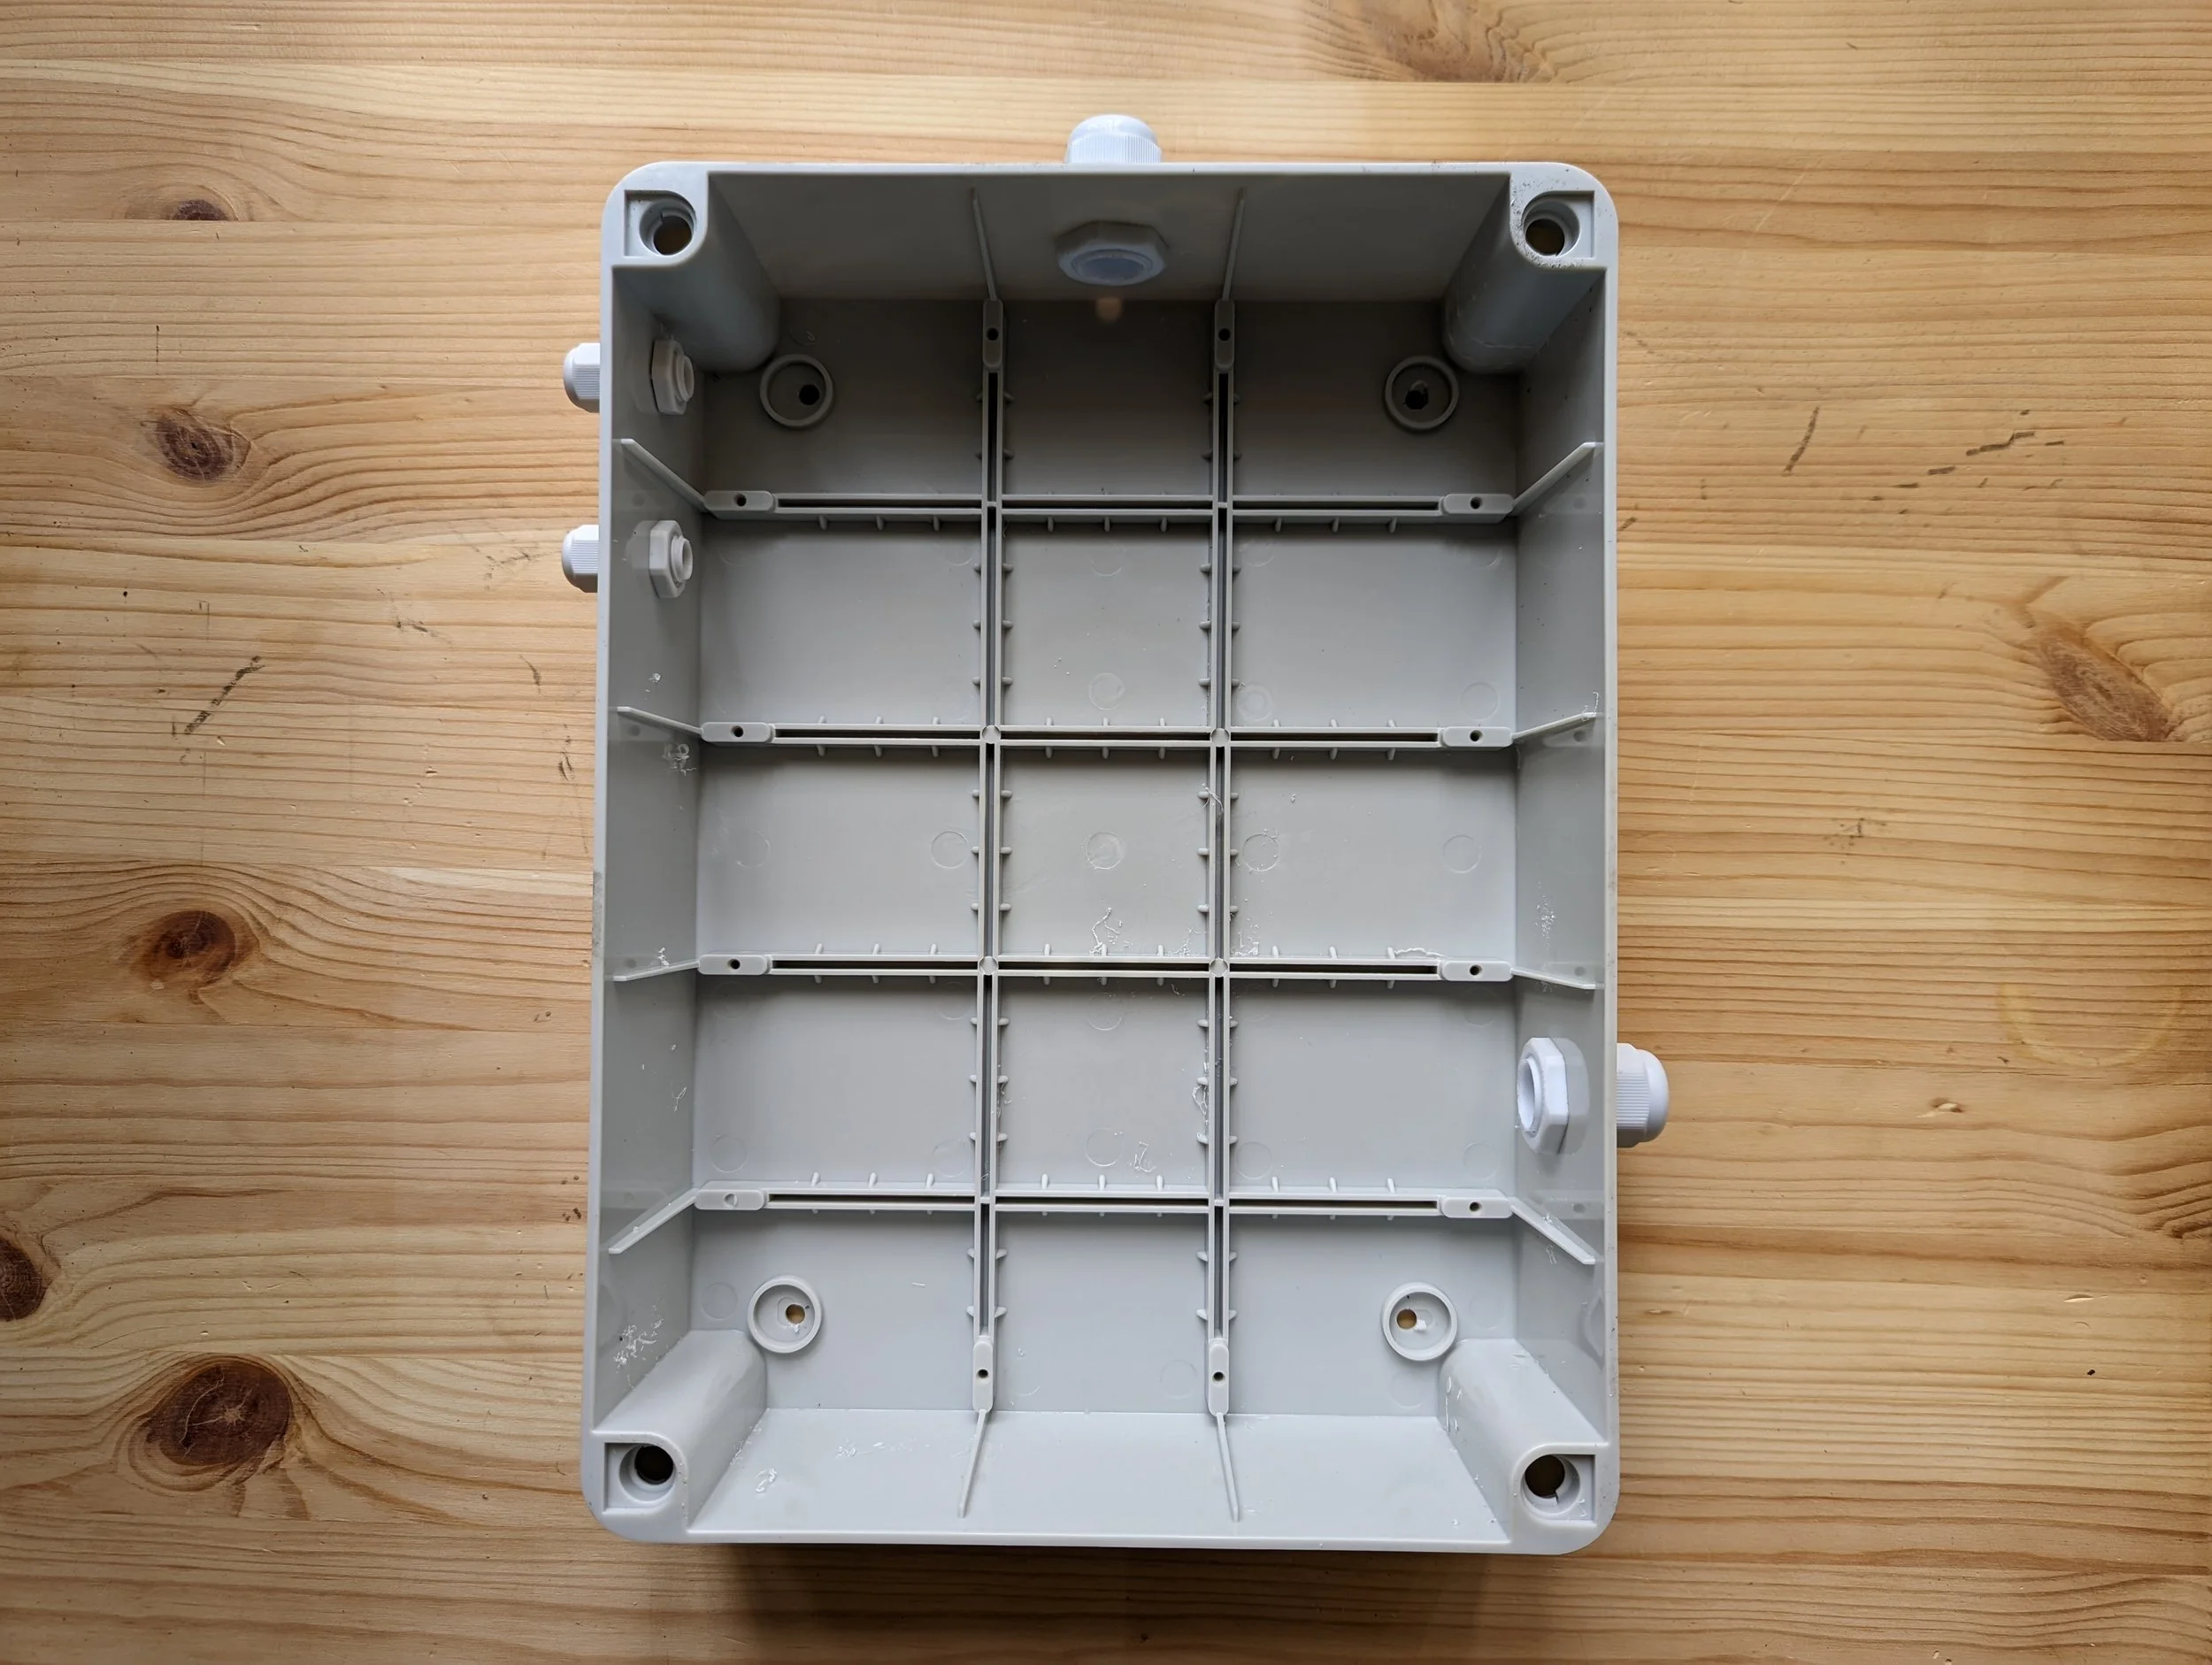
Next, take the two small cable glands and 2 large cable glands and use the small plastic nuts to connect the glands as shown.
There should be two small on the left side, one large on the middle top, and one large on the right.
Note: Tighten these by hand only.
Step 3
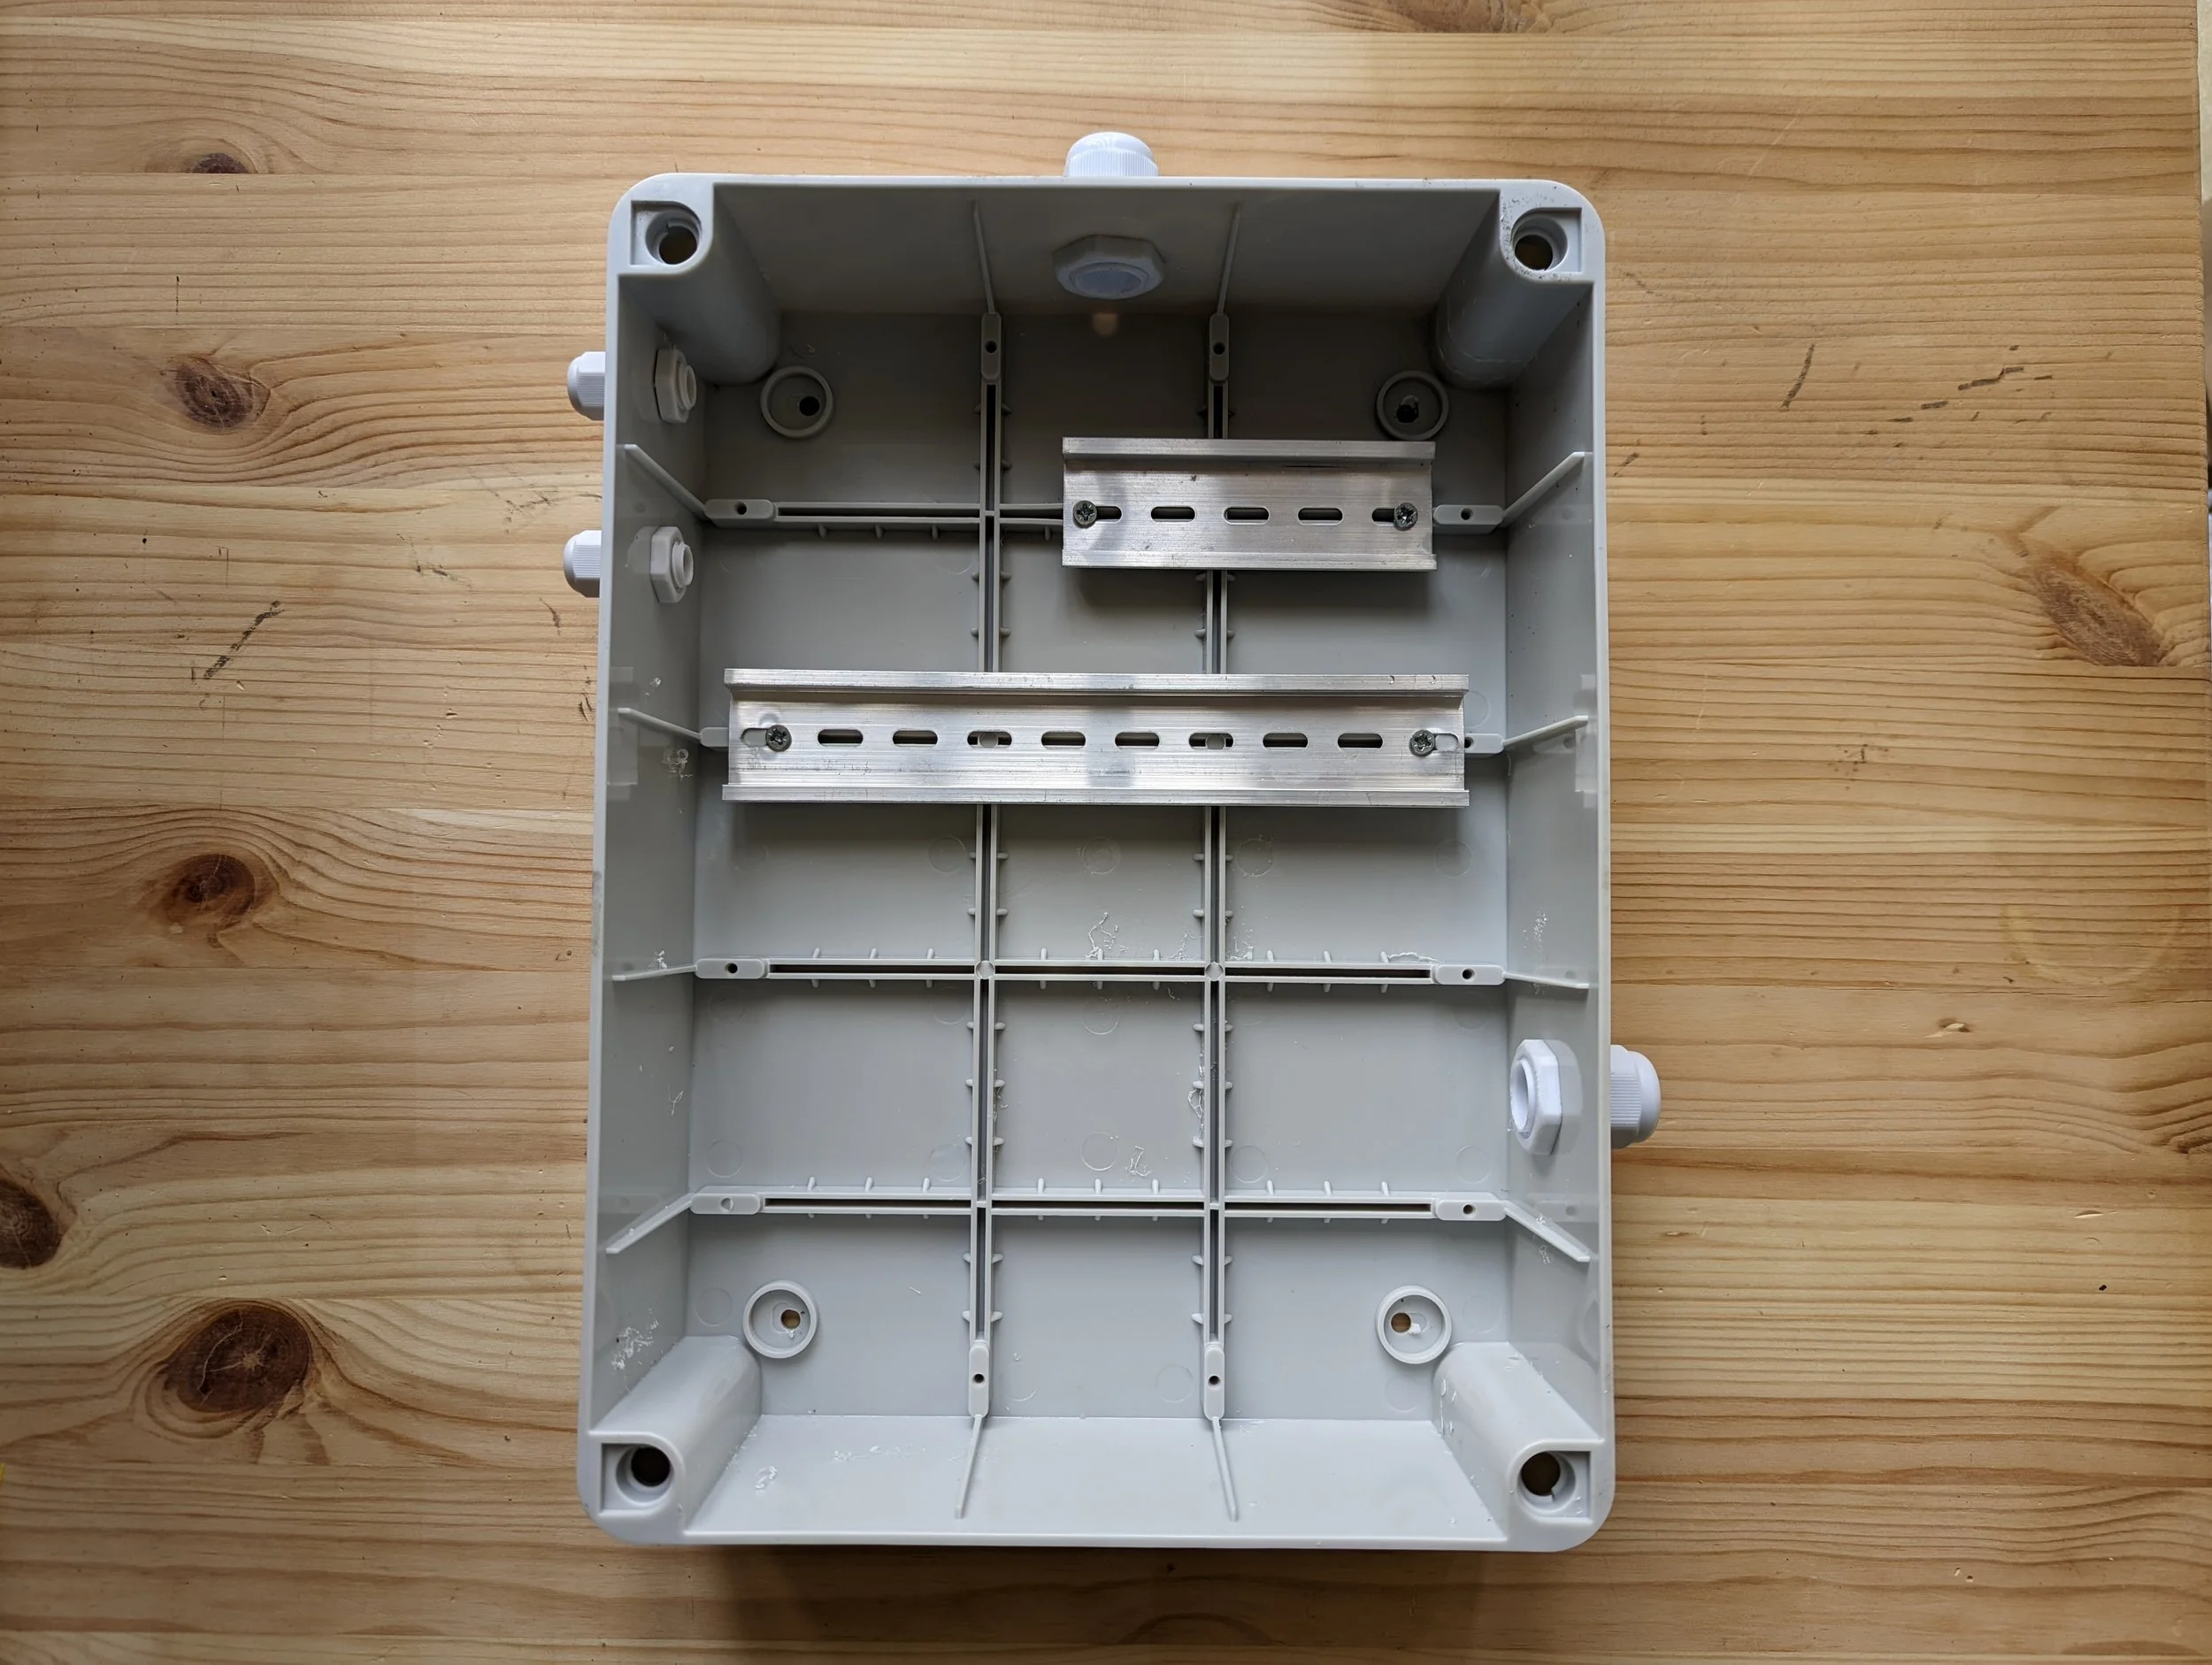
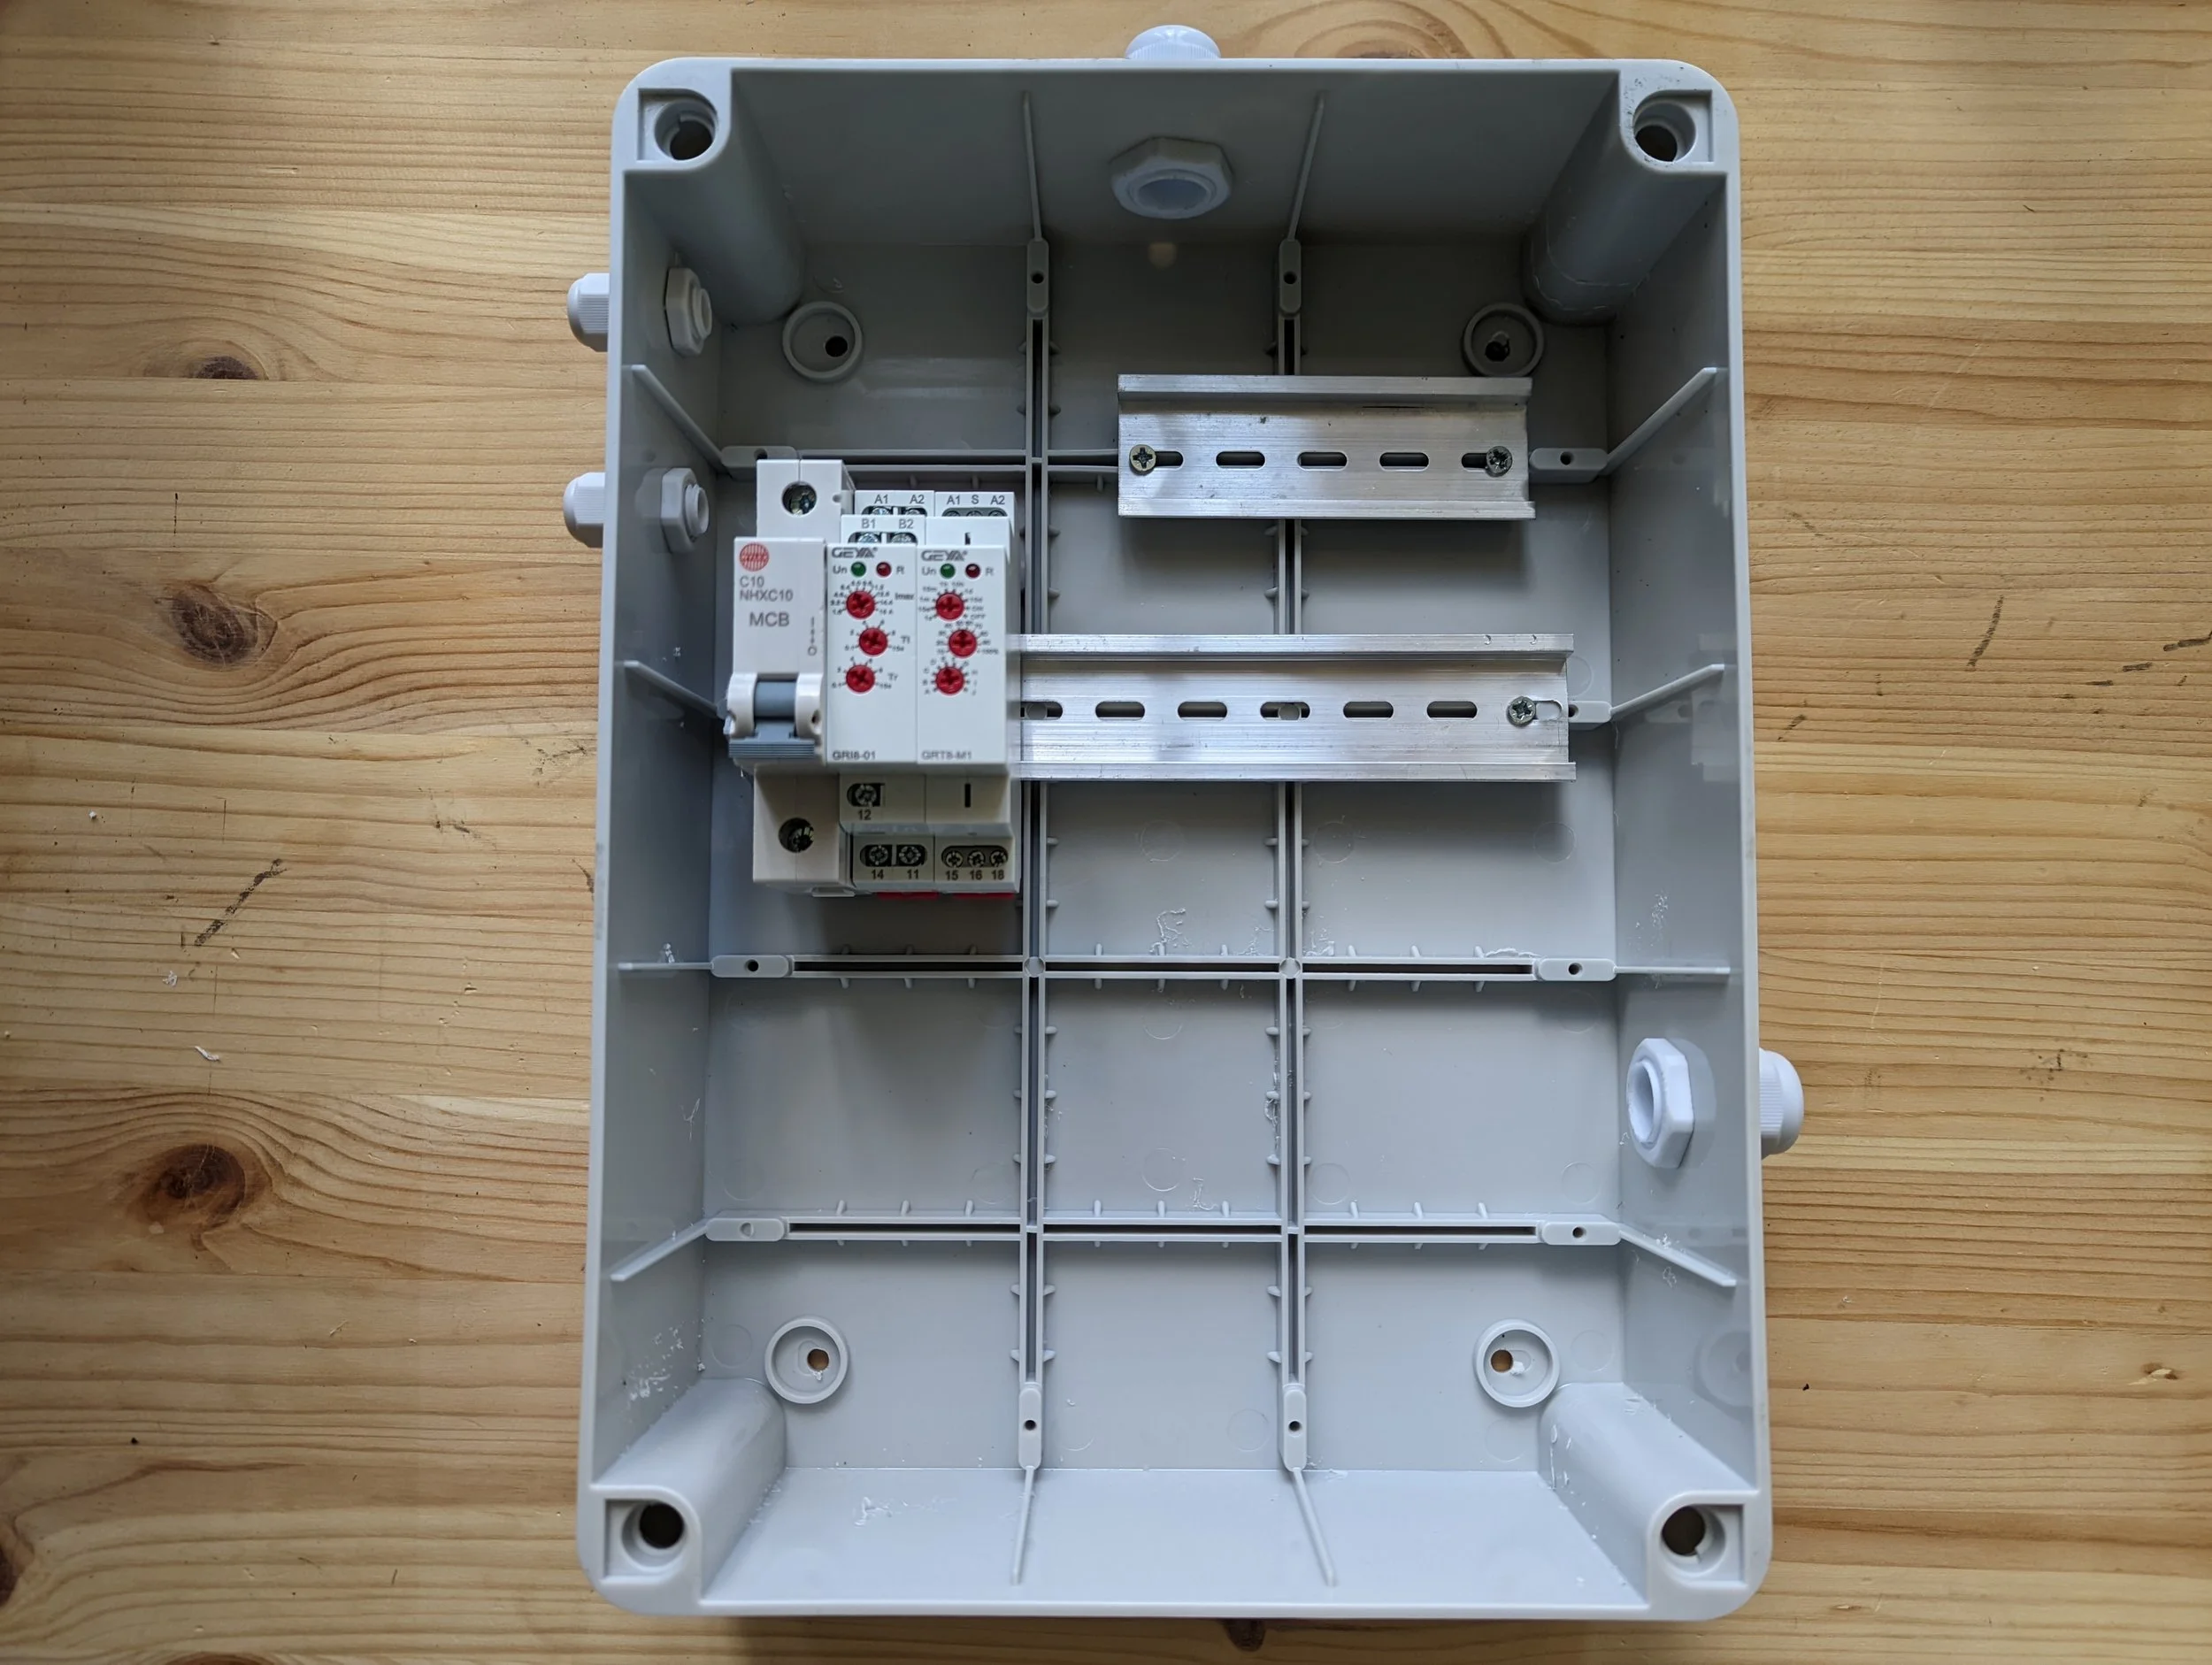
Using the 4pcs 6mm x 1/2” screws secure the short Din Rail to the top left. Placing two screws in between the gutters. Repeat again for the longer Din Rail on the 2nd from the top gutter.
Step 4
Now we will start building up the connections on the DIN Rails.
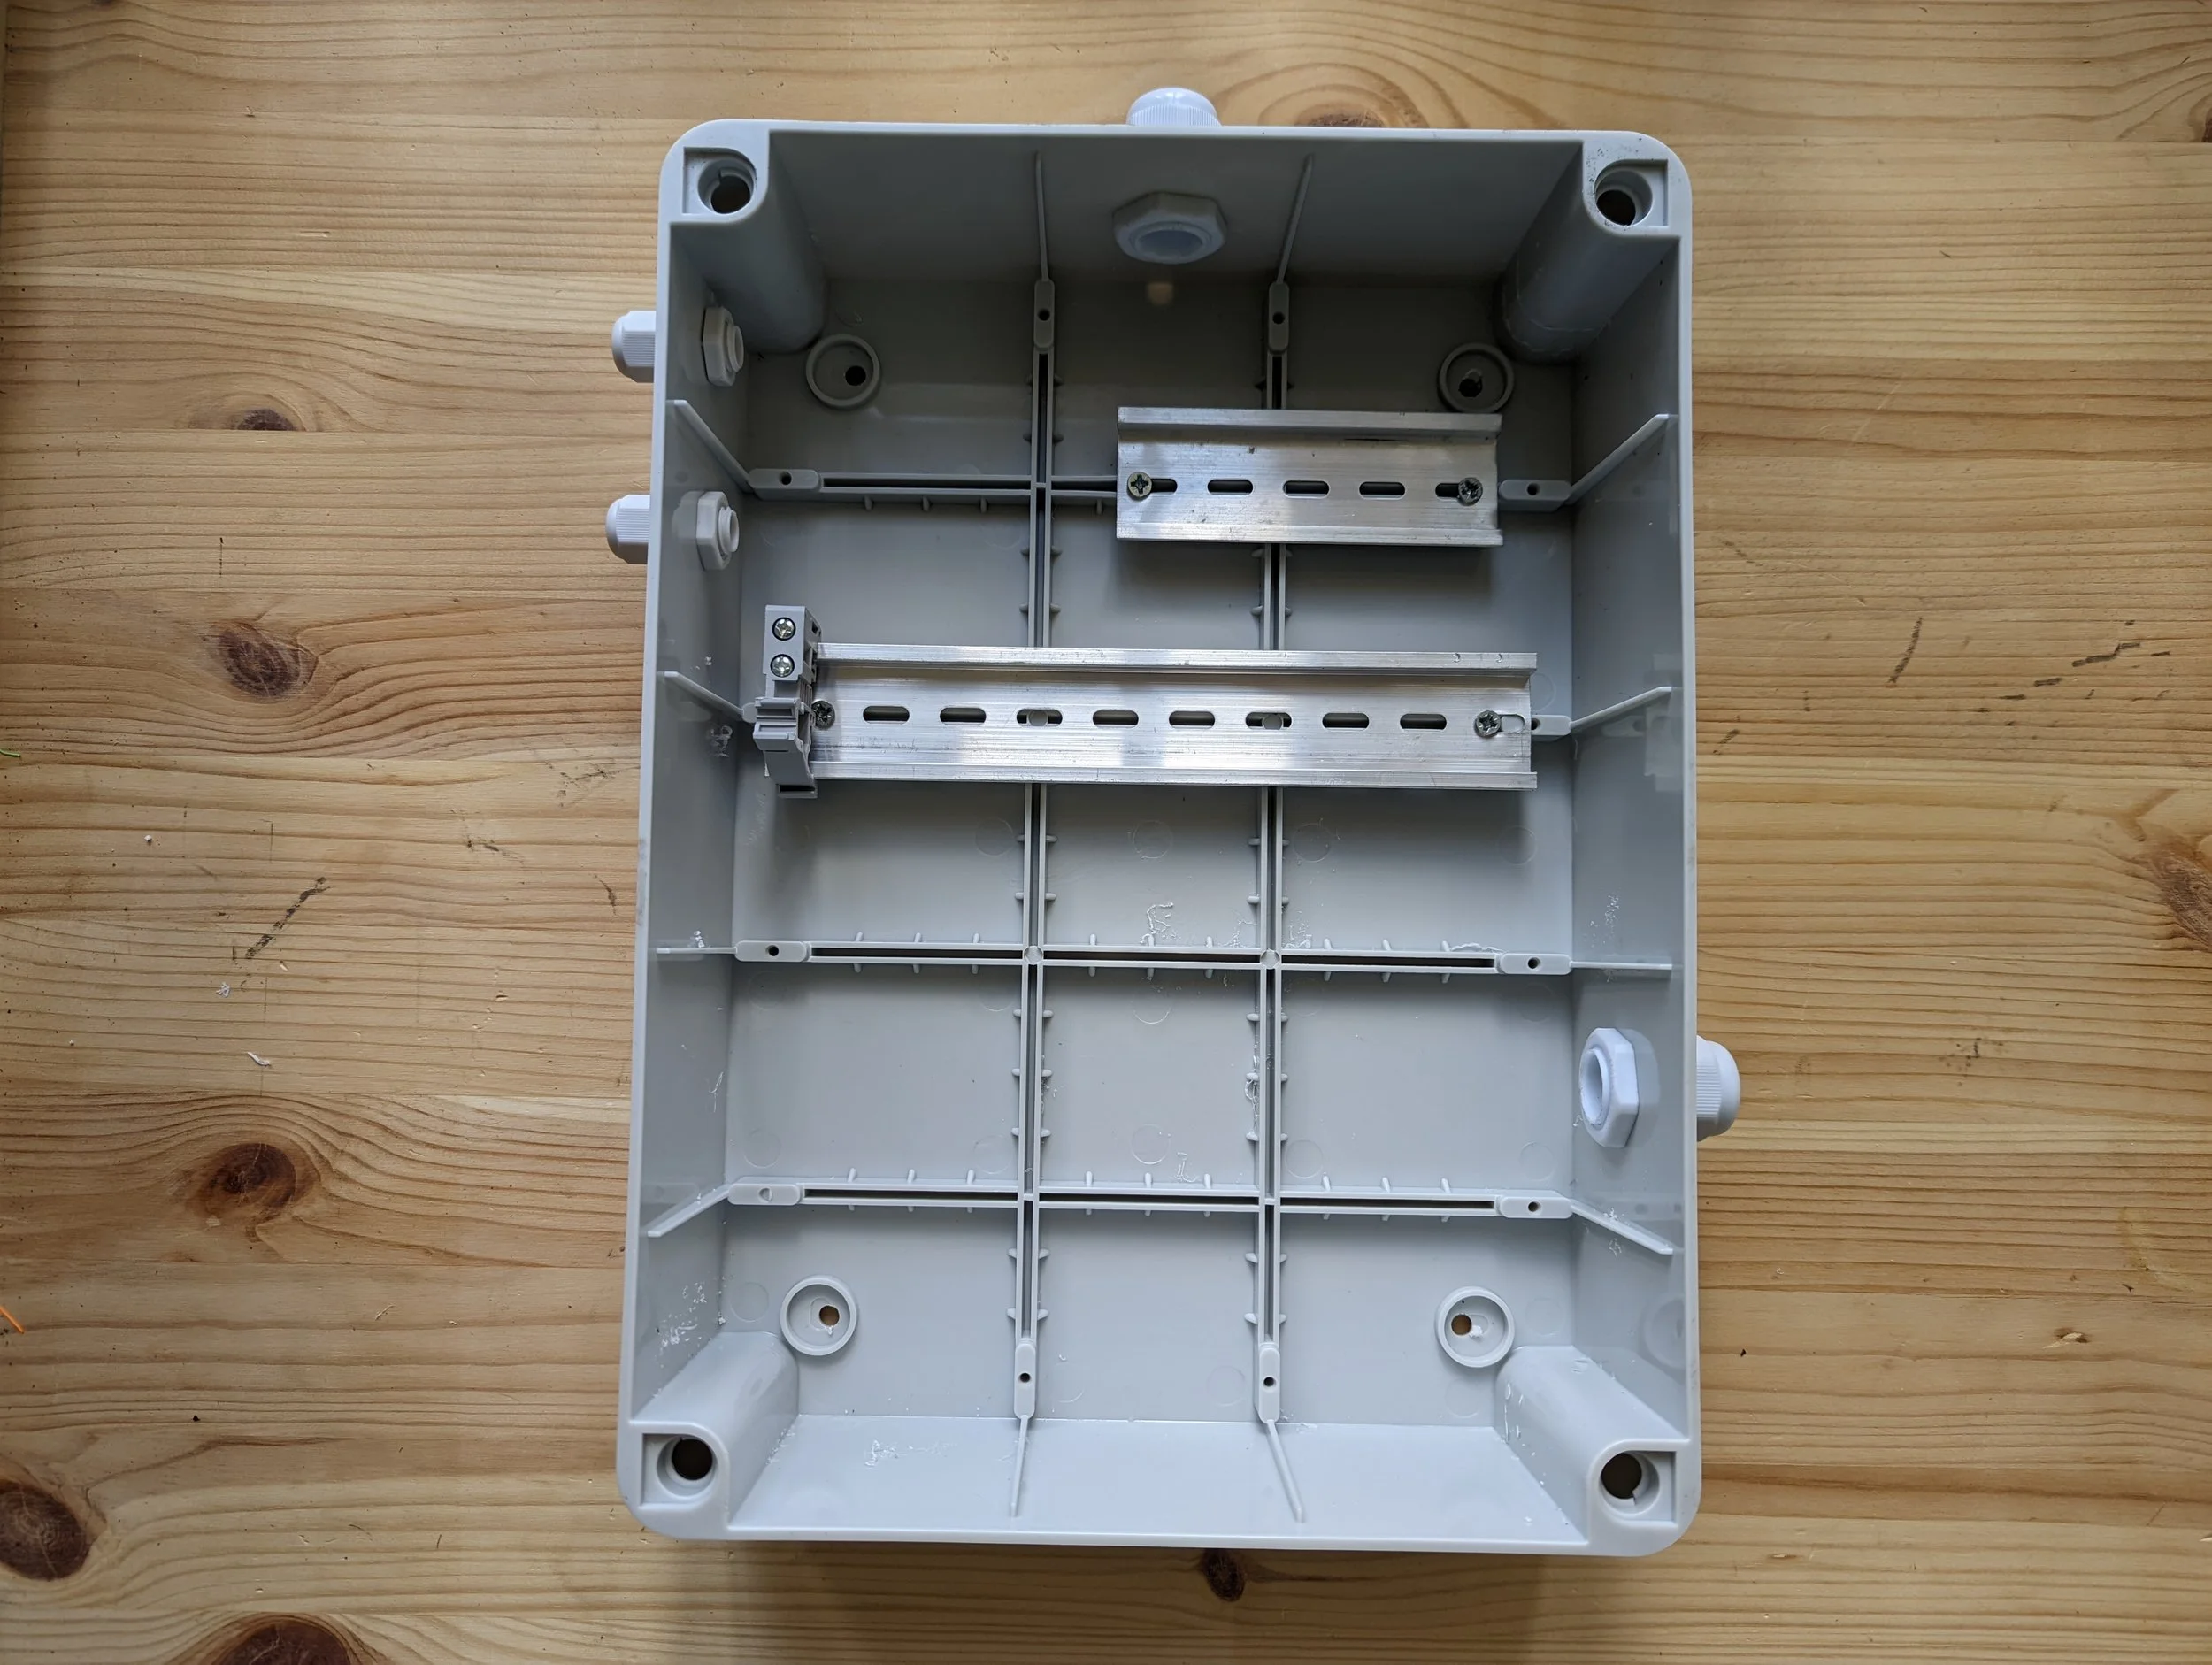
First, place 1x End Clamp as shown. Not tightening up the screws yet.
Step 5
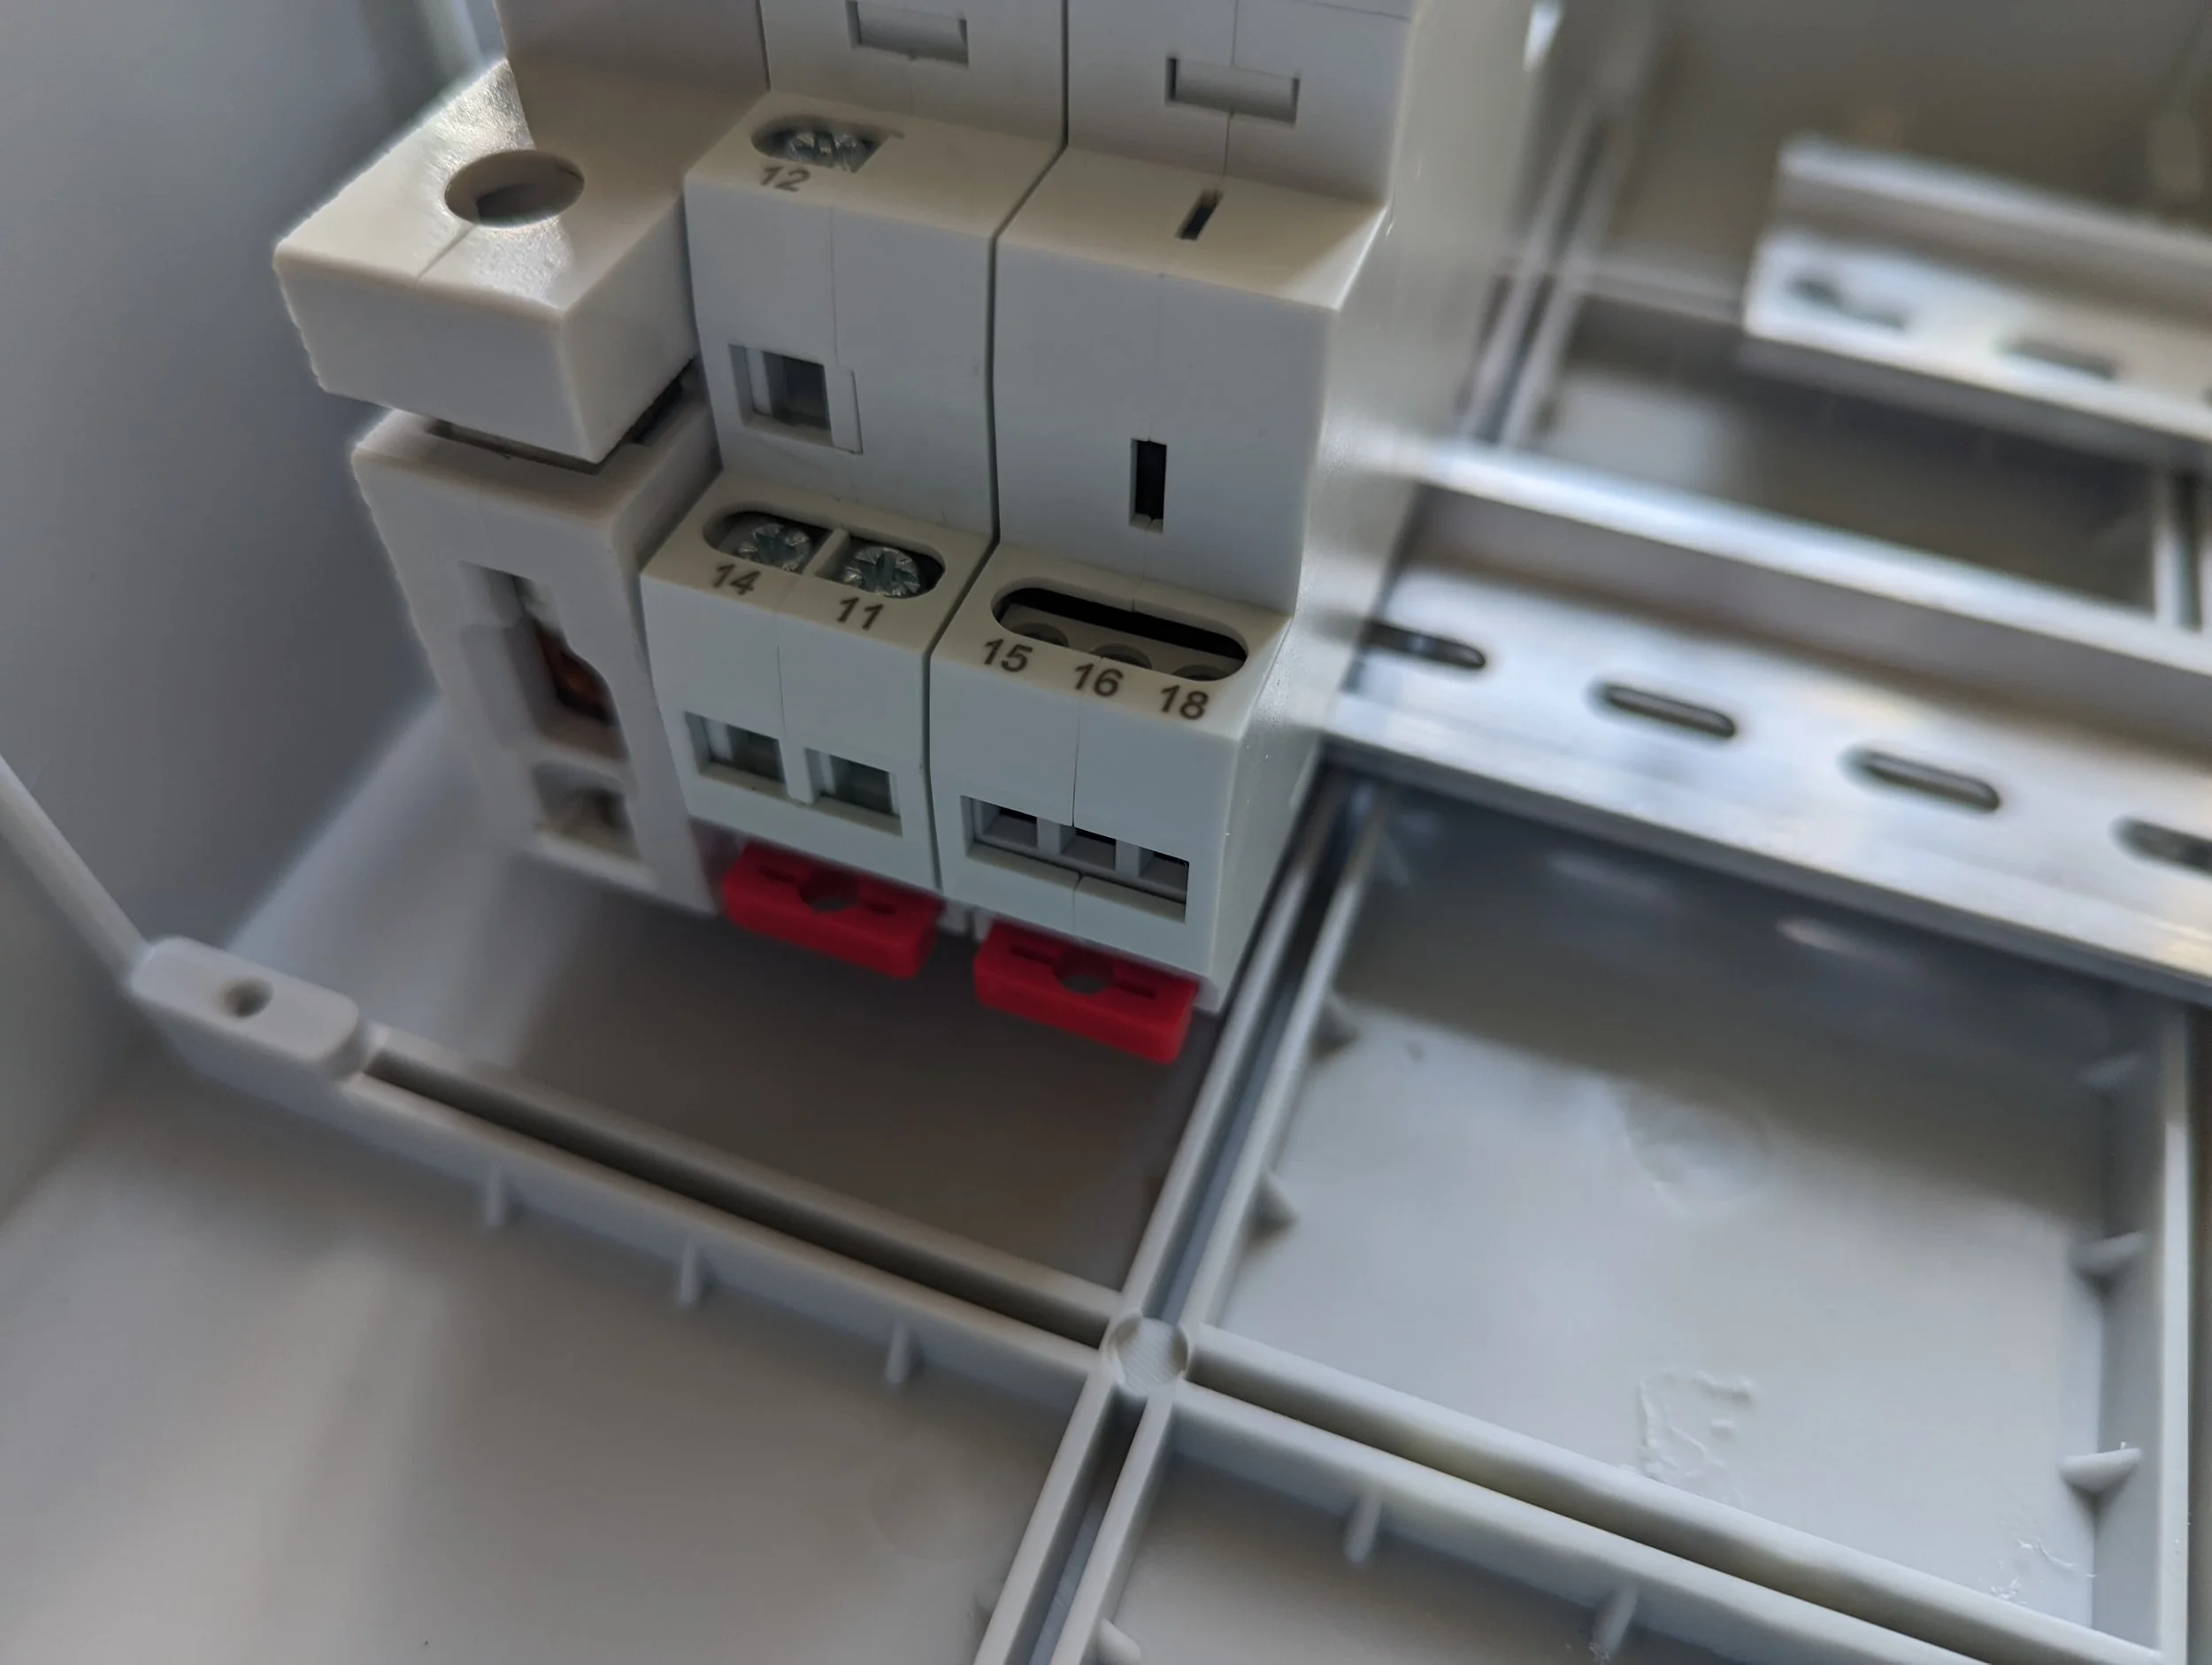
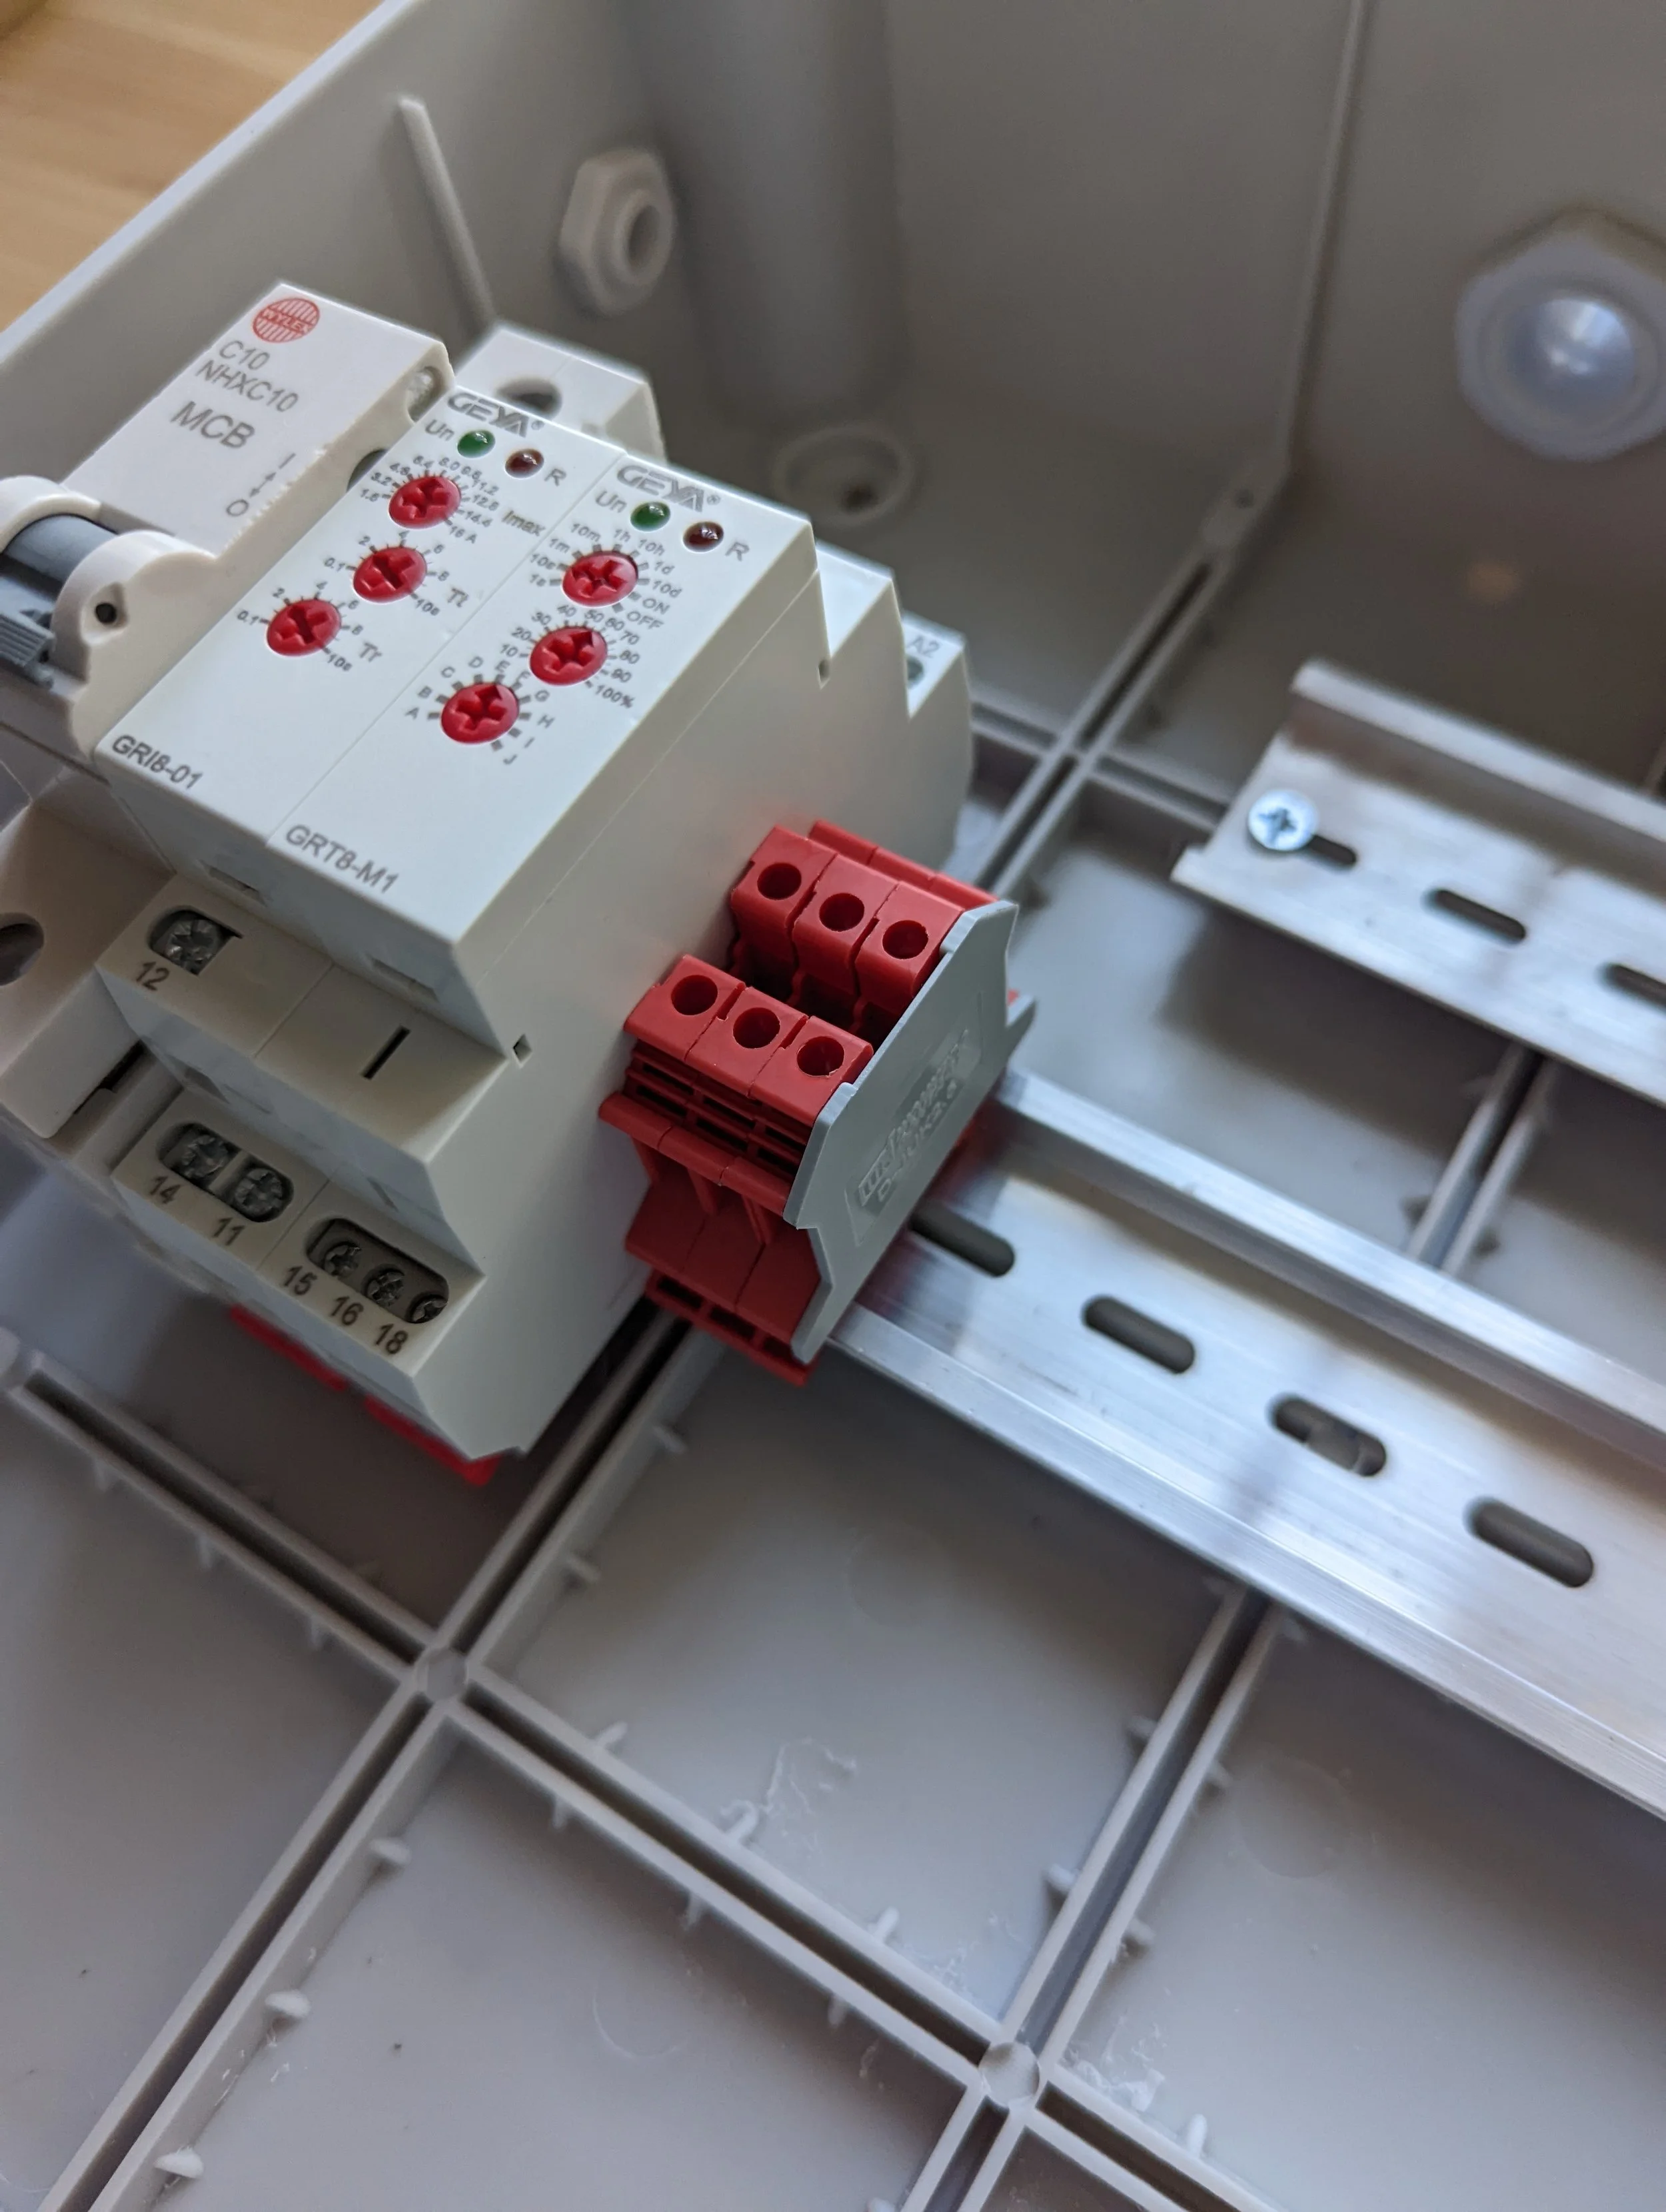
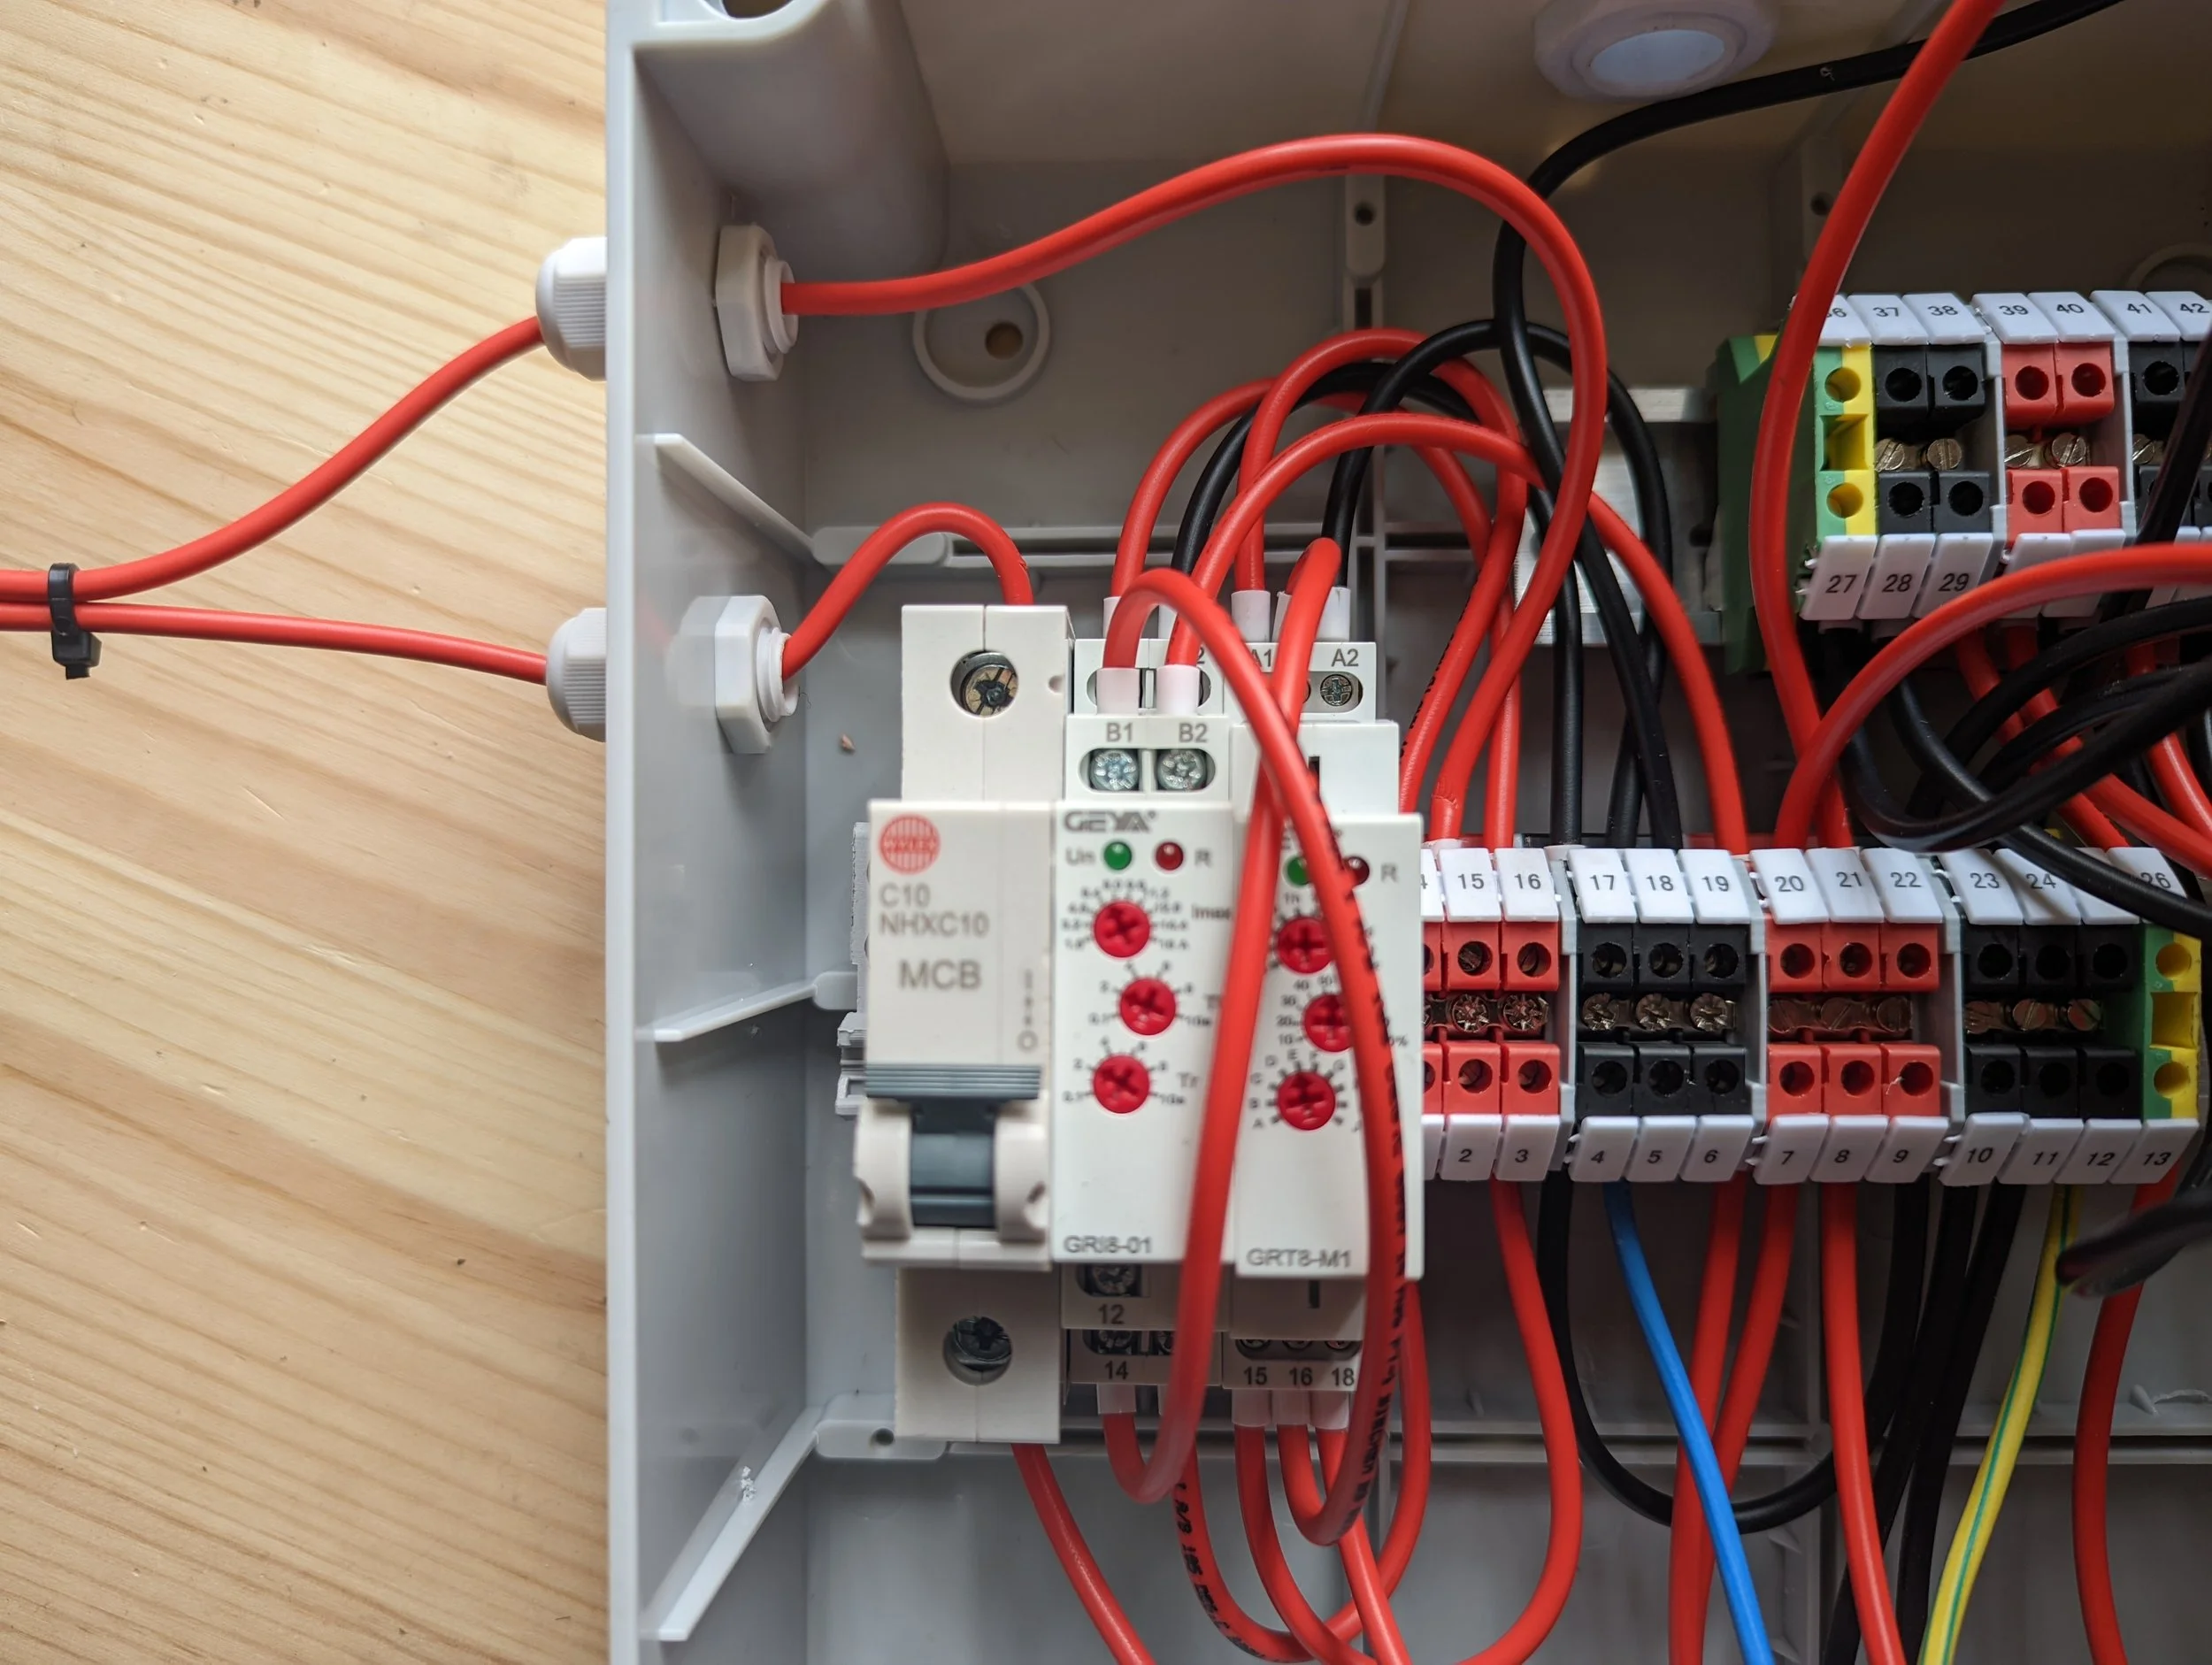
Then slide the 10amp MCB, Current Monitoring Relay and then Multifunction Timer Relay in that order.
Step 6
You can pull the red tabs out to allow easy installation. Just remember to press them back in to lock the relays in place.
Step 7
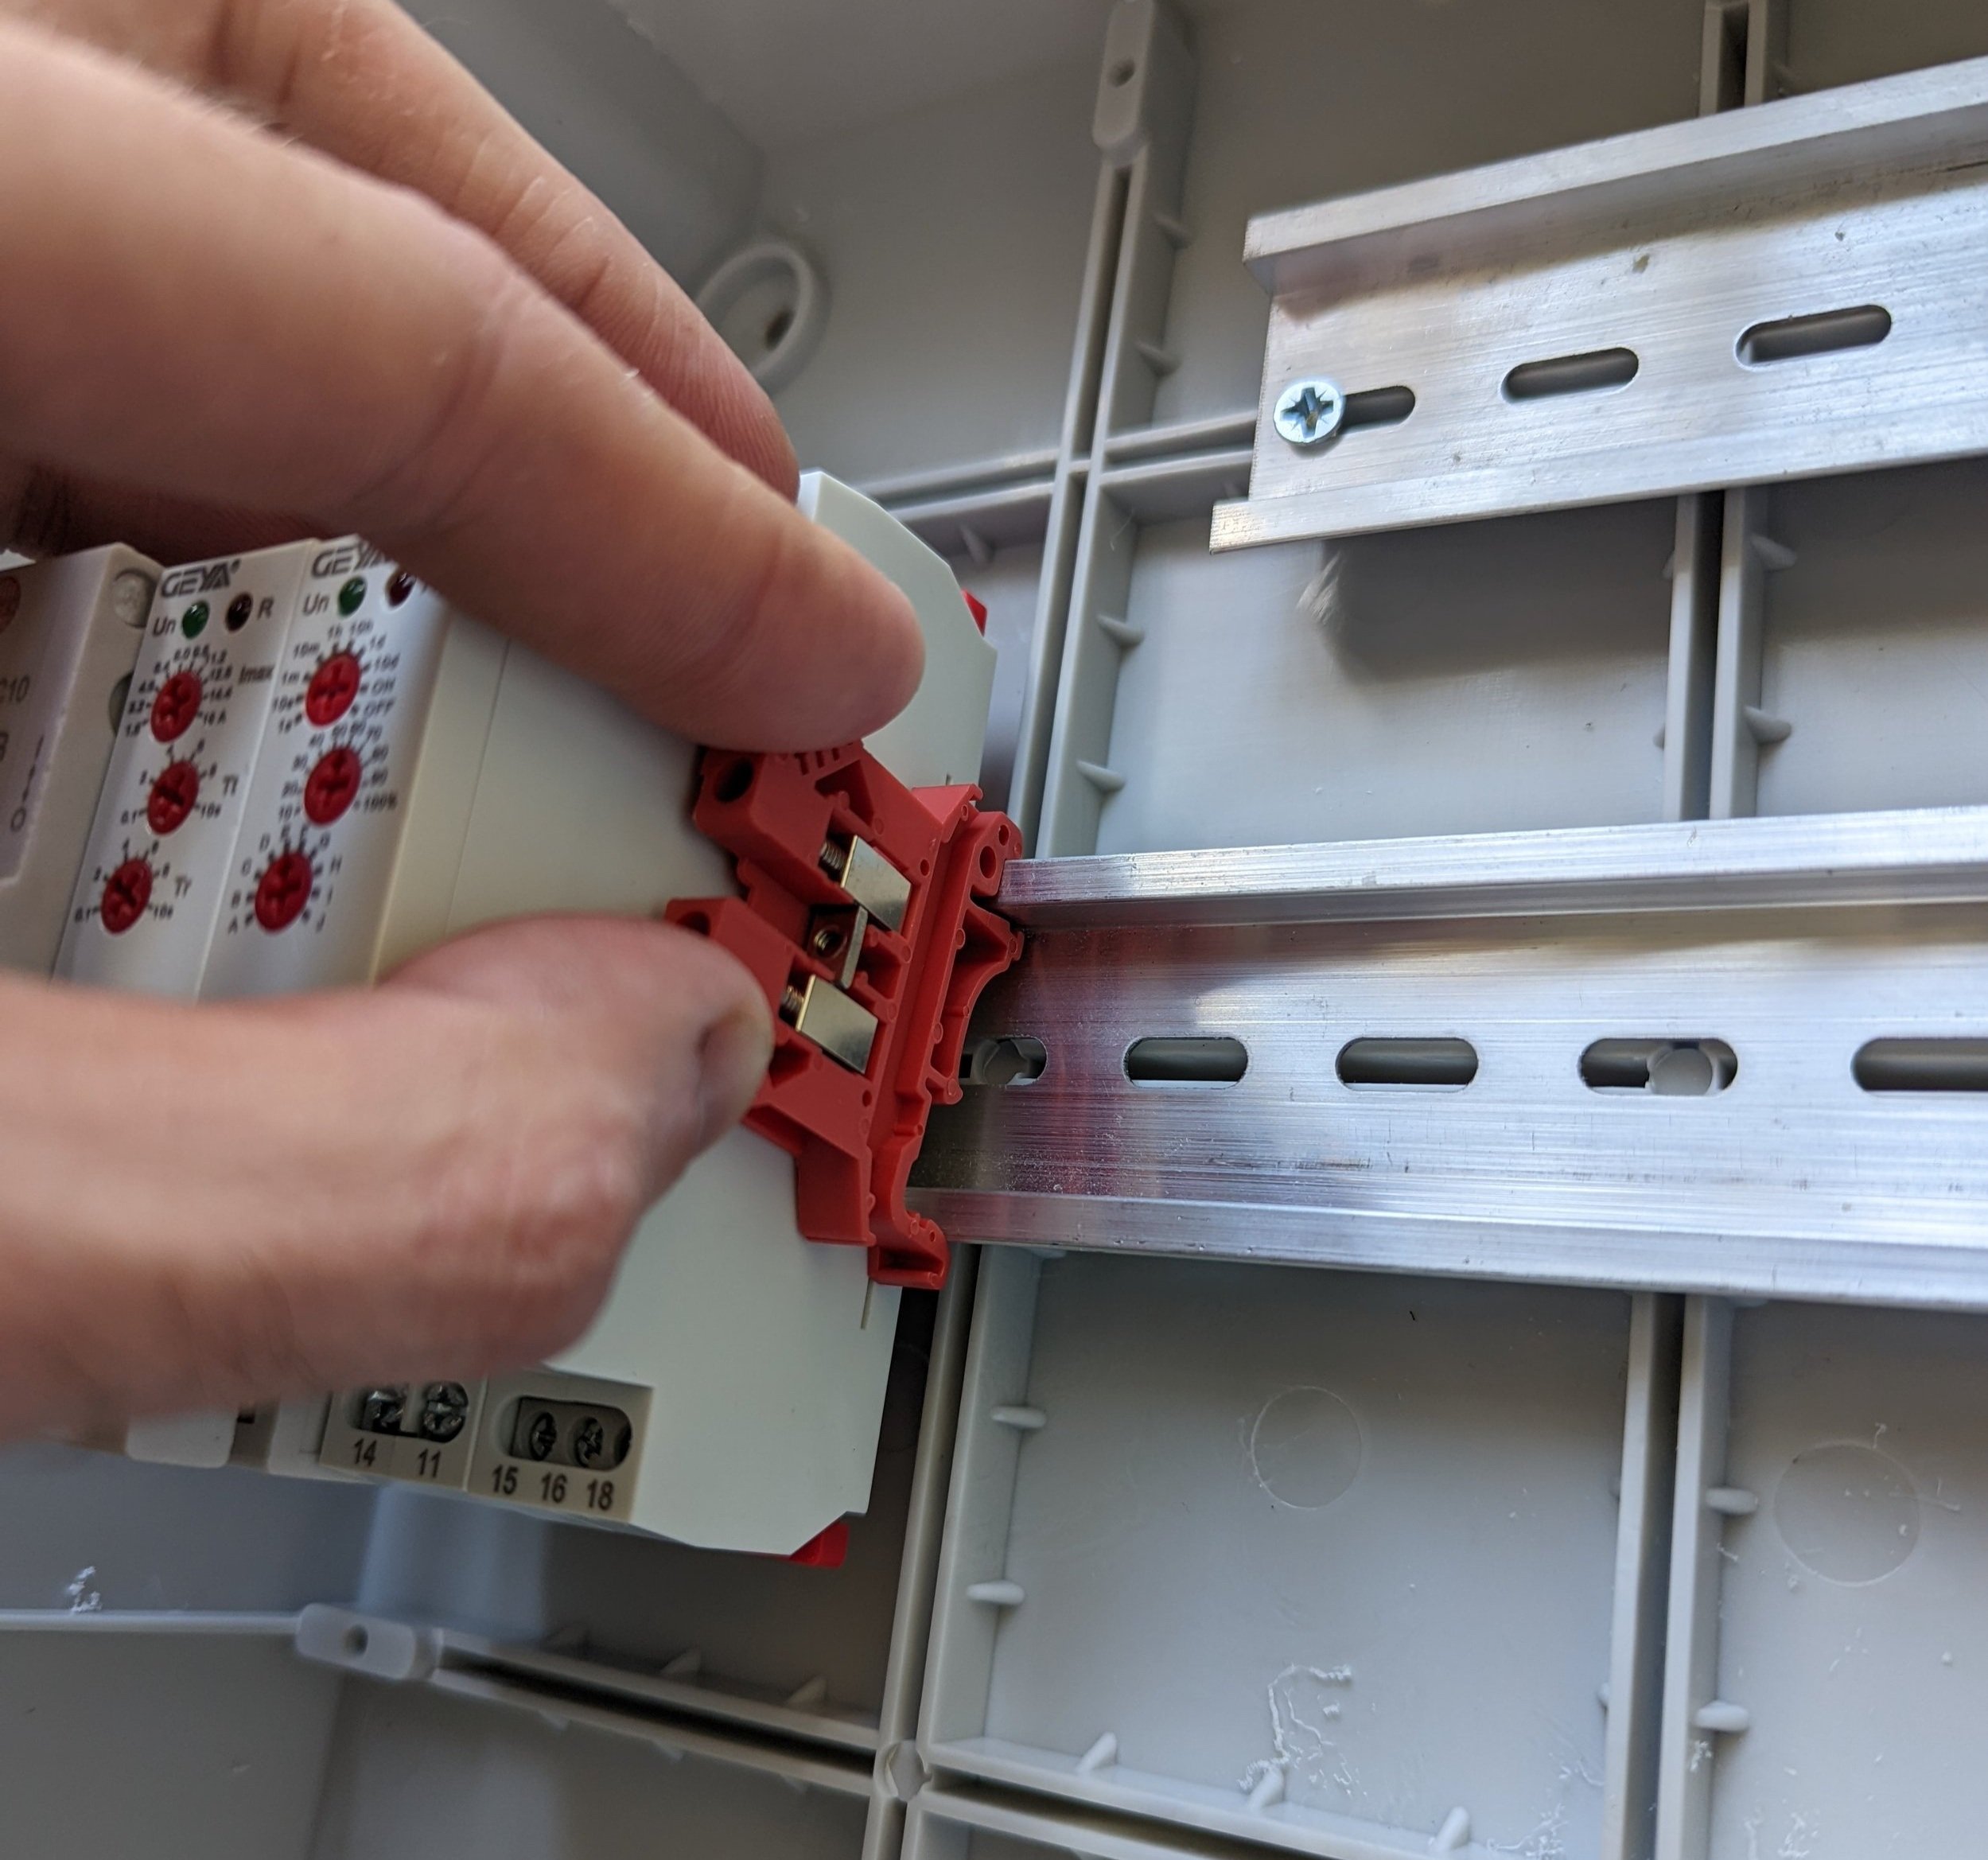
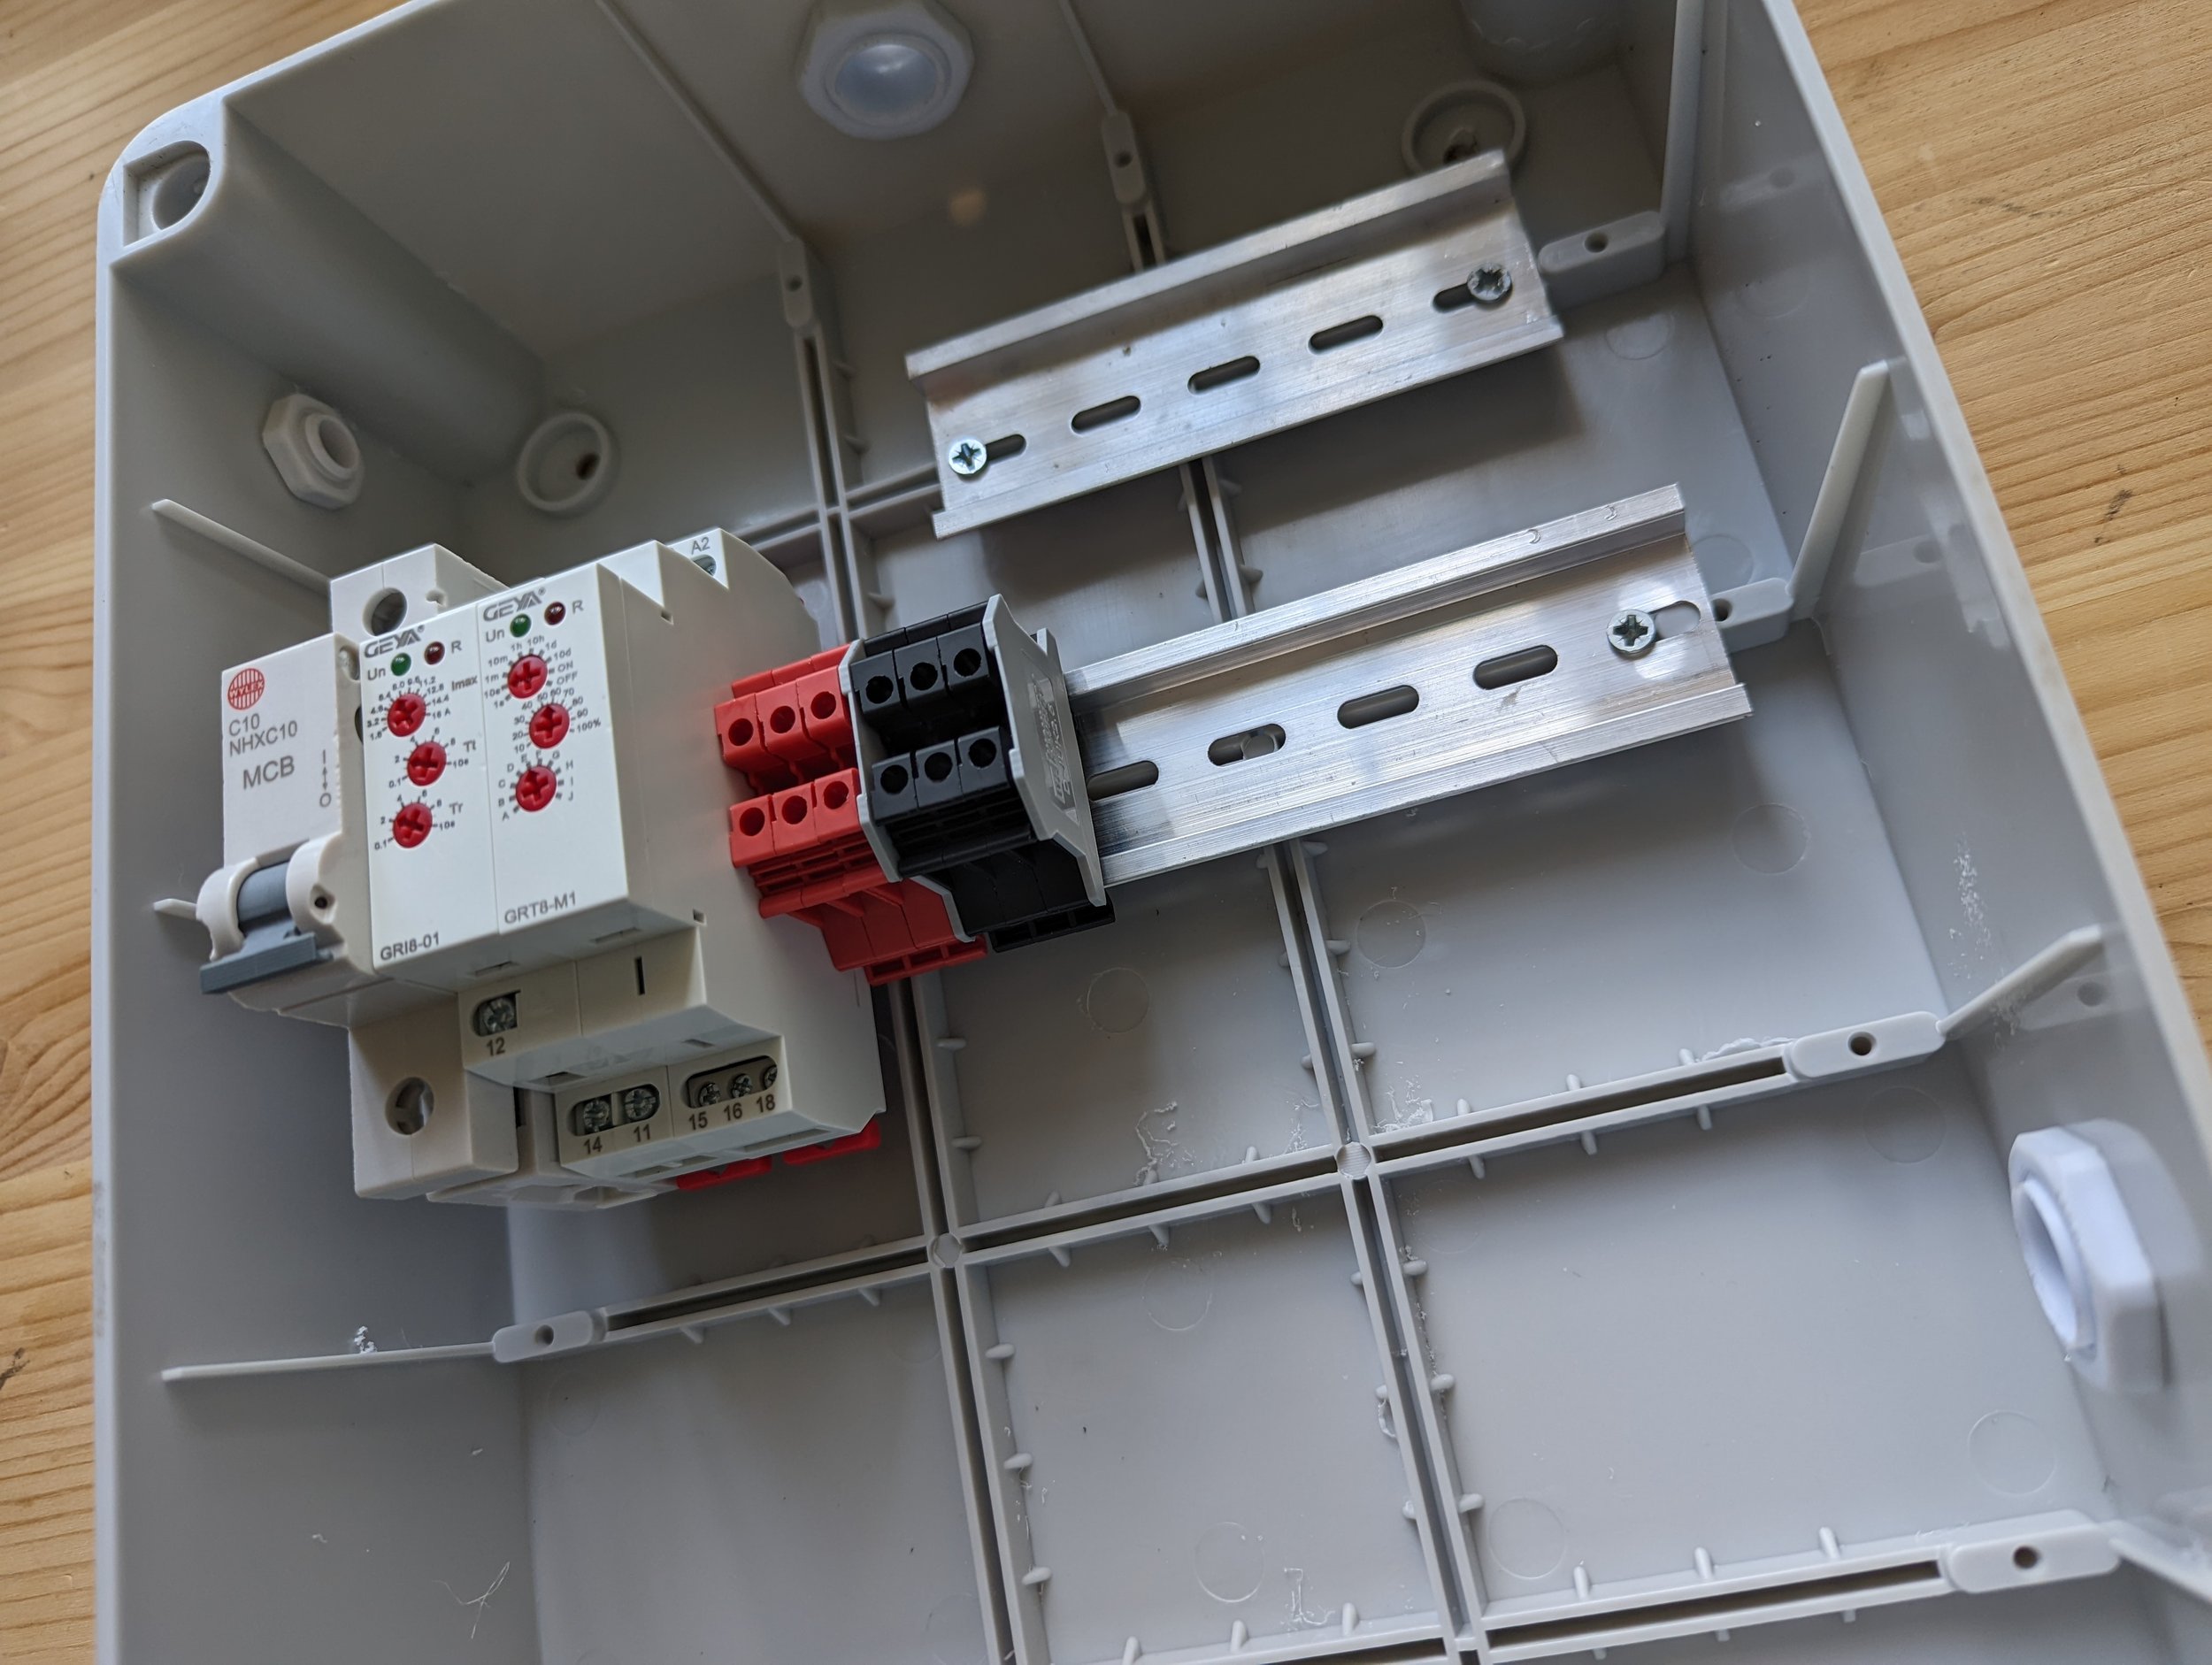
Now start adding the DIN Terminal Blocks. This fix in place by first pressing the top into place, then pressing down on the bottom as shown.
First, start with 2x Red Terminal Blocks.
Note: Make sure you orientate the metal contacts as shown. This is crucial to prevent short-circuiting.
Step 8
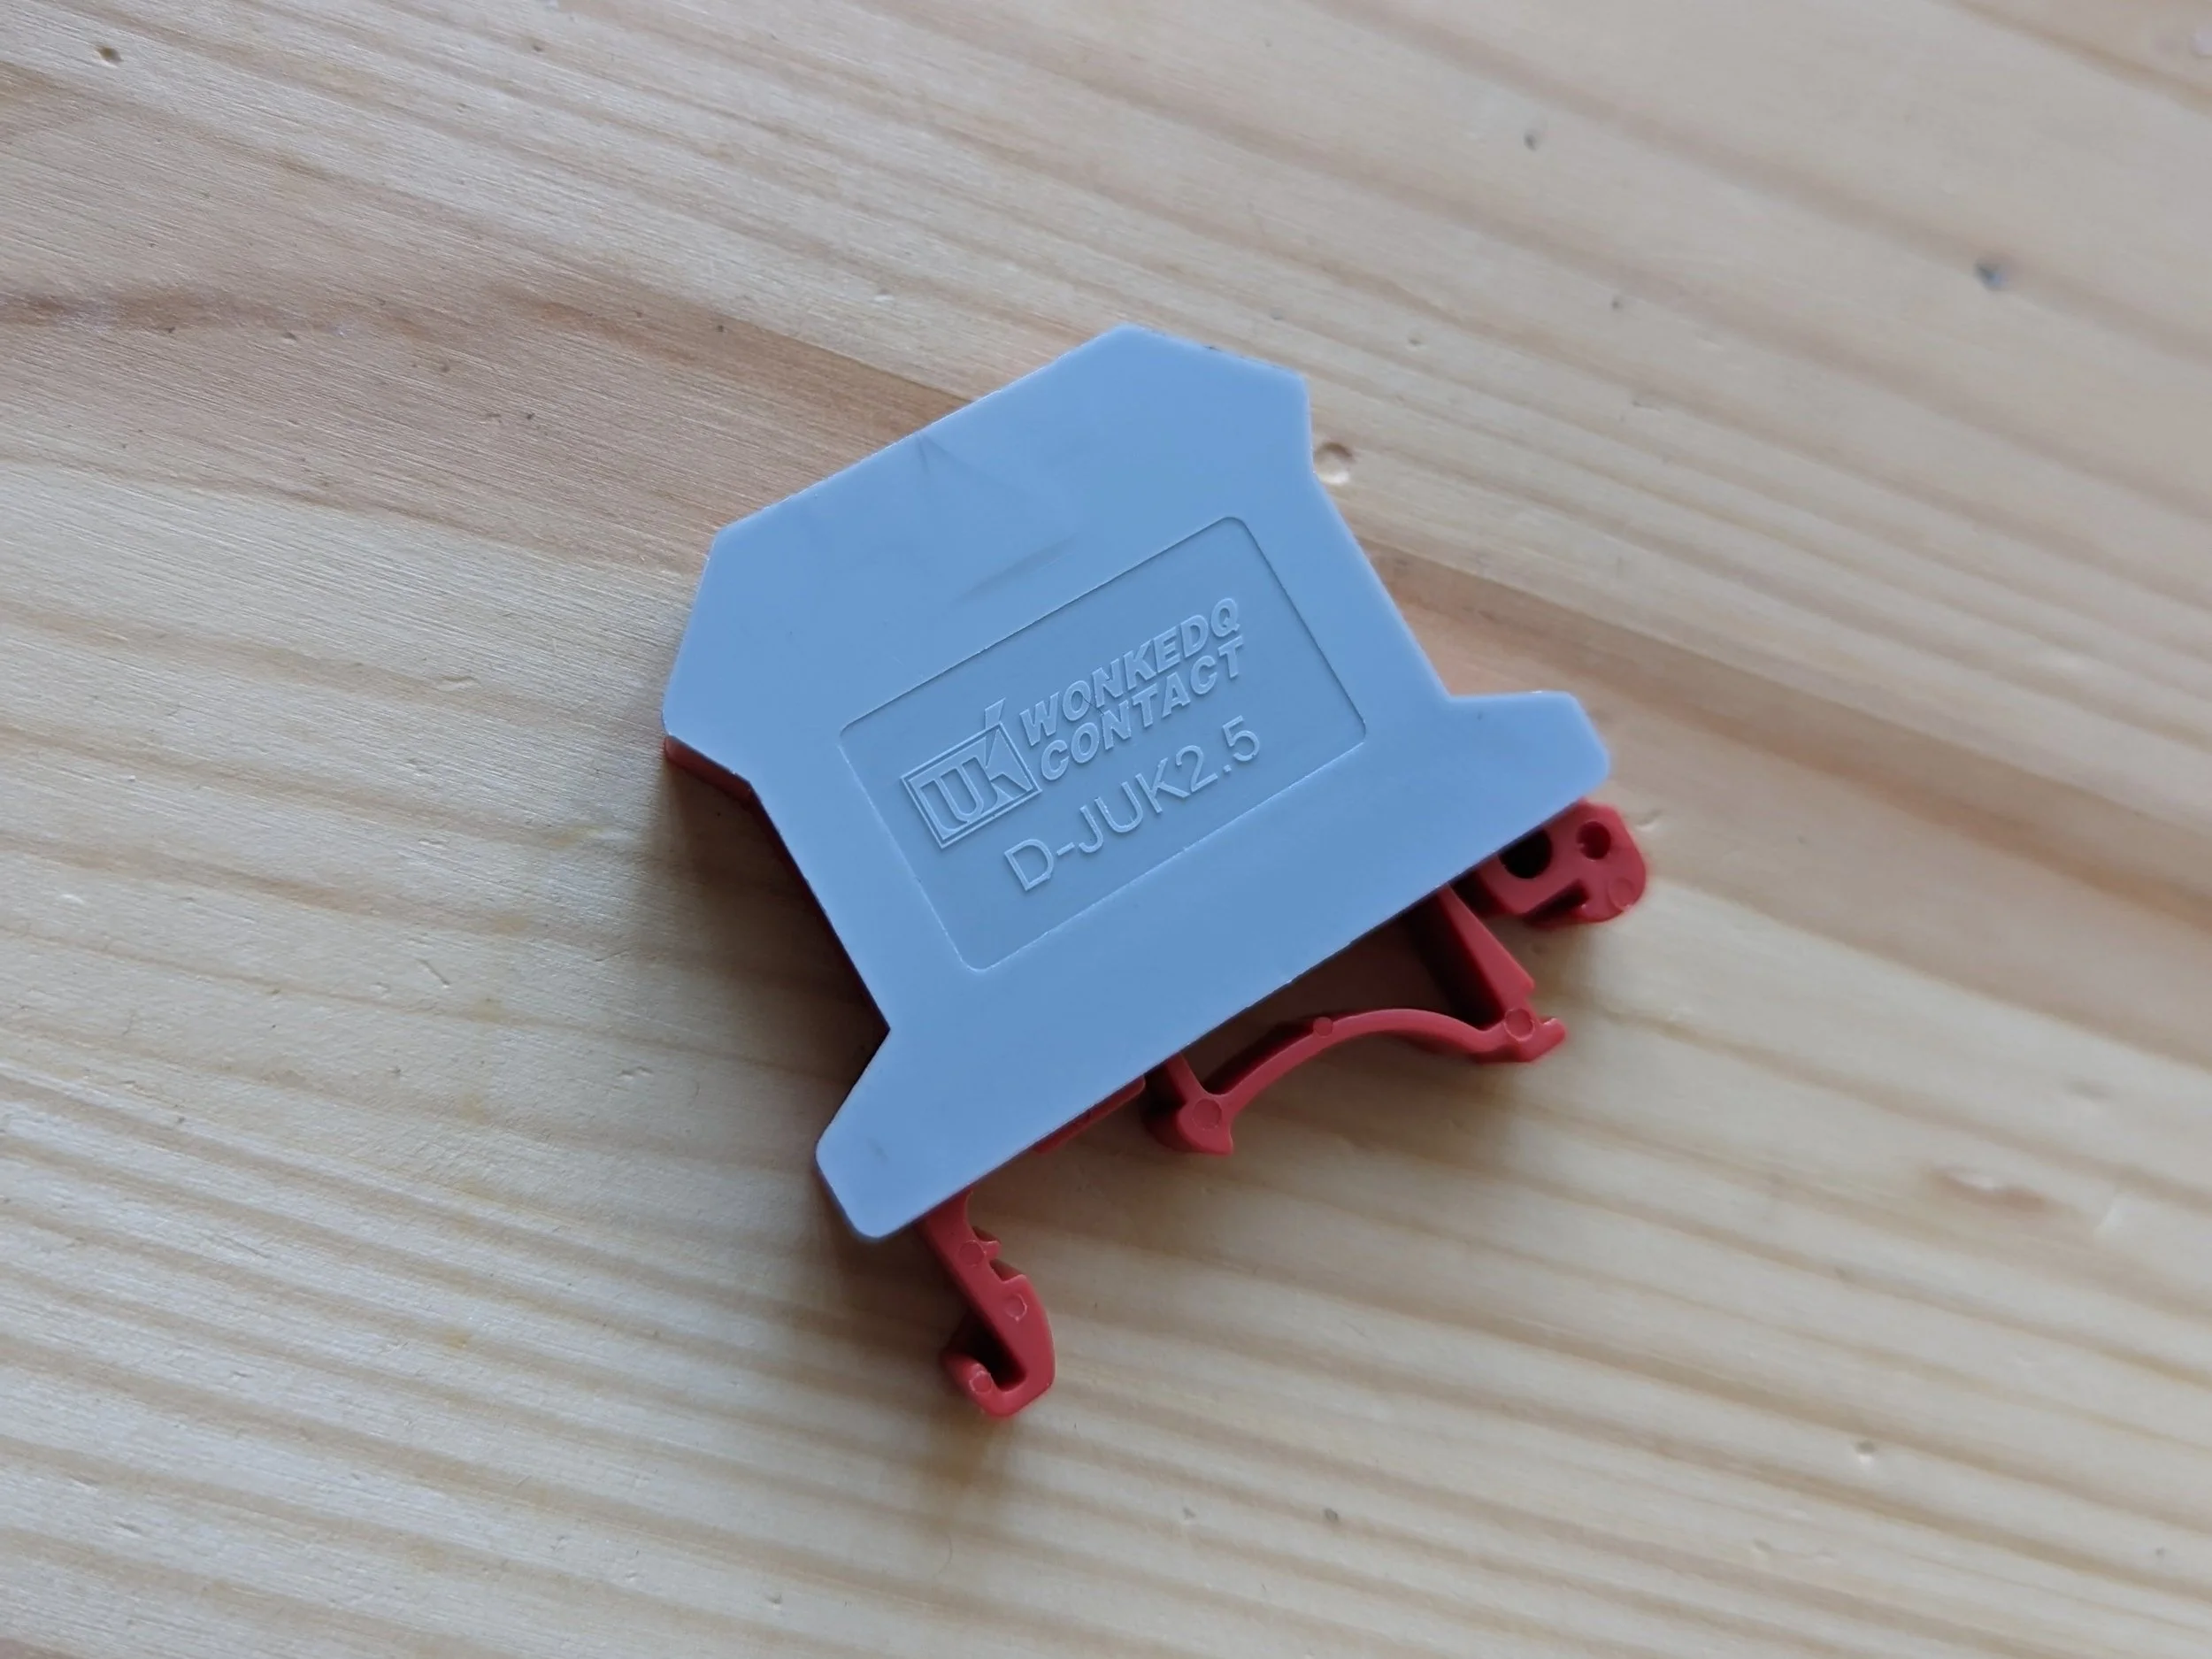
Then taking a Grey Cover (D-JUK2.5), place this on the side with the exposed metal contacts. These two are press-fit and should align nicely.
Step 9
Place this combined piece onto the rail.
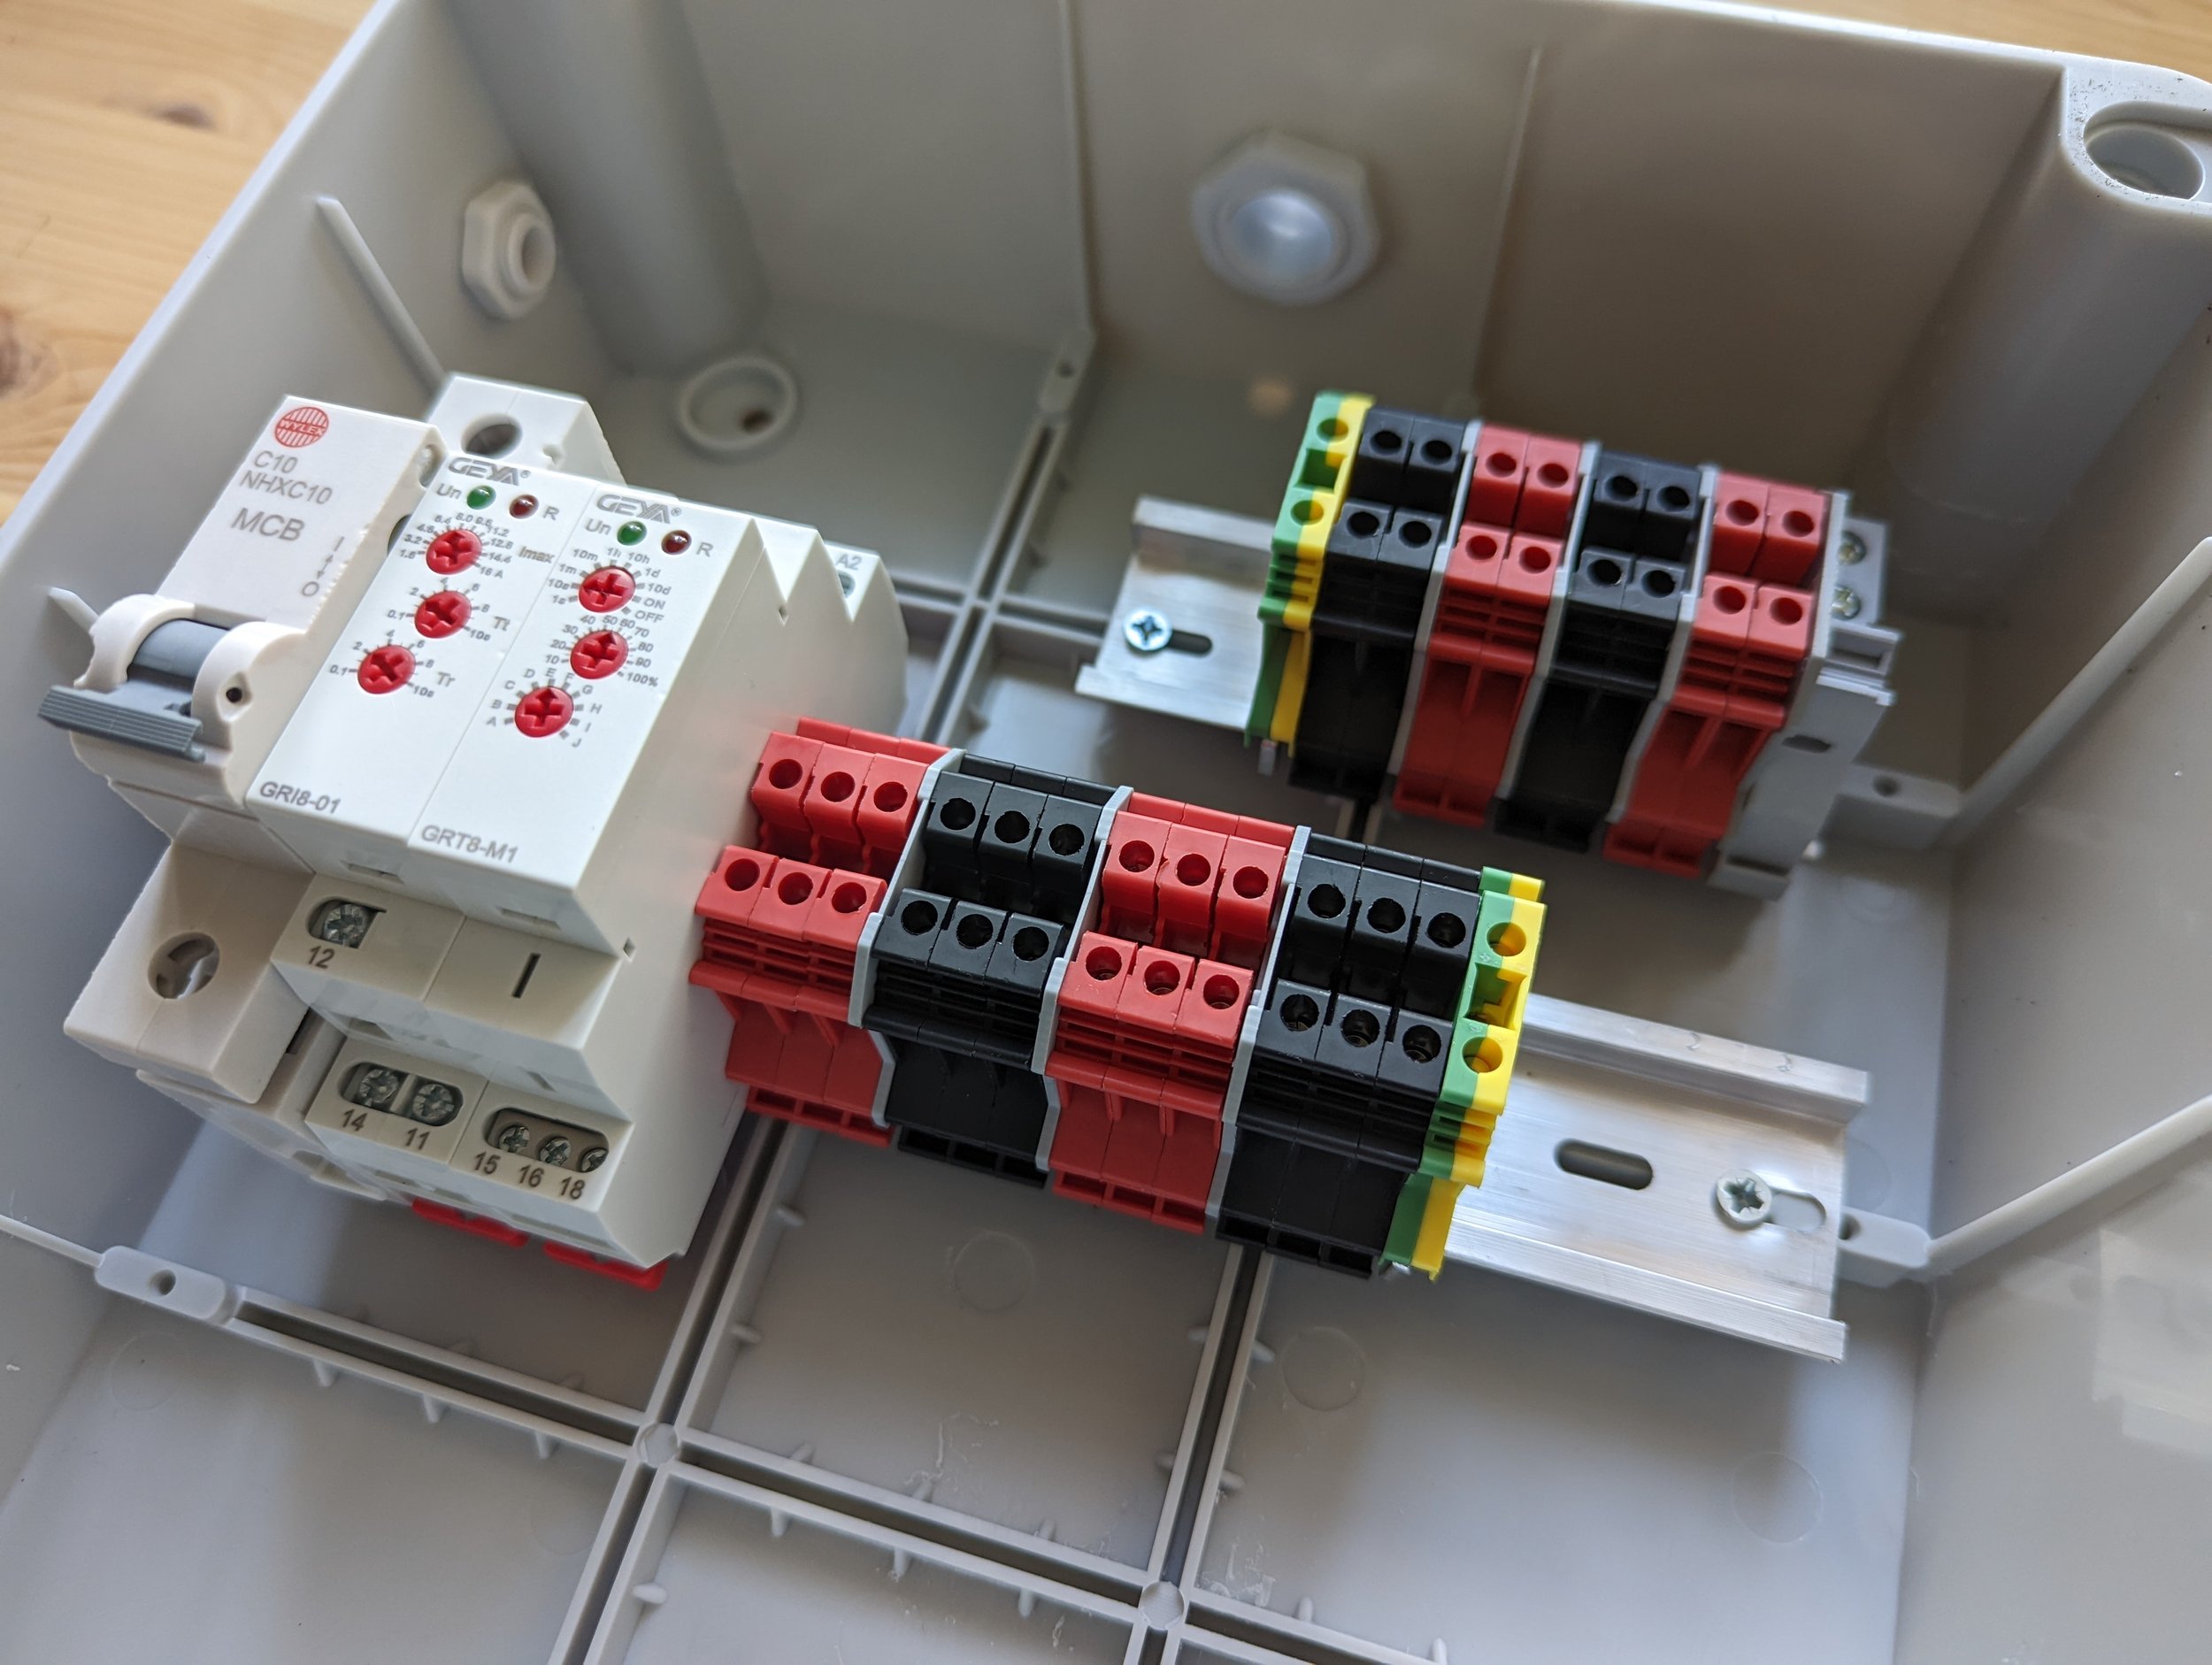
You should now be left with something like this.
Step 10
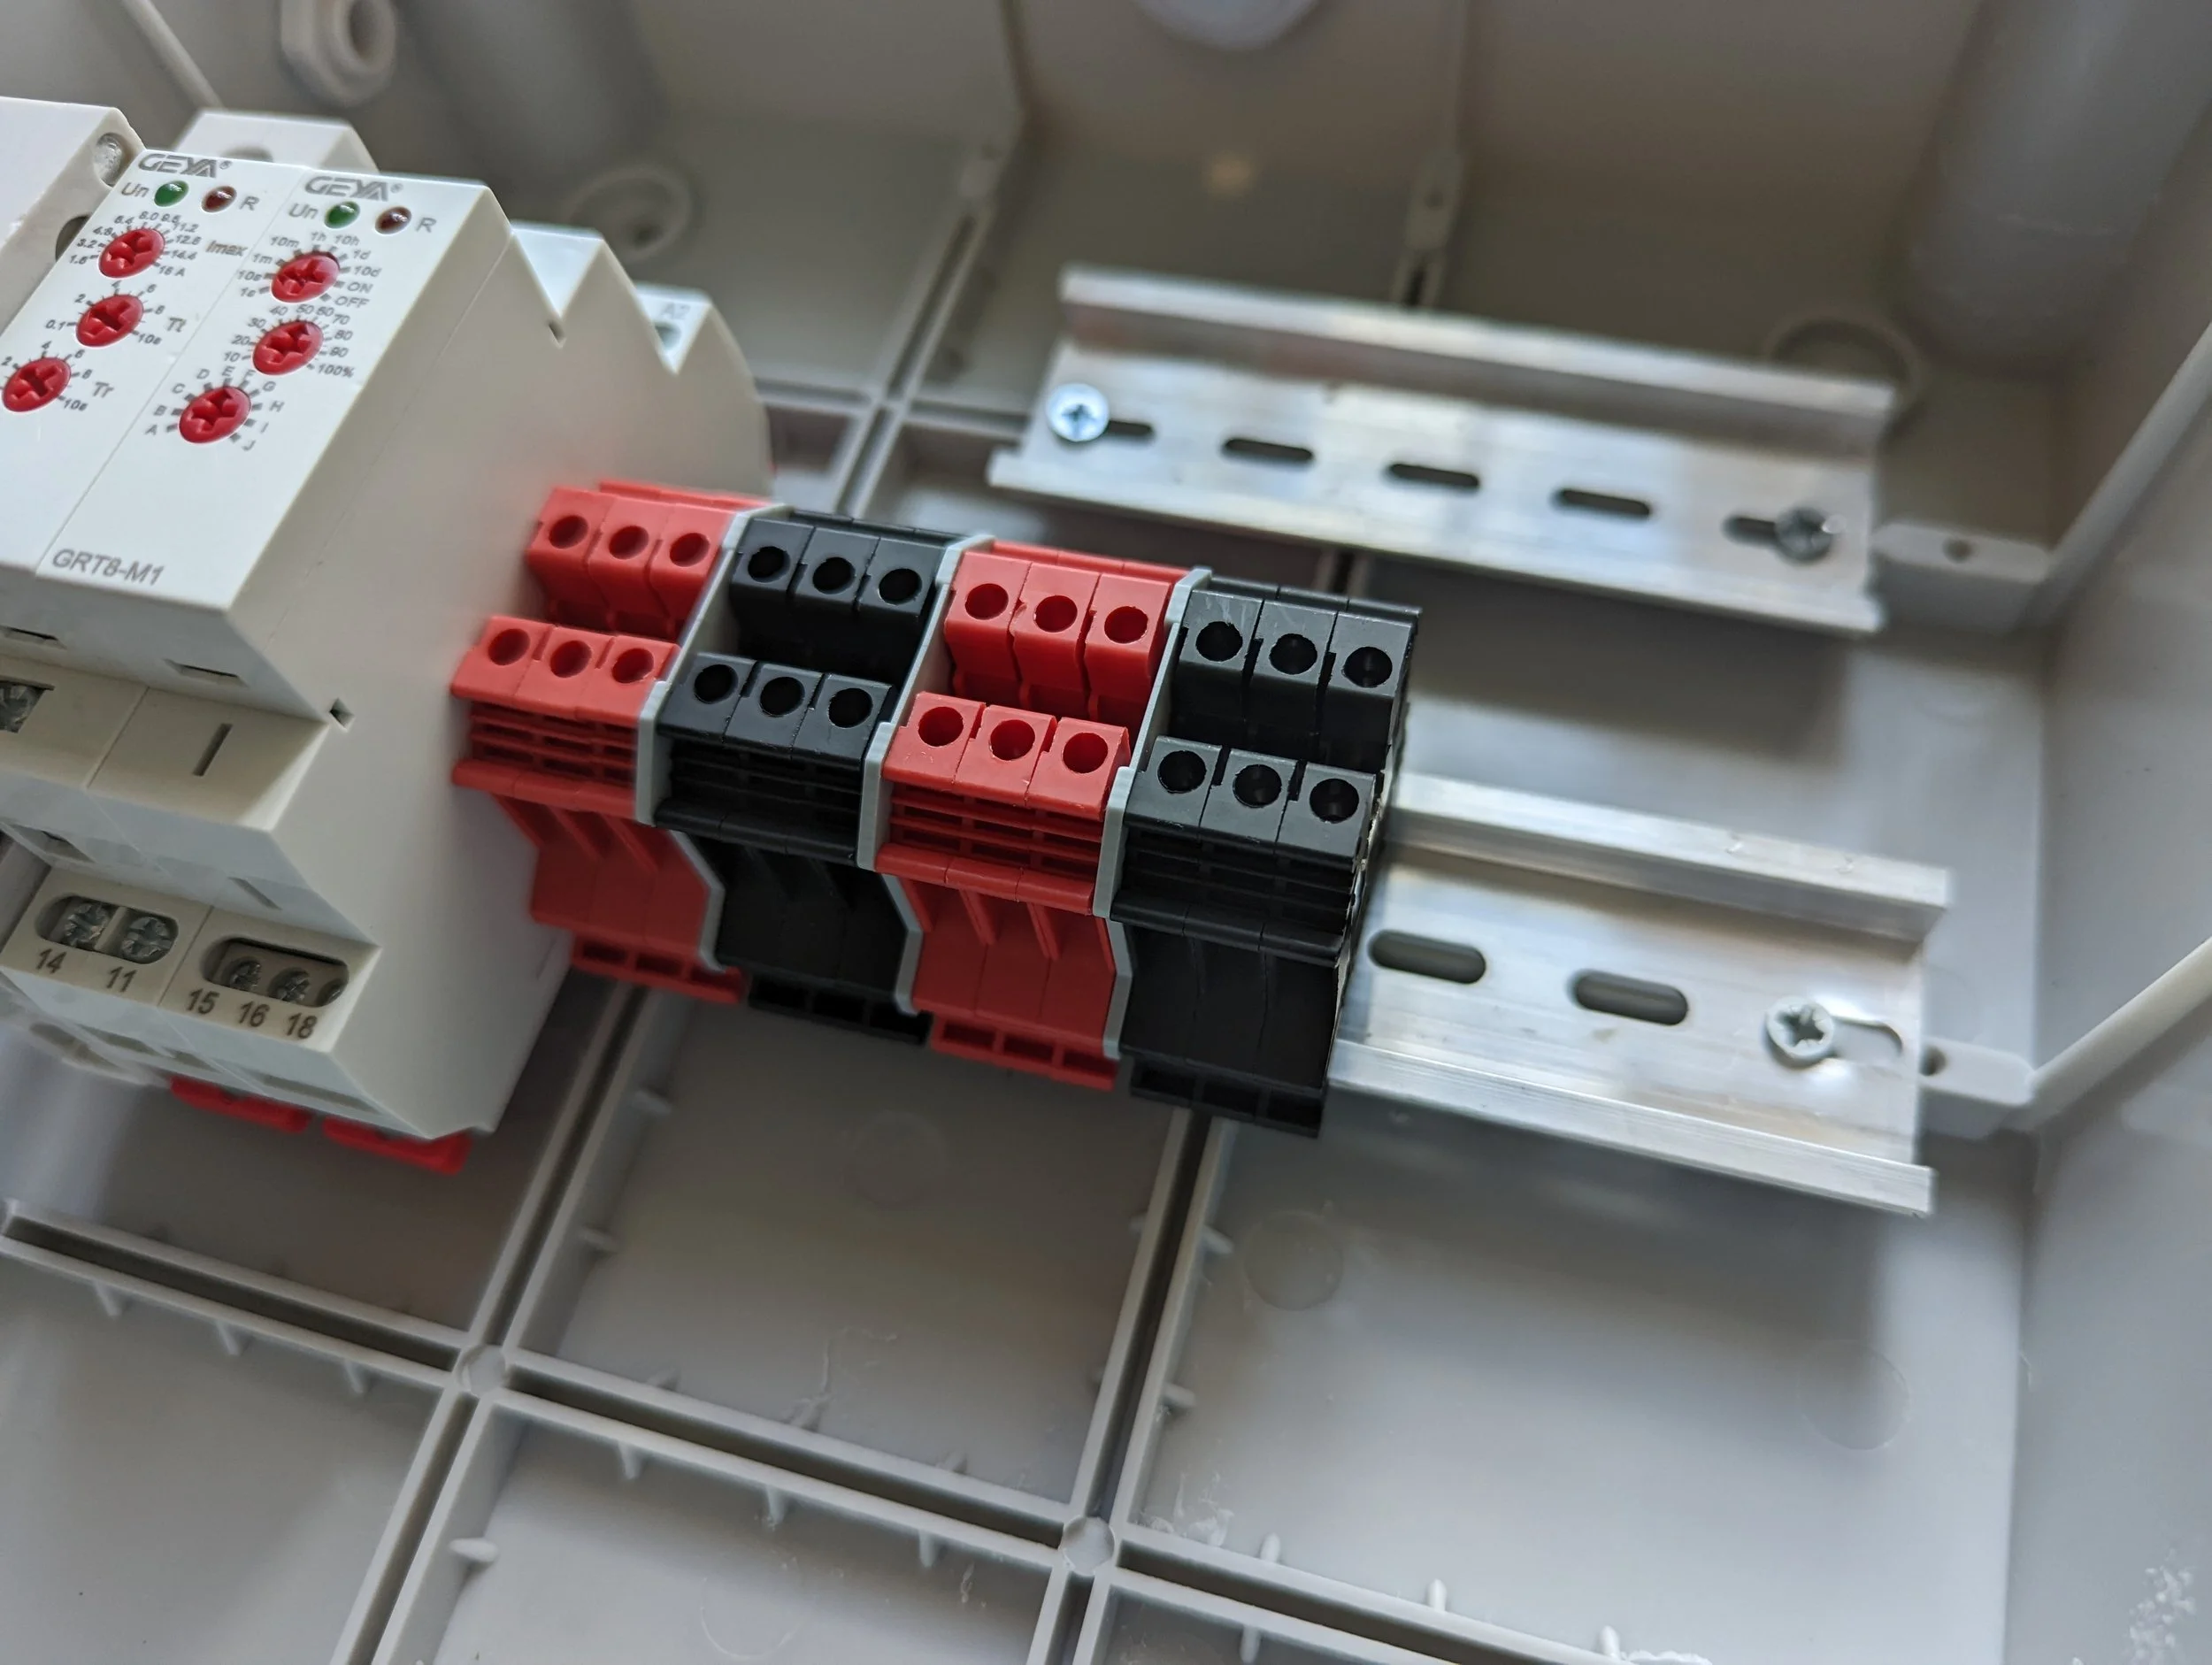
Continue adding 3x Black Terminal Blocks and 1 end piece as shown.
Step 11
Repeat again with 3 more Red Terminal Blocks and 3 Black Terminal Blocks.
Note: You do not need to add a Grey End Cover to the last Black Terminal Block.
Step 12
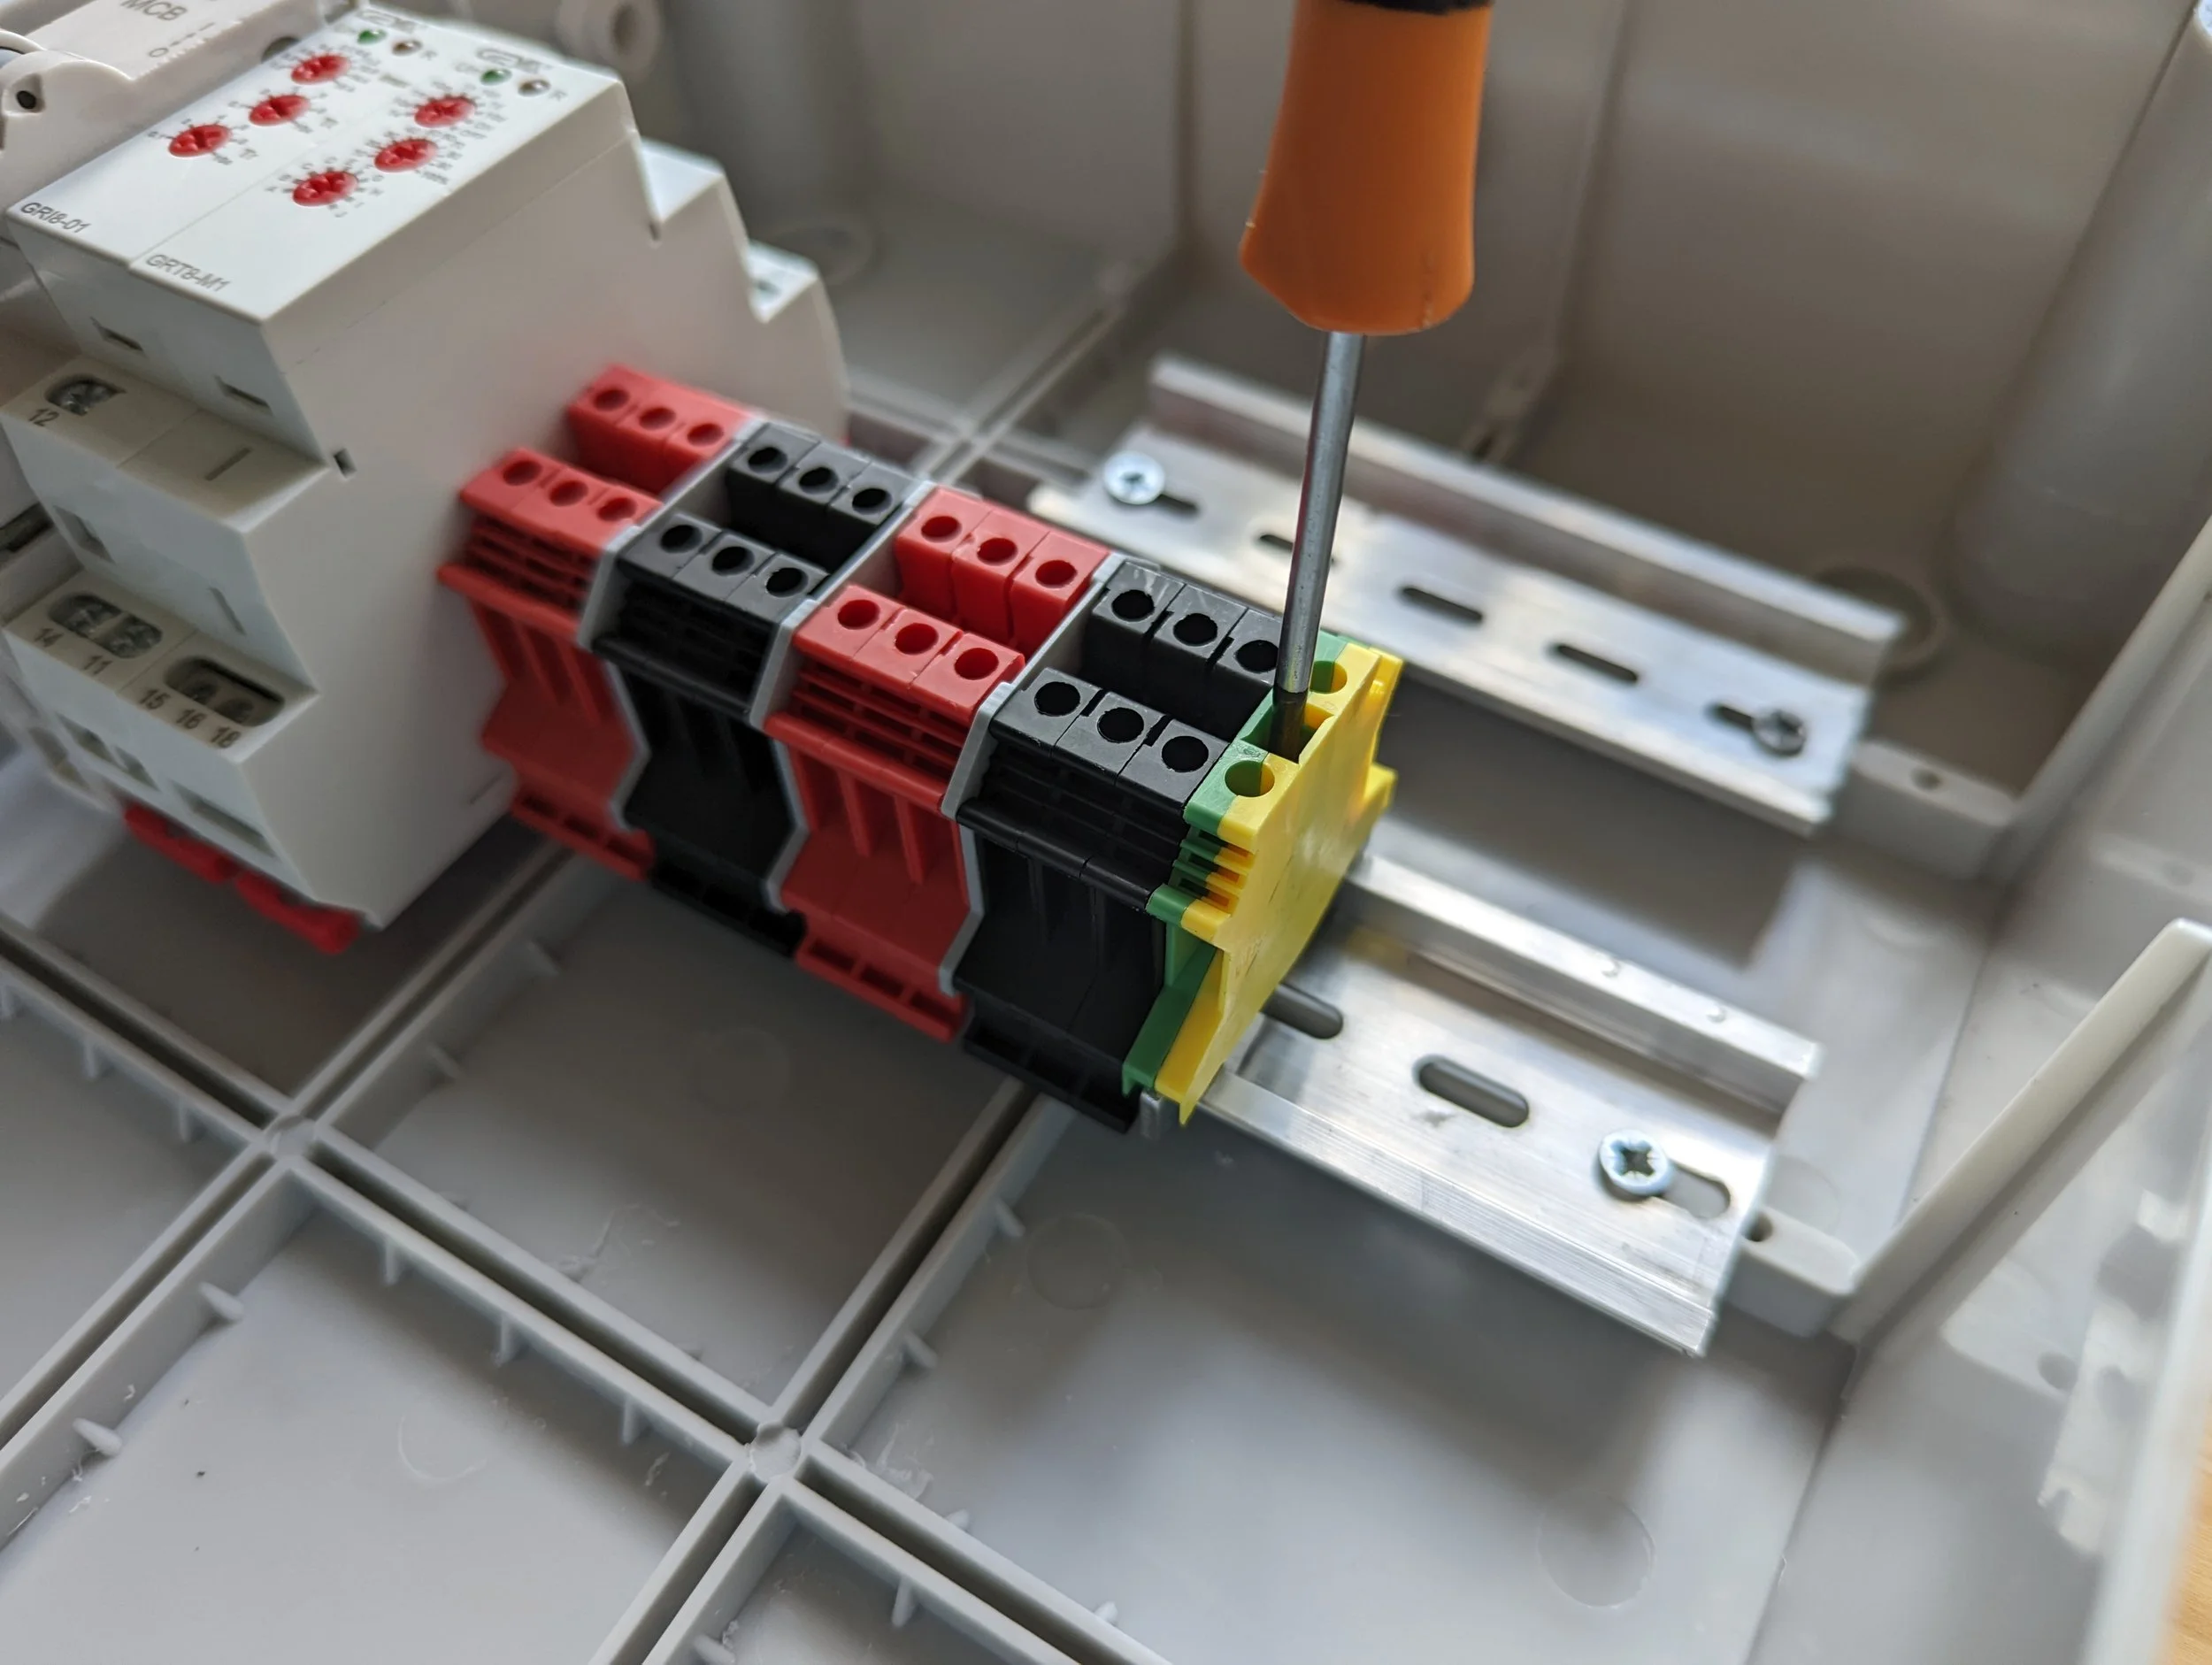
Once those have been placed, you can now go ahead and add the Grounding Terminal. This is extremely important and should be done correctly.
This terminal is slightly different to the others and requires a screwdriver to fit. The central screw will loosen or fix the terminal to the DIN Rail. This should be firmly attached and may take more than one attempt to secure.
Its also best to ensure the terminals are all pressed firmly to the left side of the frame when locking the Ground Block in place, as it will not be easy to move it in the future.
Step 13
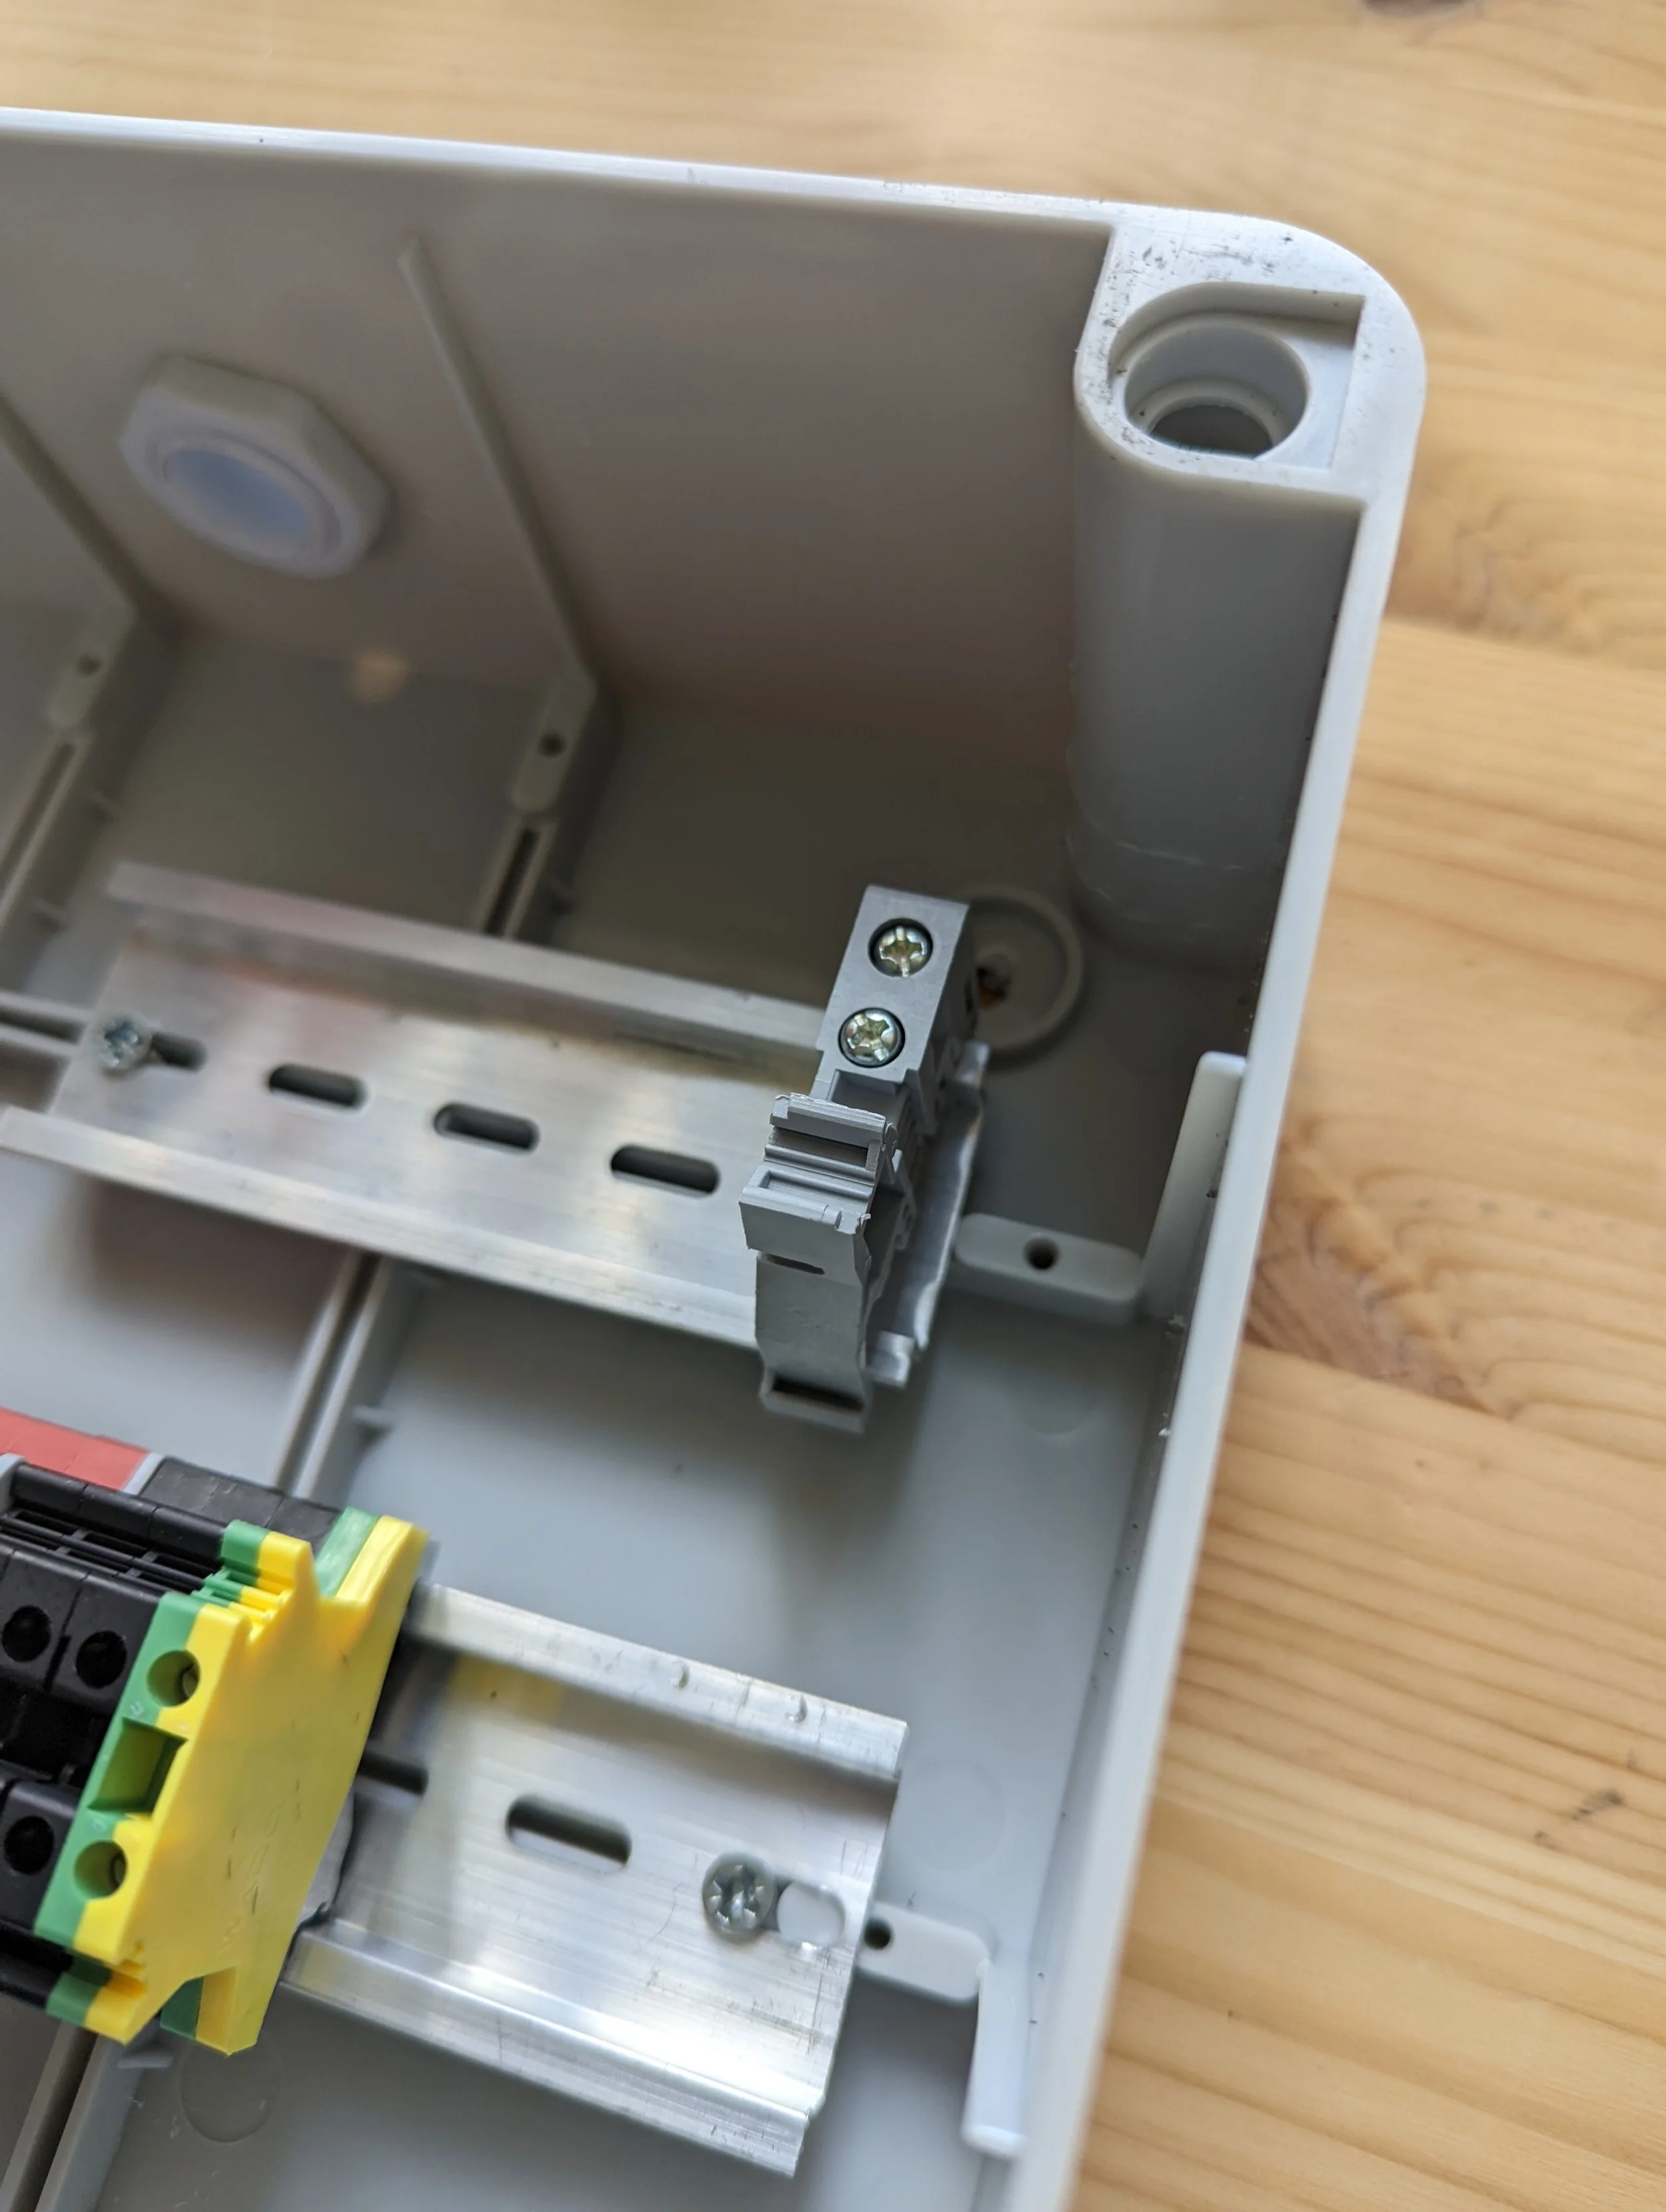
Now that is complete we can move on to the top rail. First fix the End Stop Piece as shown to the right side of the rail.
Step 14
Repeat the previous steps of adding Terminal Blocks to the DIN Rail.
First with 2x Red Terminals, then 2x Black Terminals and an Endcap, 2x Red Terminals and an Endcap, 2x Black Terminals and an Endcap and finally locking it all together, a Ground Terminal.
Step 16
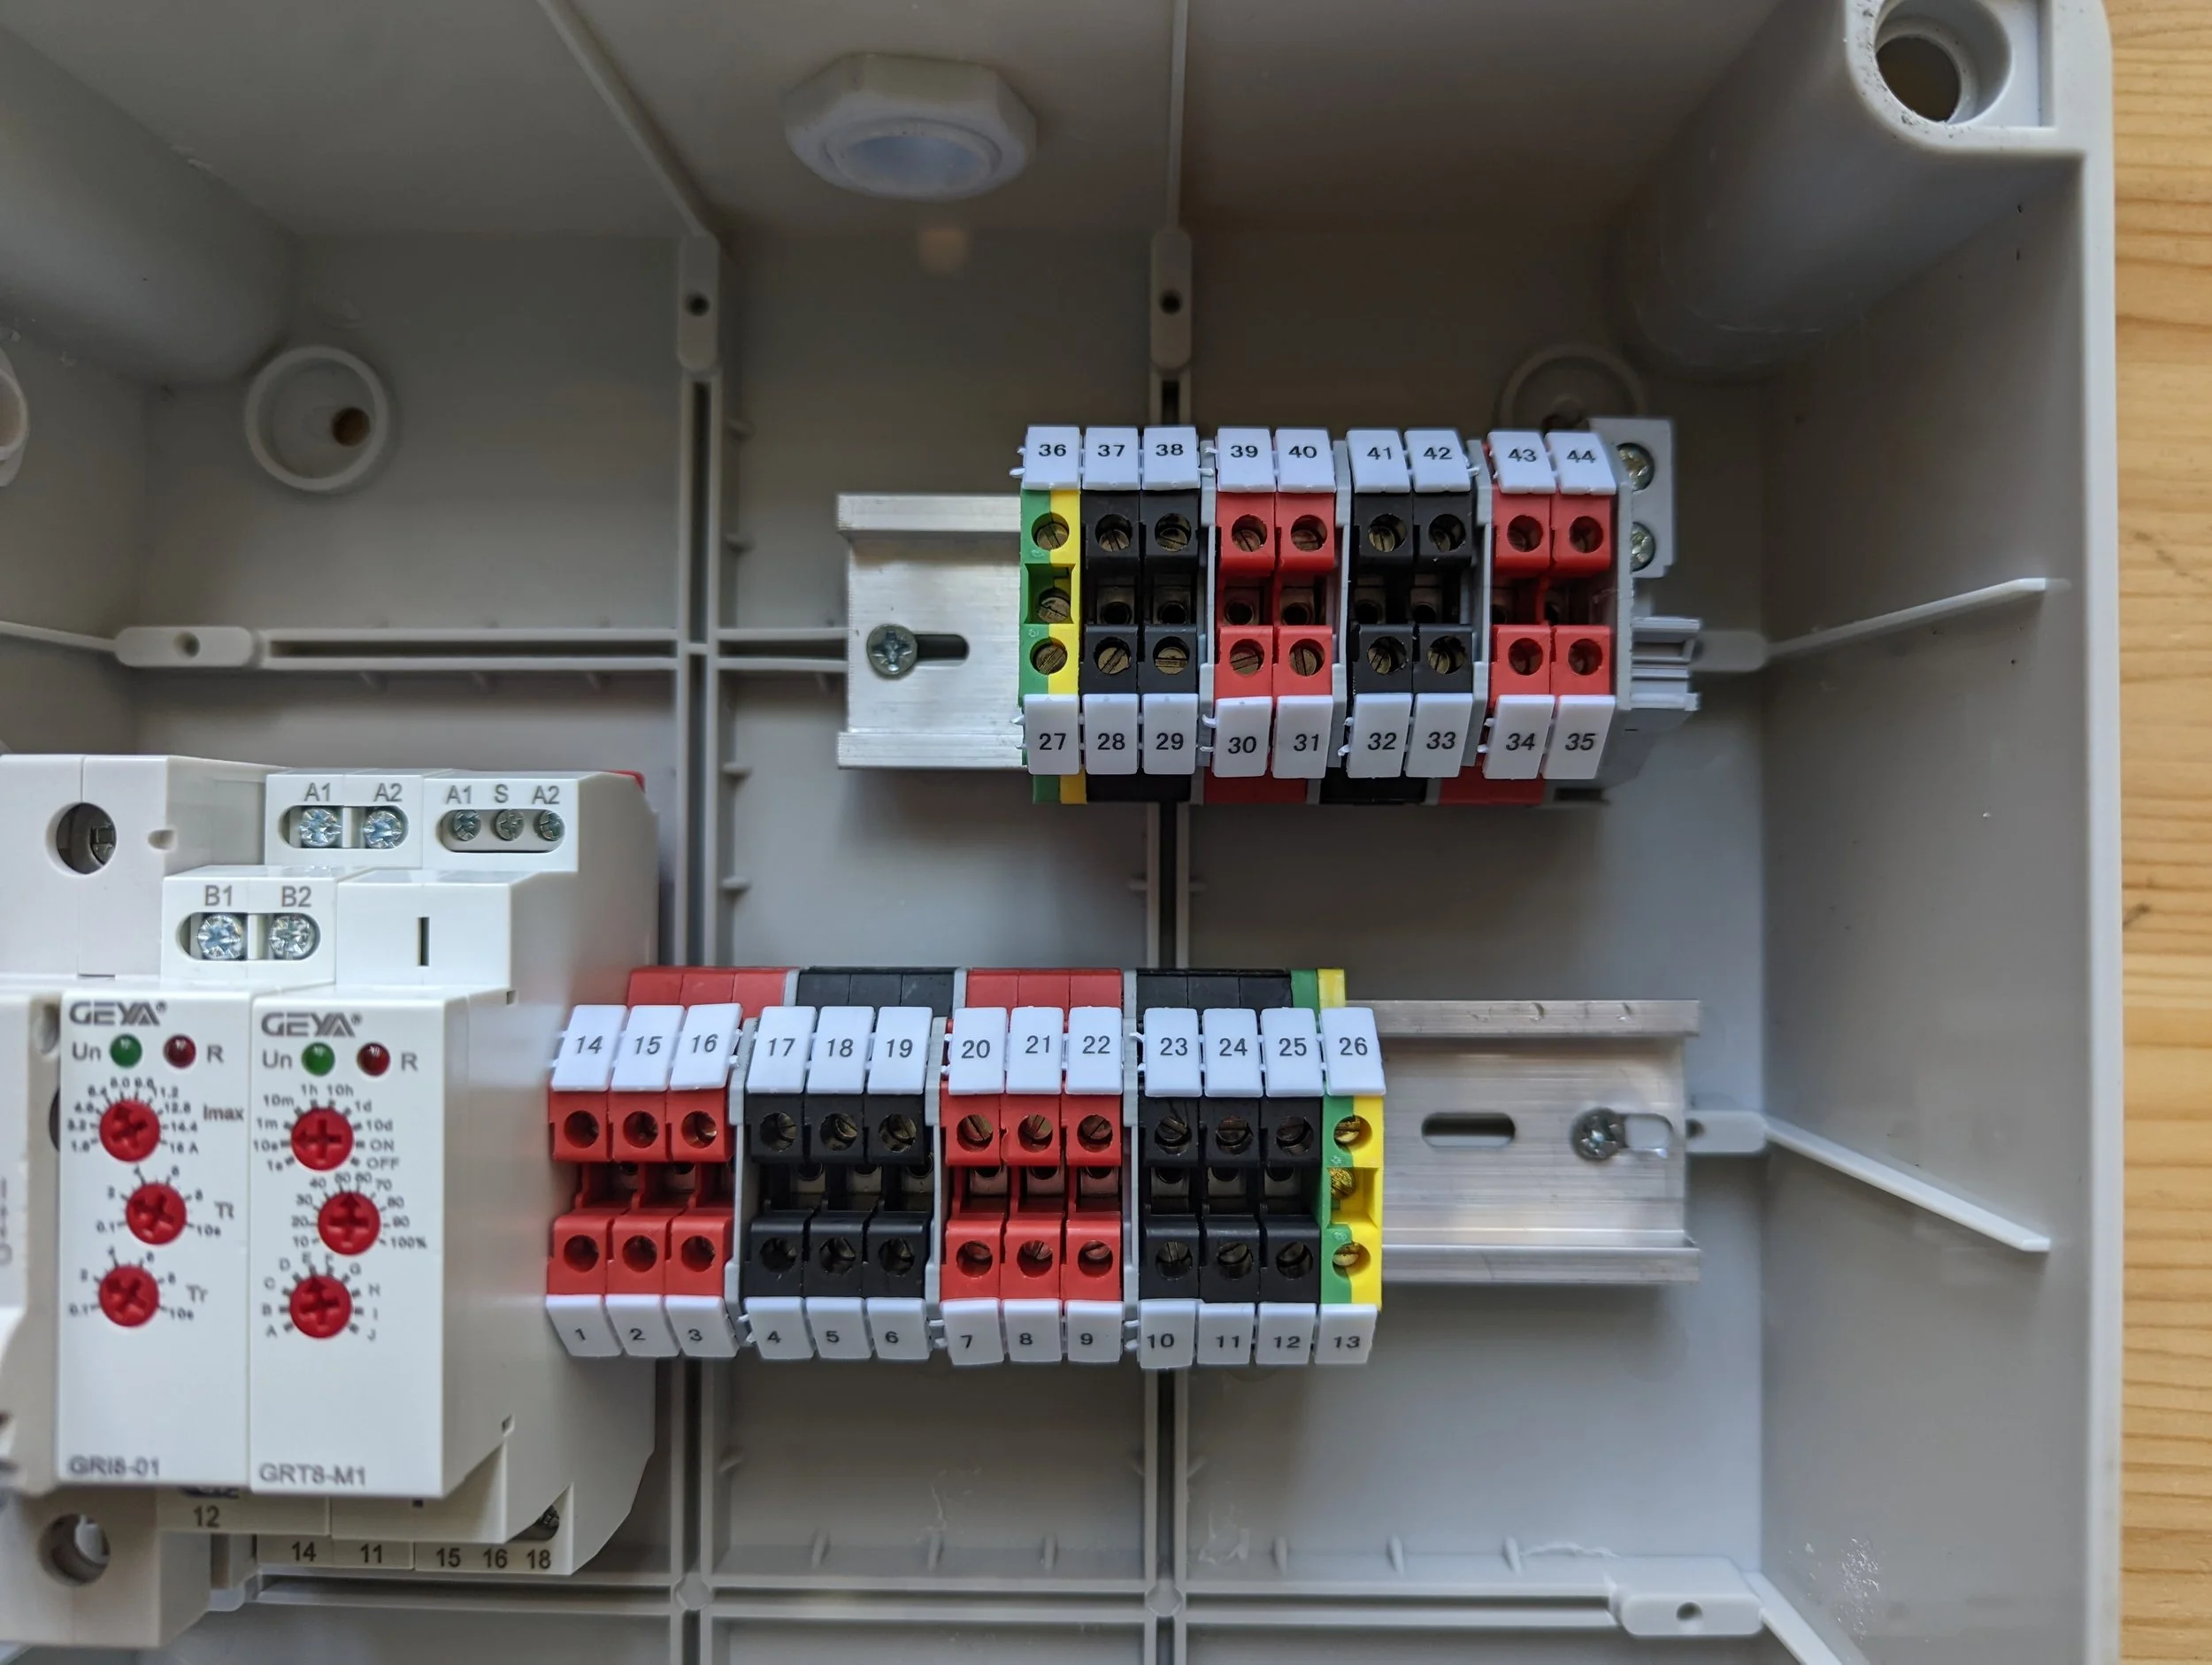
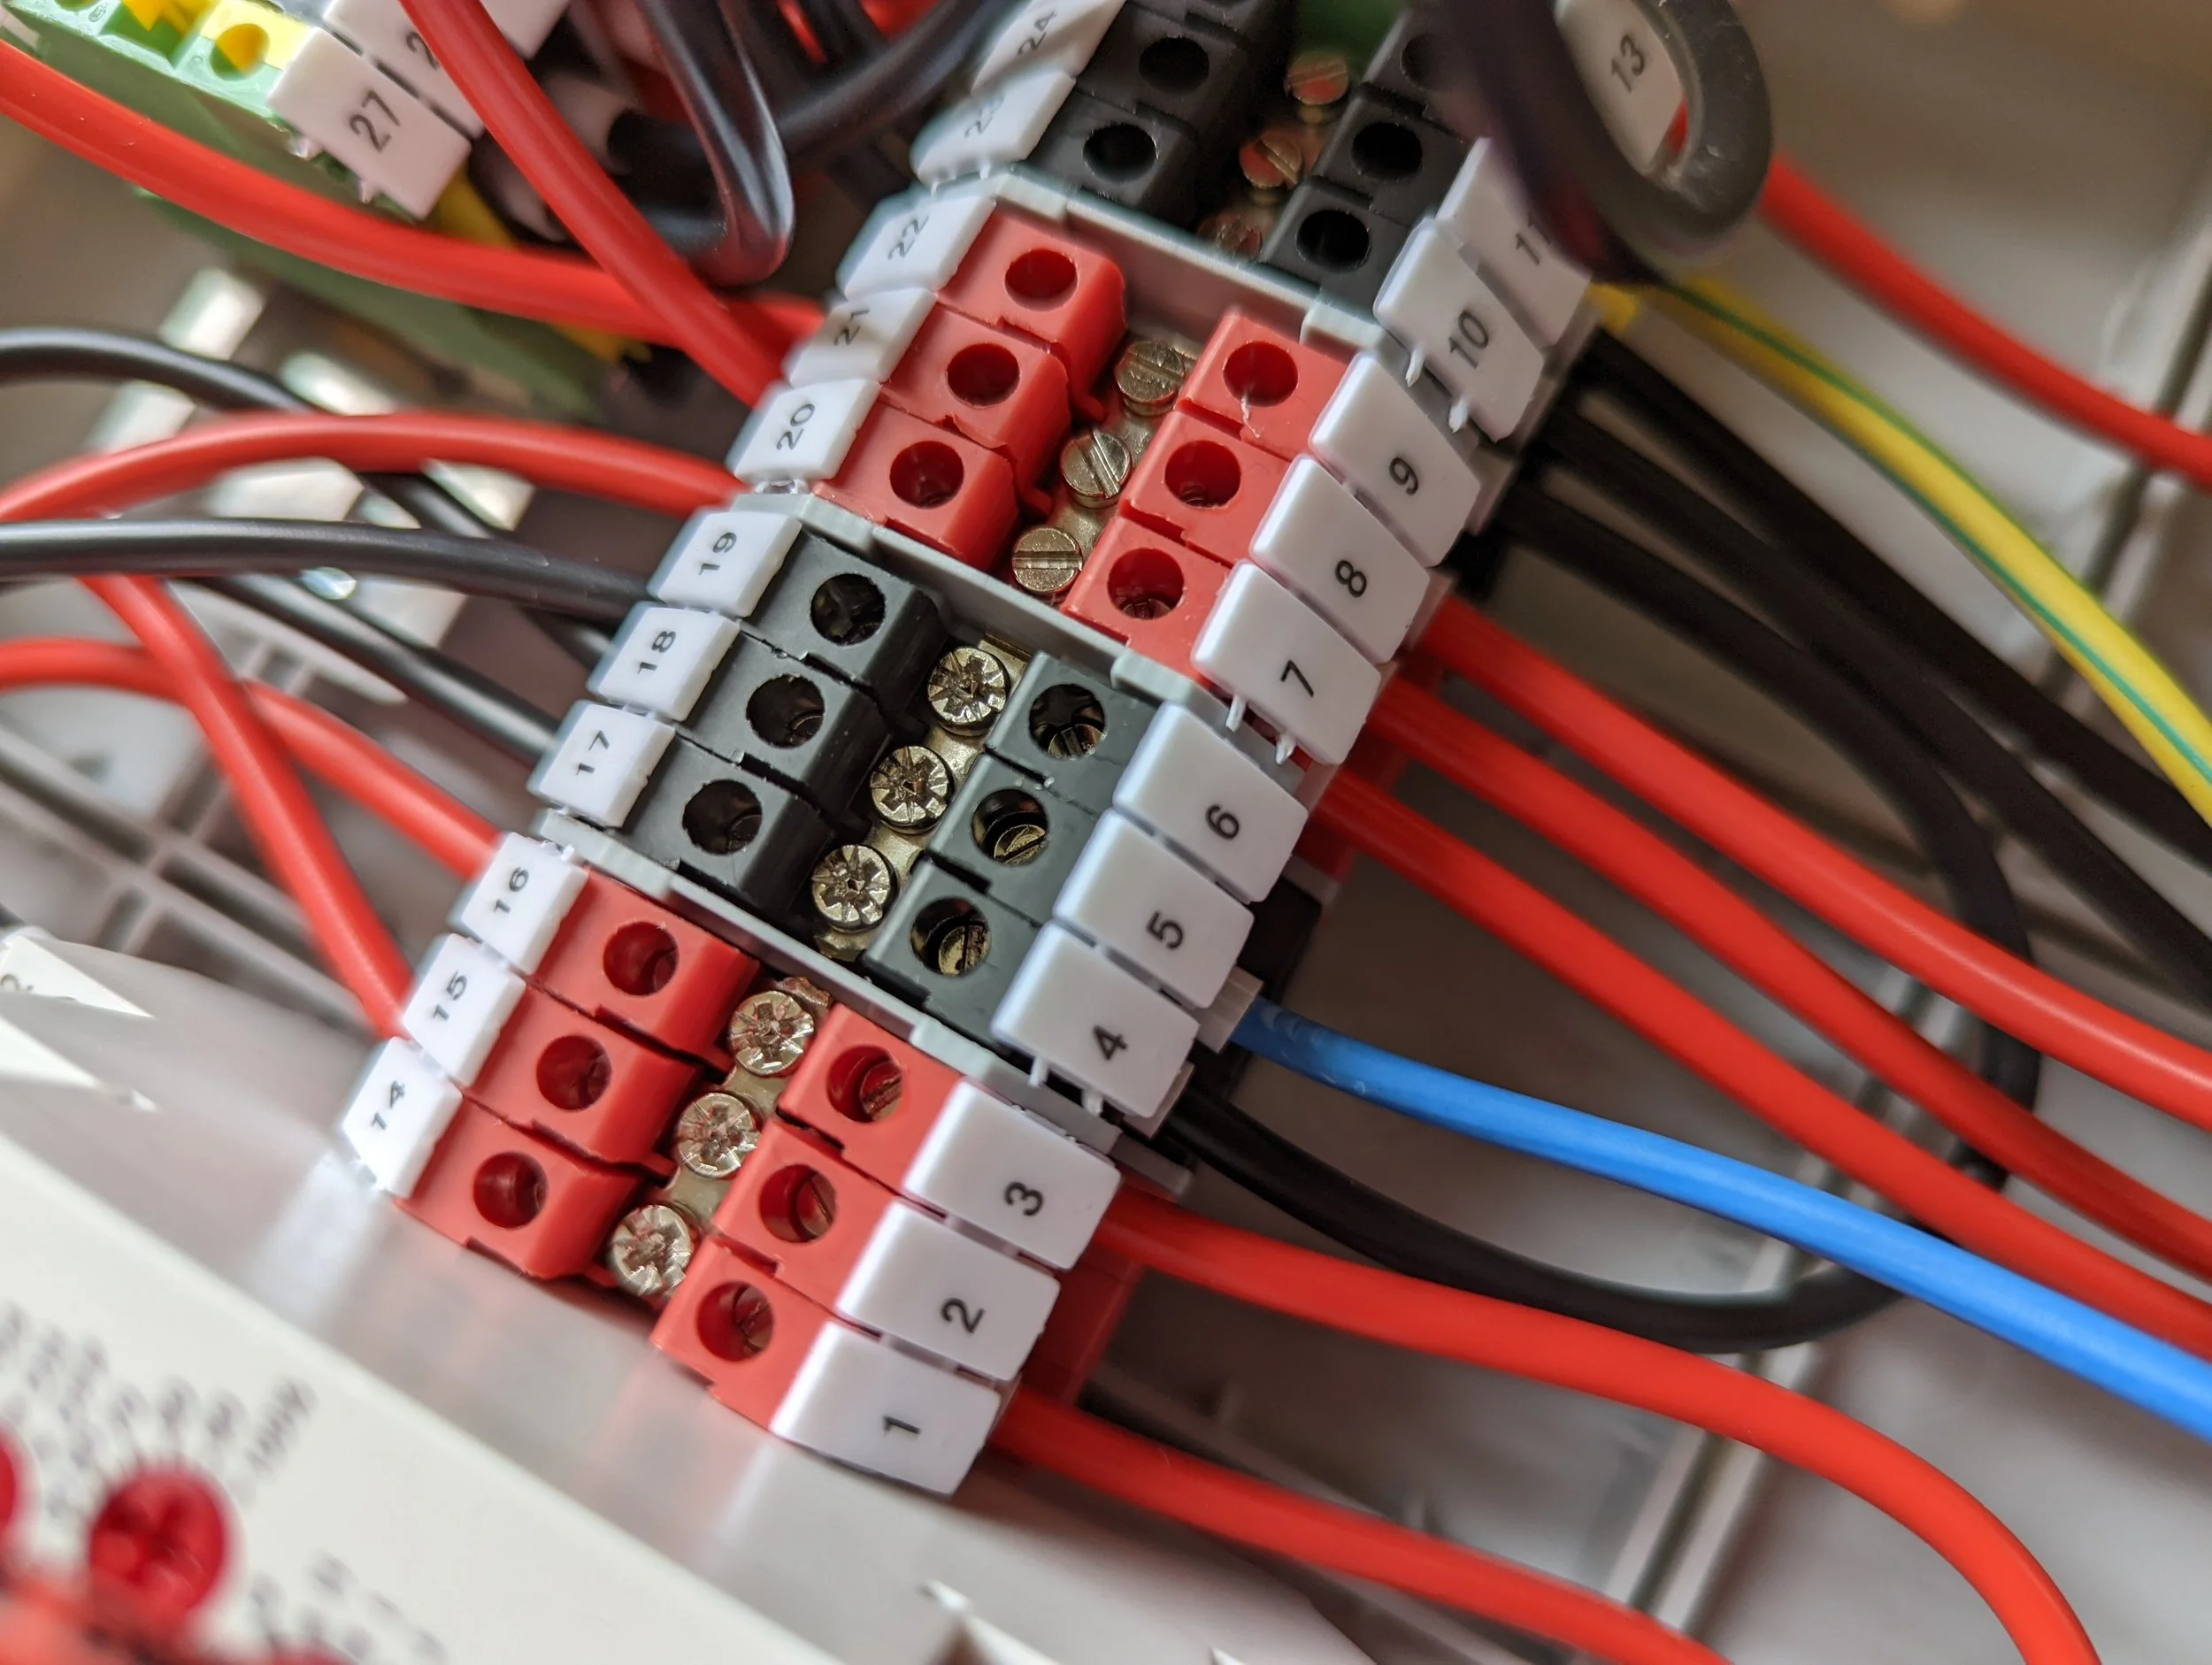
To make the following wiring easy to follow, please label all the terminals by inserting the numbers in the order shown. These number blocks are best cut in groups (of 3 and 4) and placed in place.
Bottom Row should be 1-13
Second Row should be 14-26
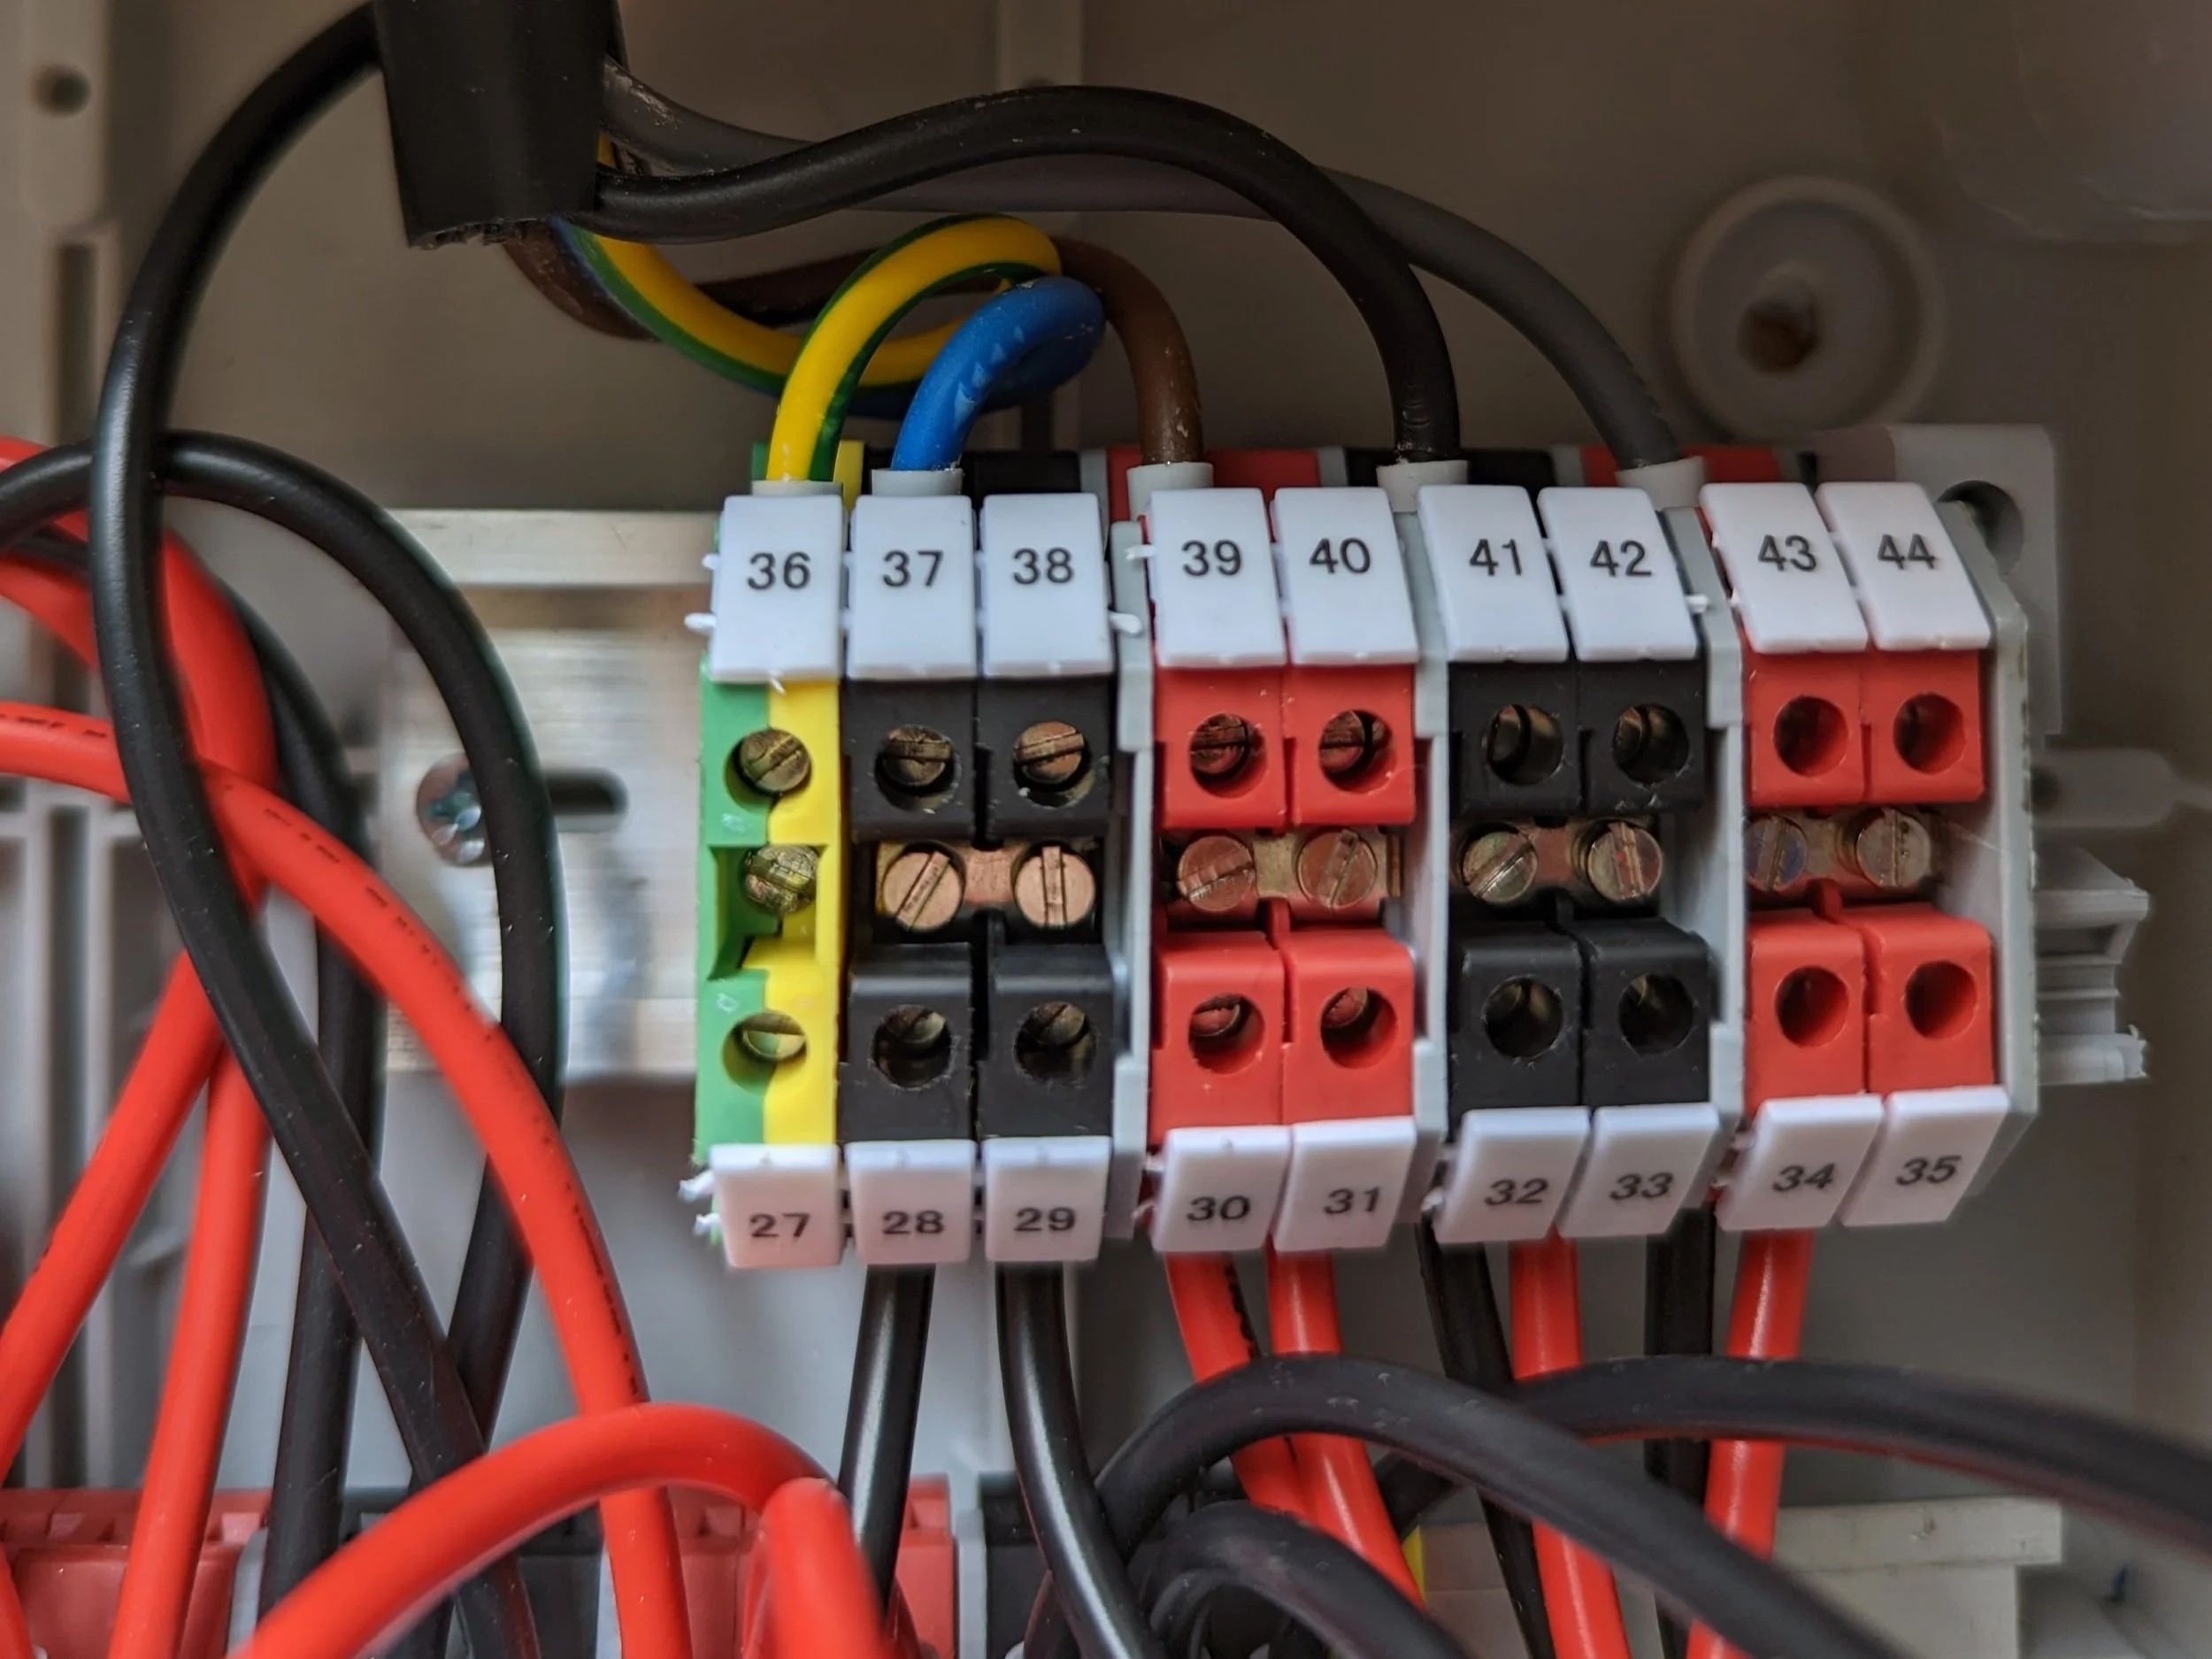
Third Row should be 27 - 35
Top Row should be 36-44
You will have some spare numbers left over, don’t worry about these.
Step 17
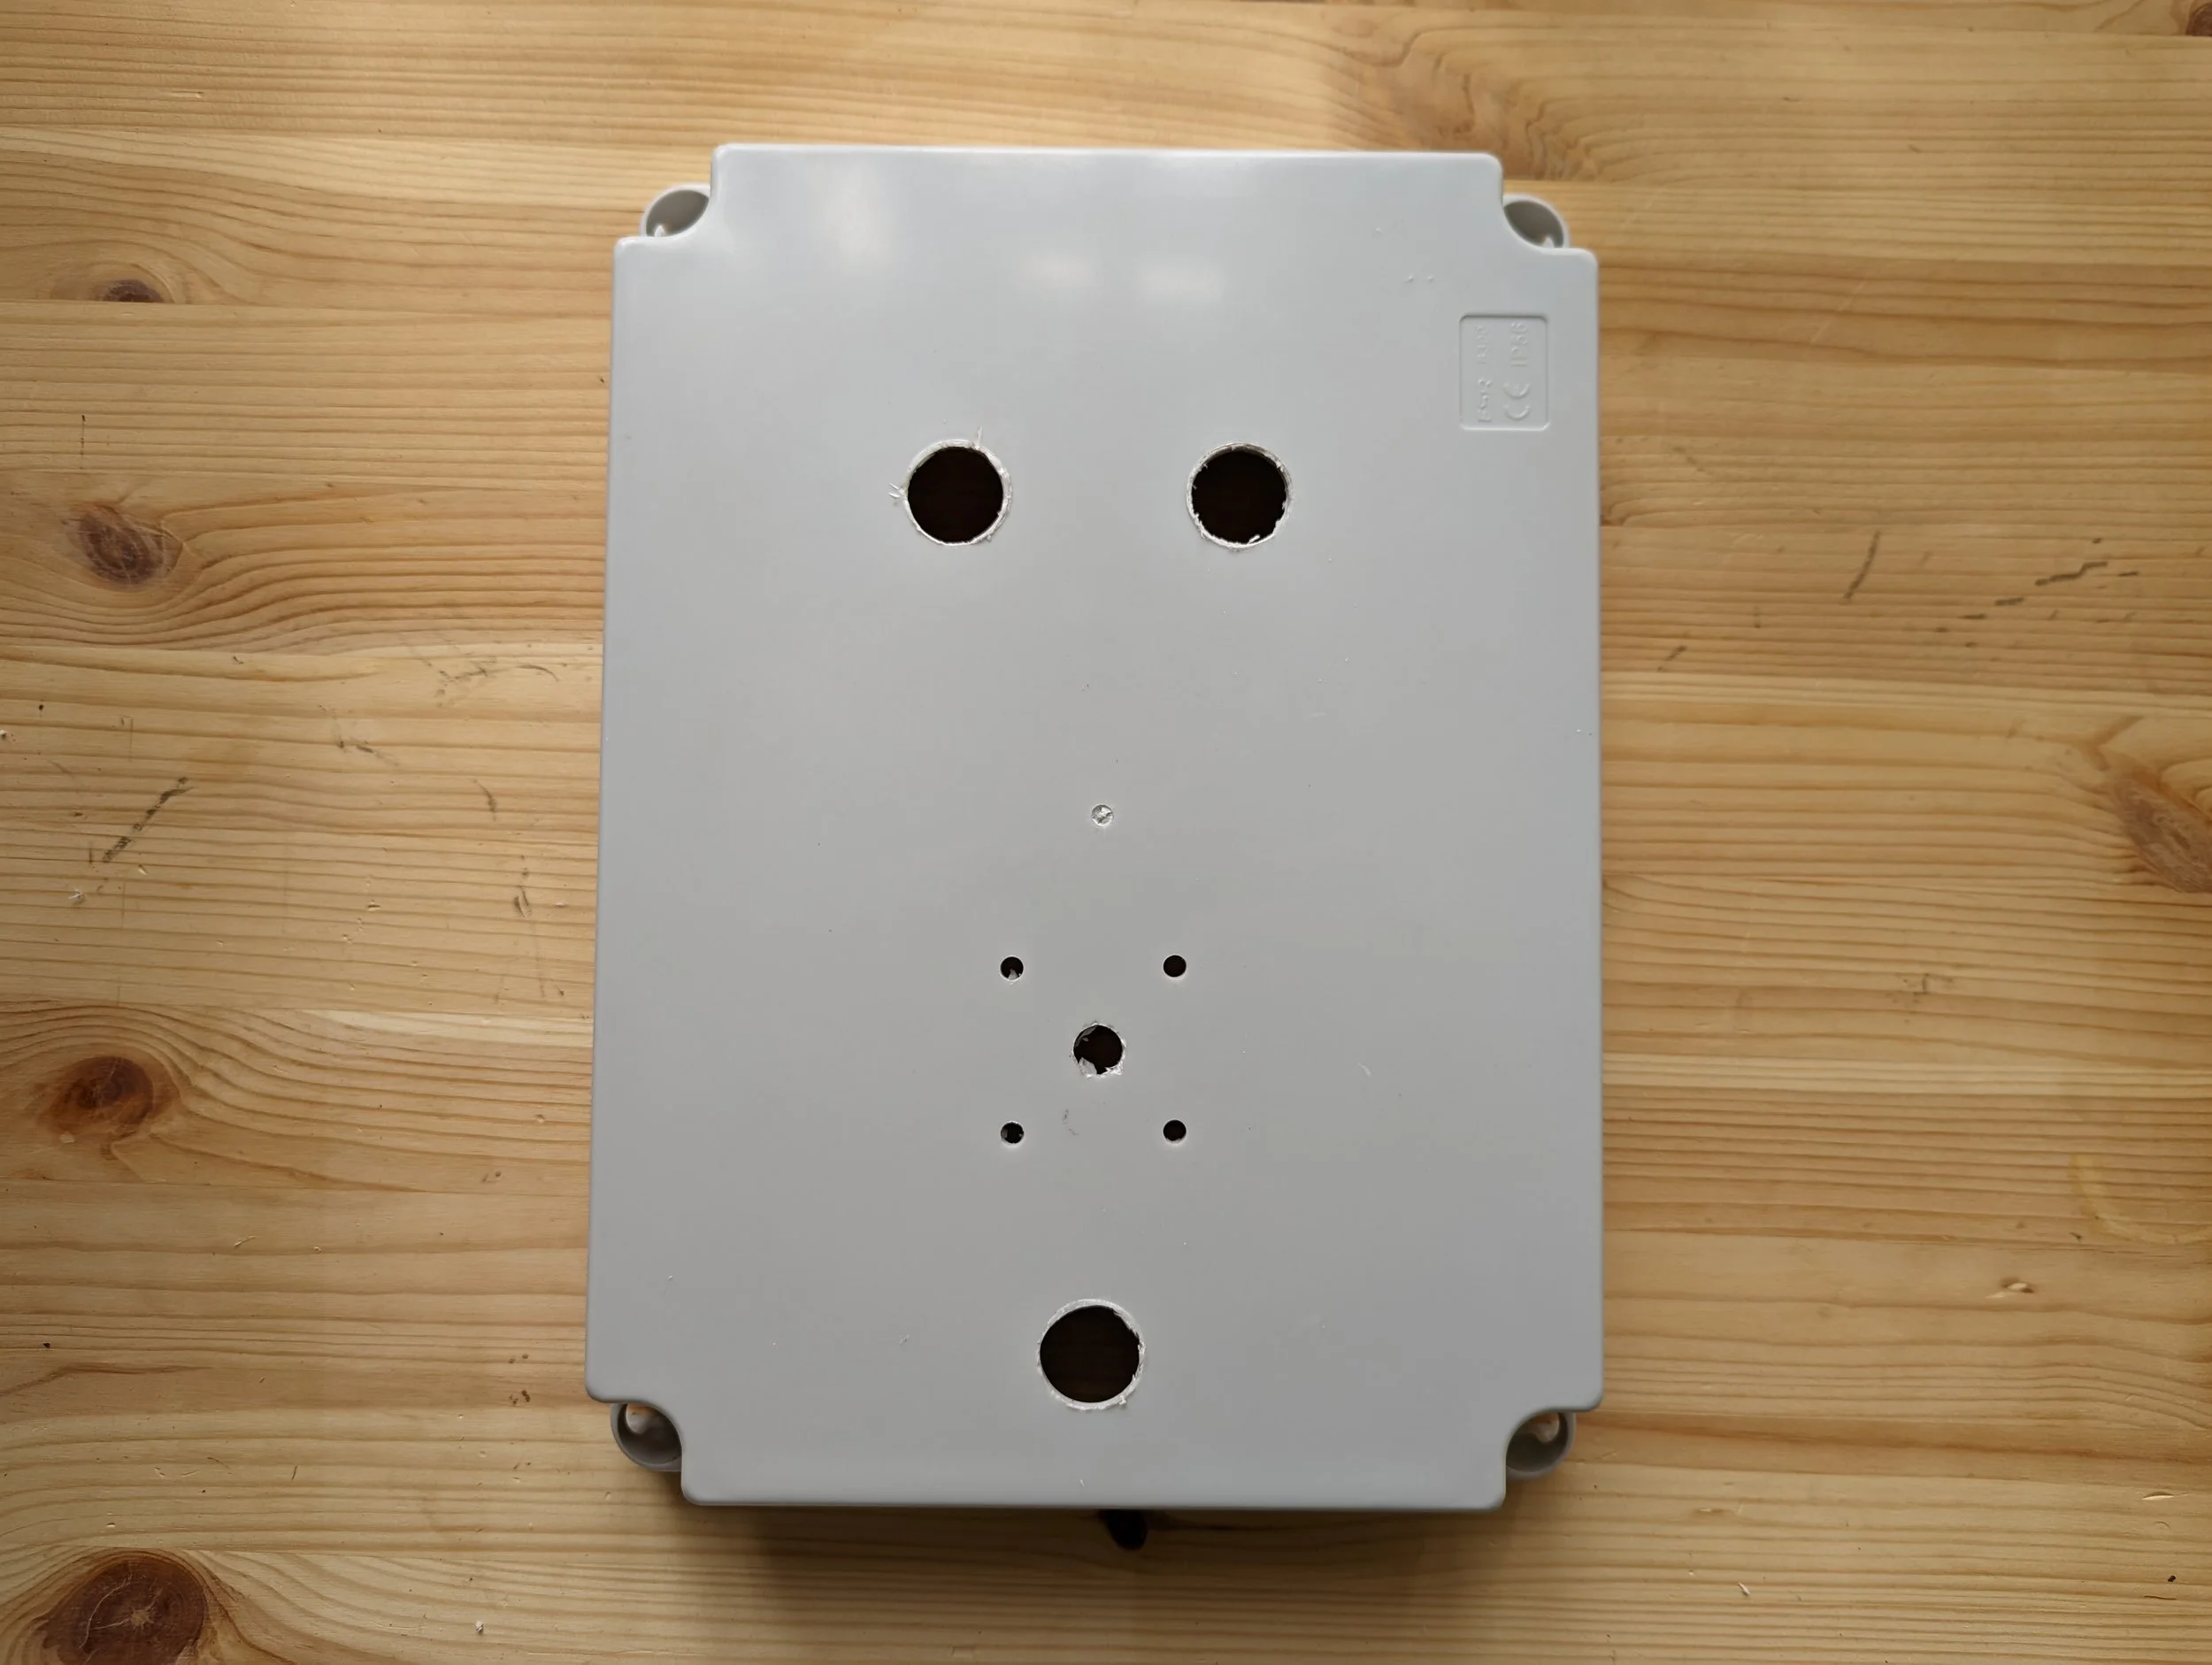
Now we will move on with preparing the cover and its components.
Step 18
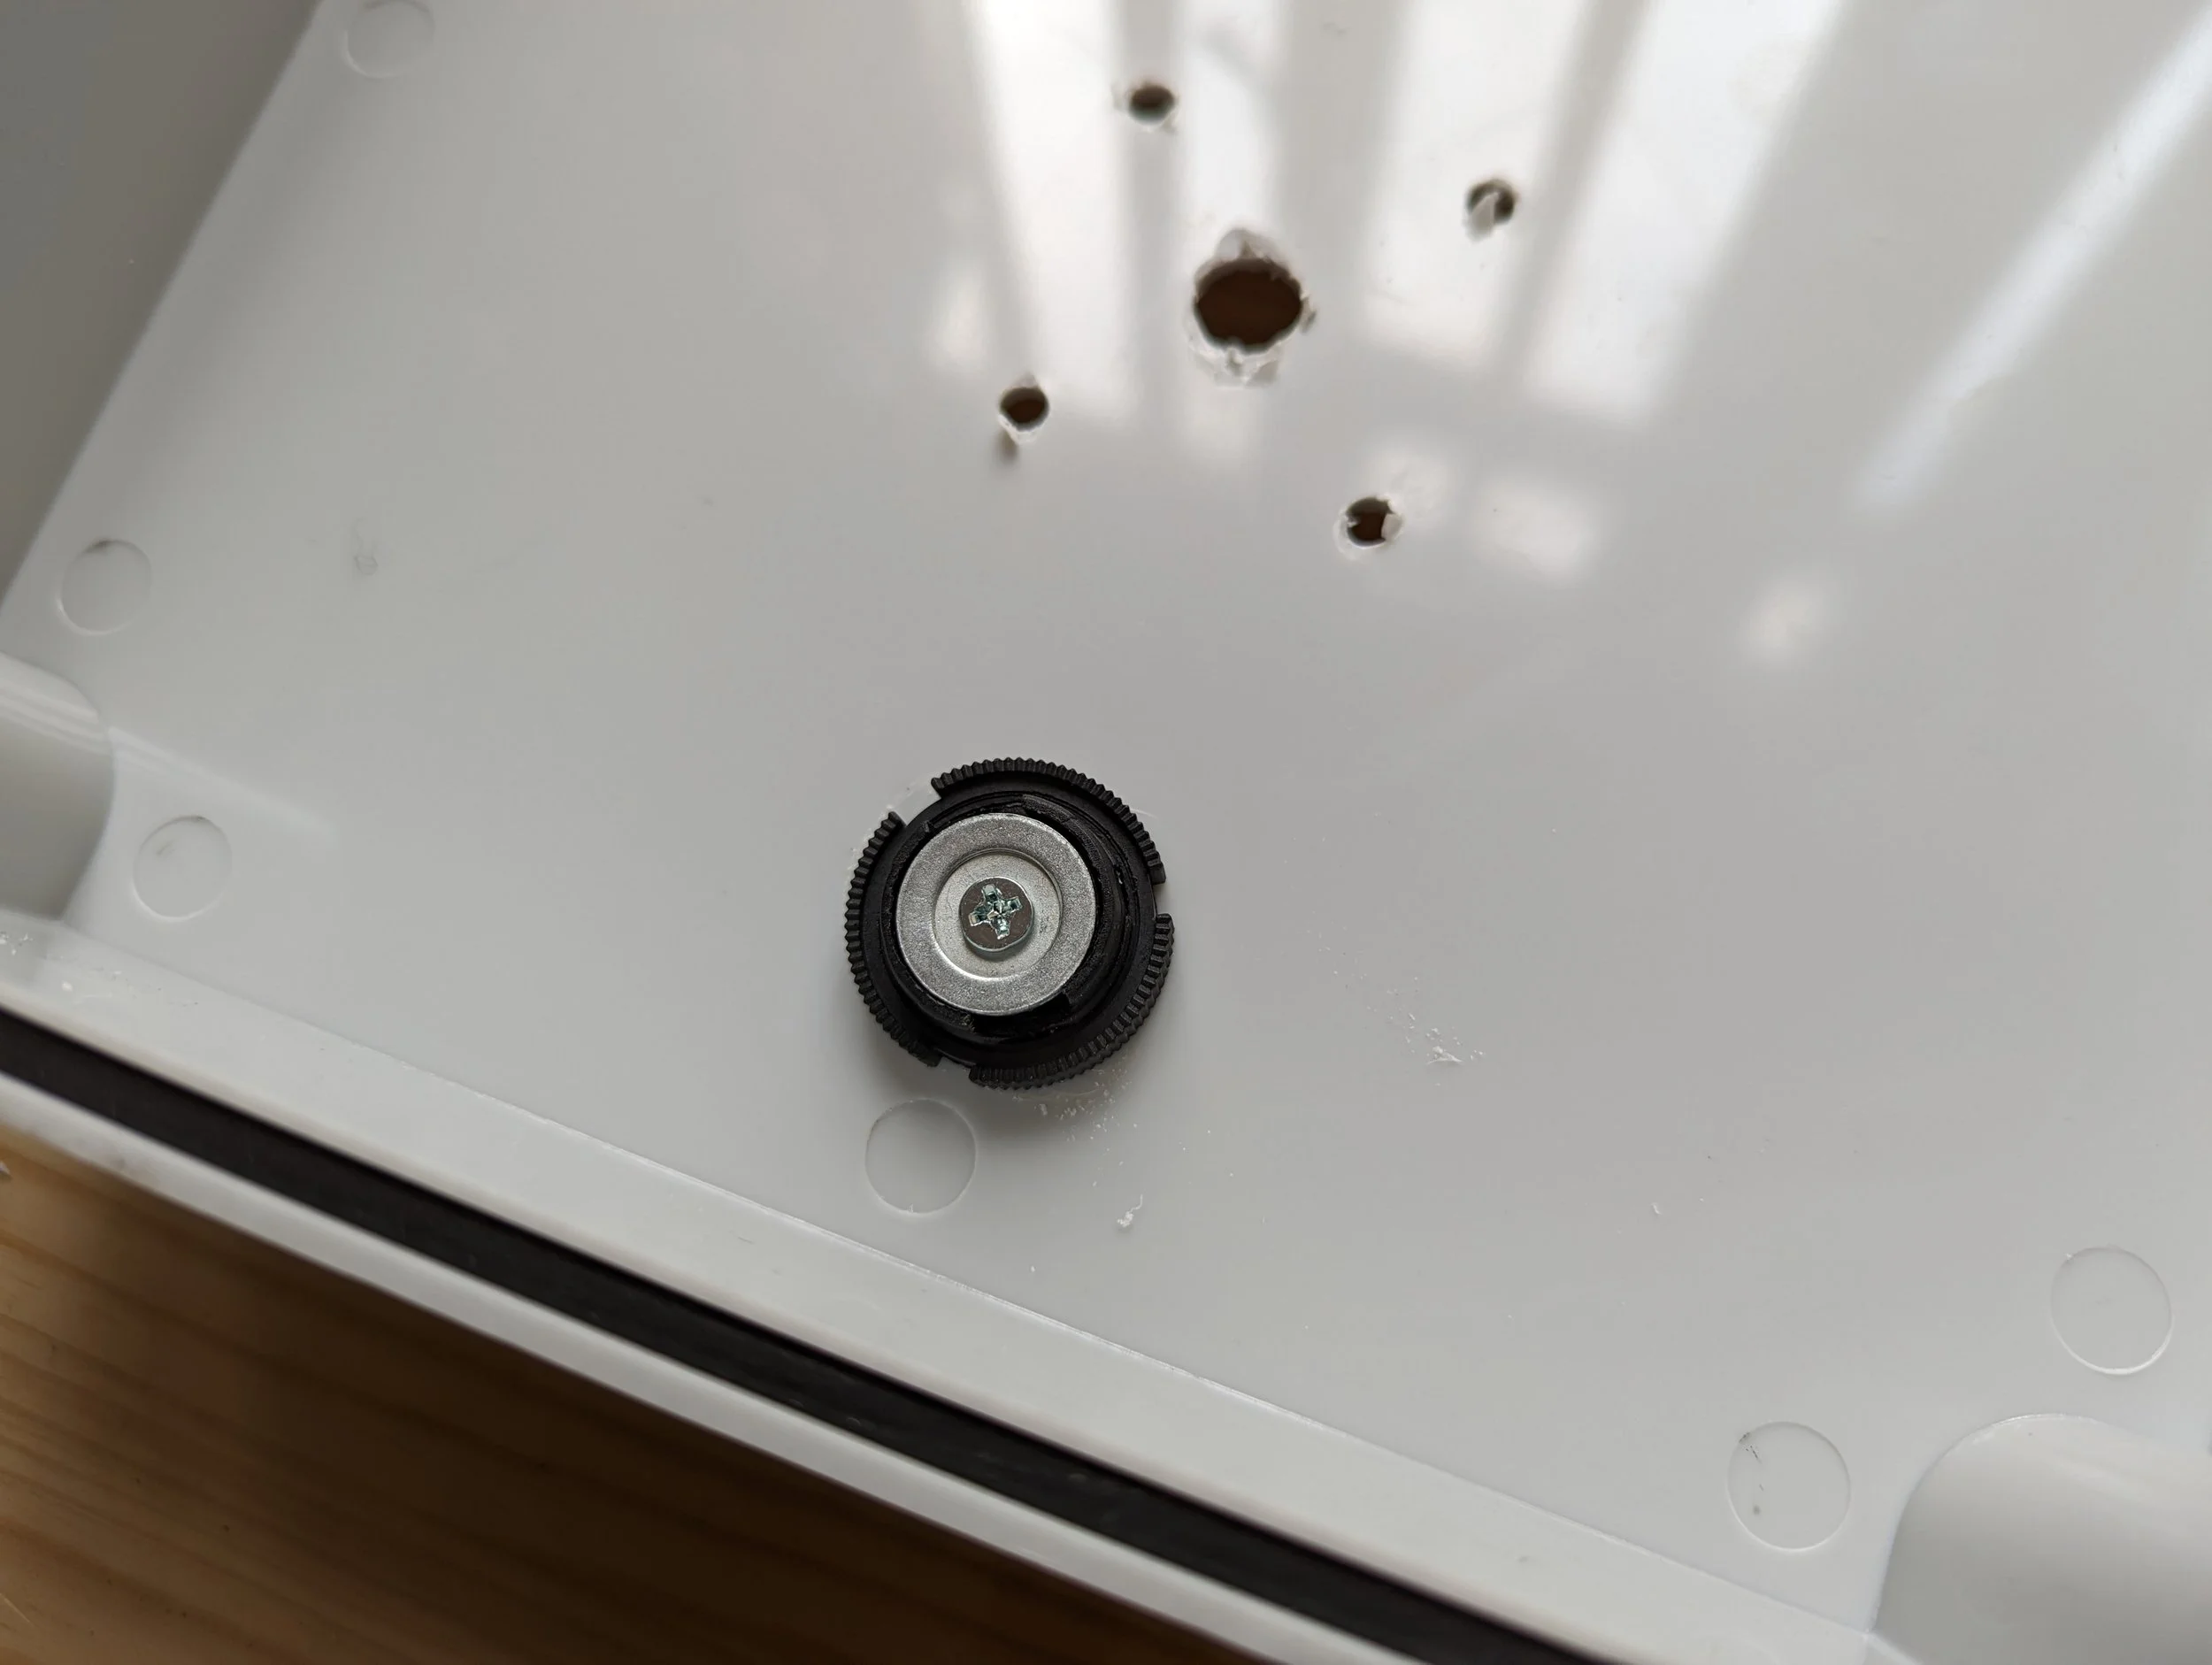
First we will start with the Emergency Cut-off Switch. First remove the round nut and place the switch through the hole.
Step 19
Then screw the nut on clamping the switch firmly in place.
Note: This should be hand tight.
Step 20
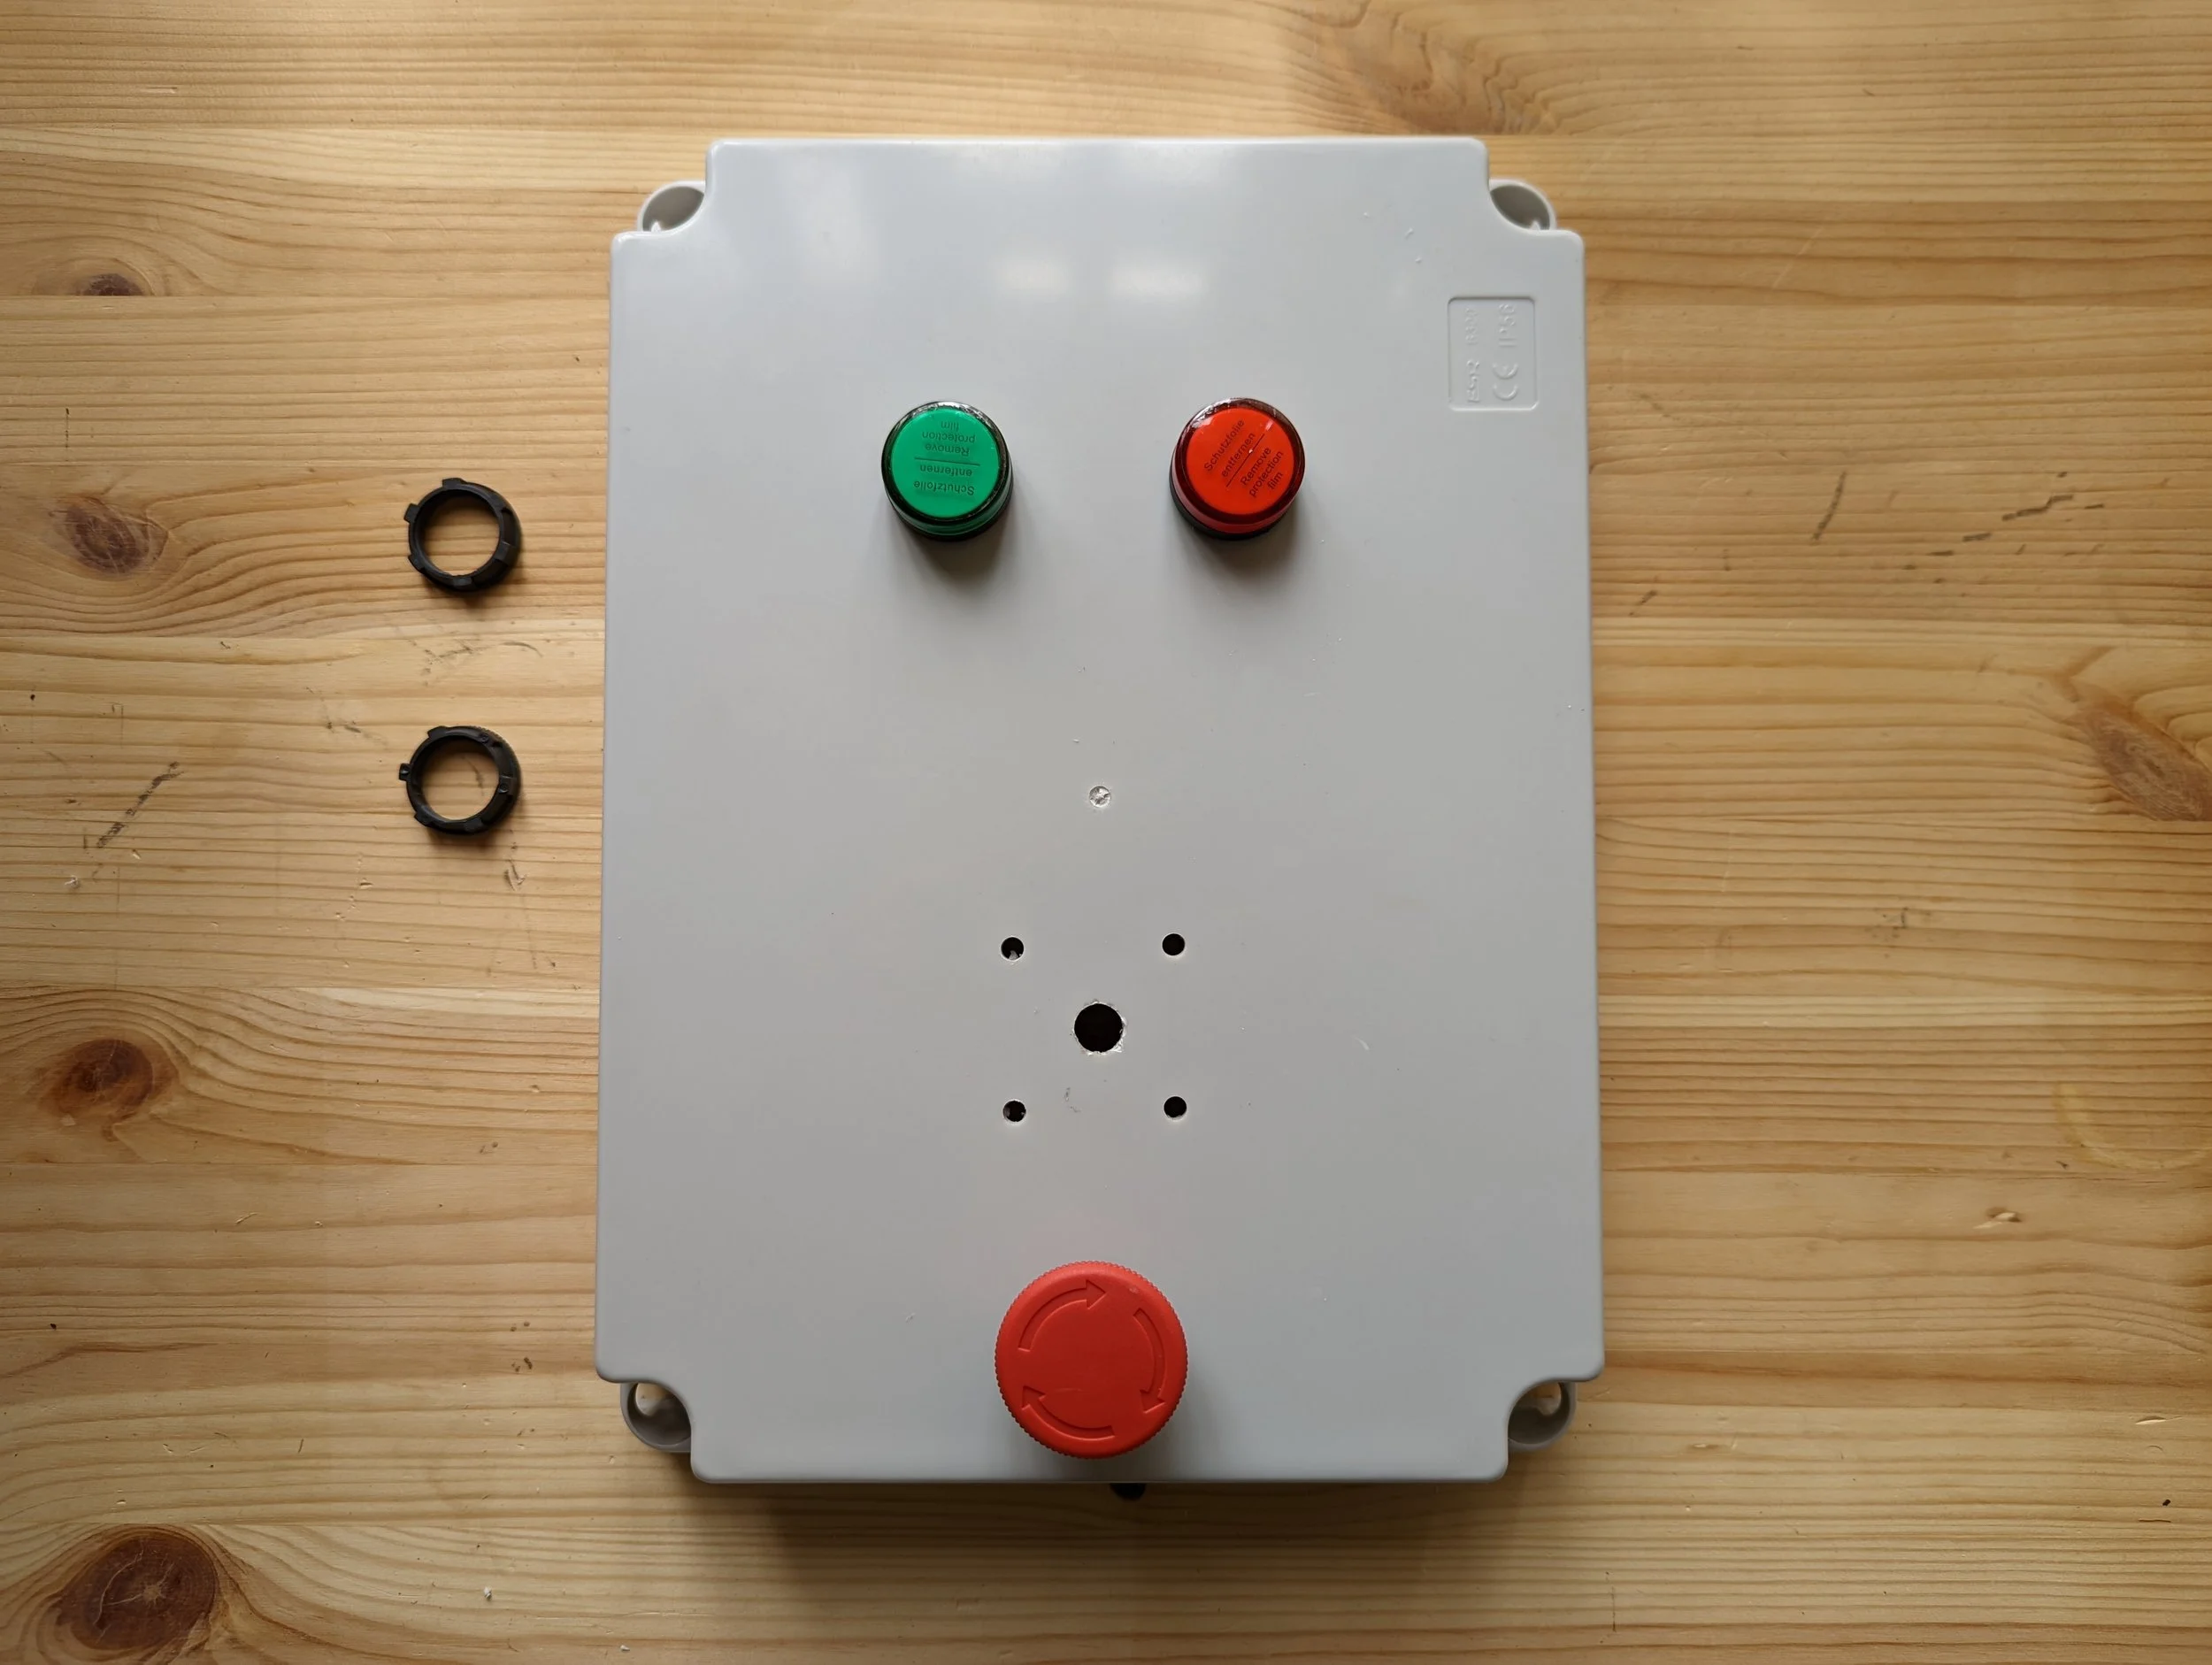
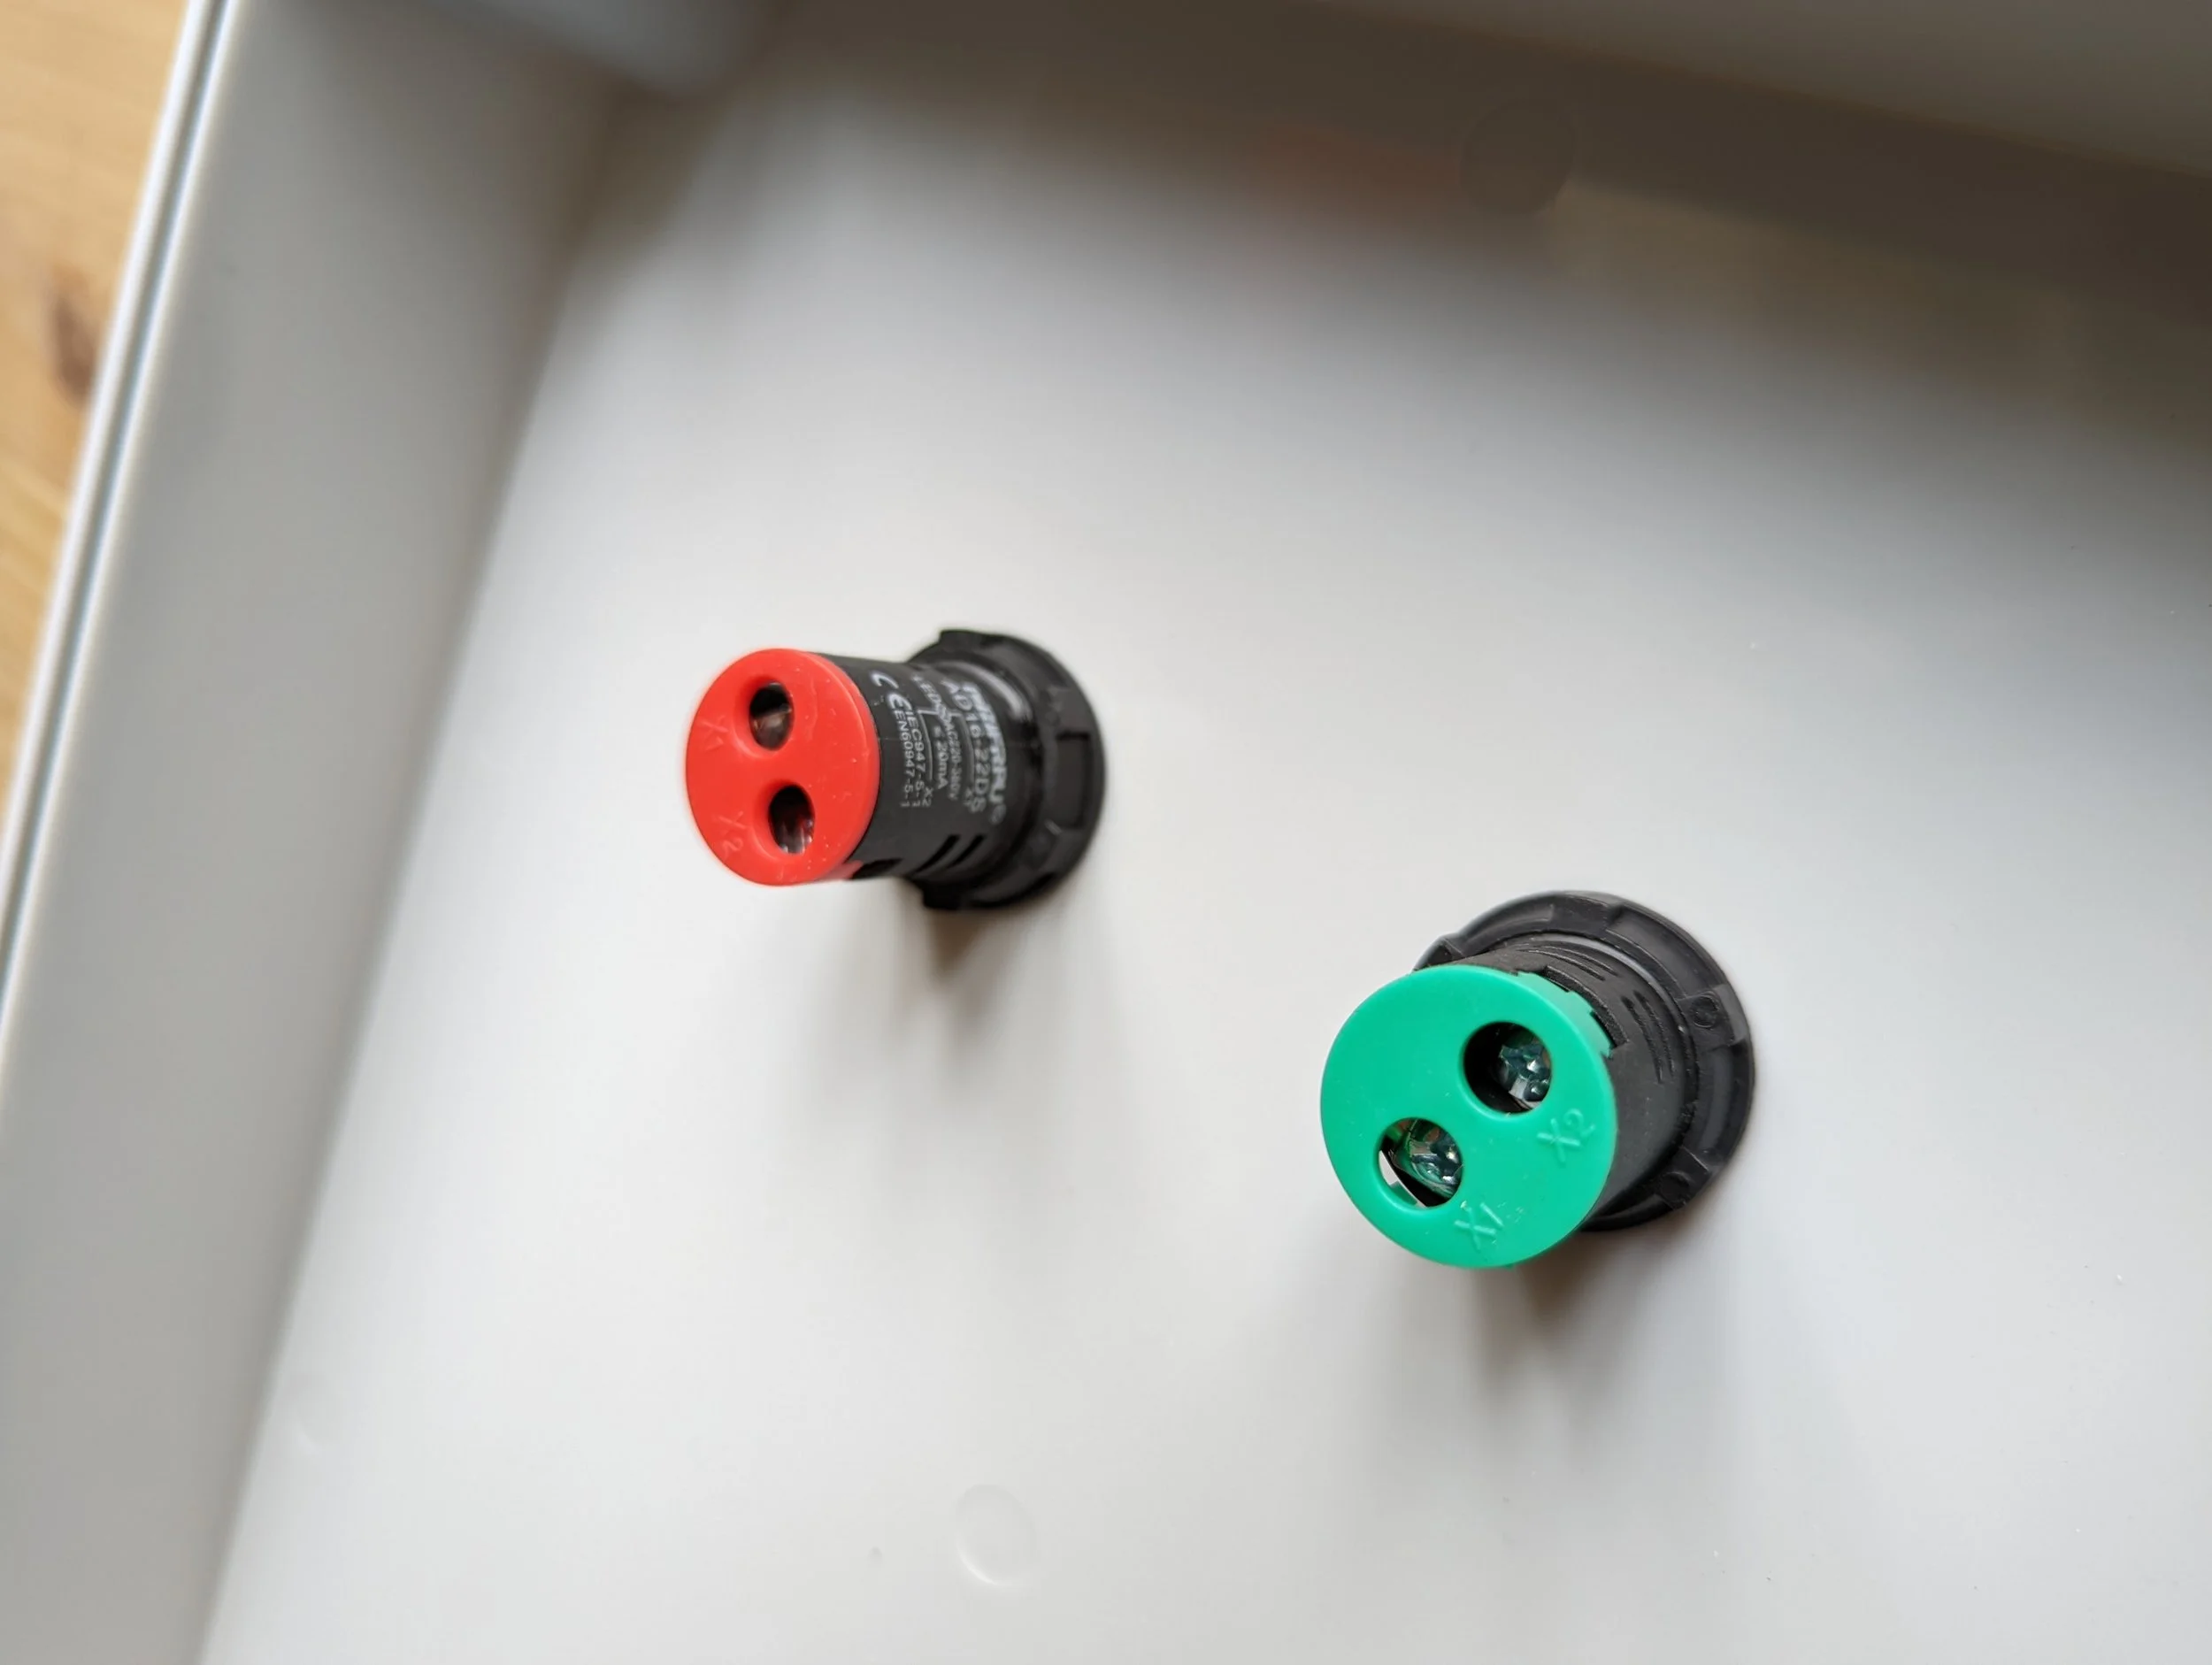
Next place the 2x LED Lights, but first removing the bolt (but keep the rubber washer) and then place it through the top hole.
Green goes on the left, Red on the right.
Step 21
Now go ahead and use the two plastic nuts to firmly secure the Green & Red LEDs as shown.
Note: These are hand tightened.
Step 22
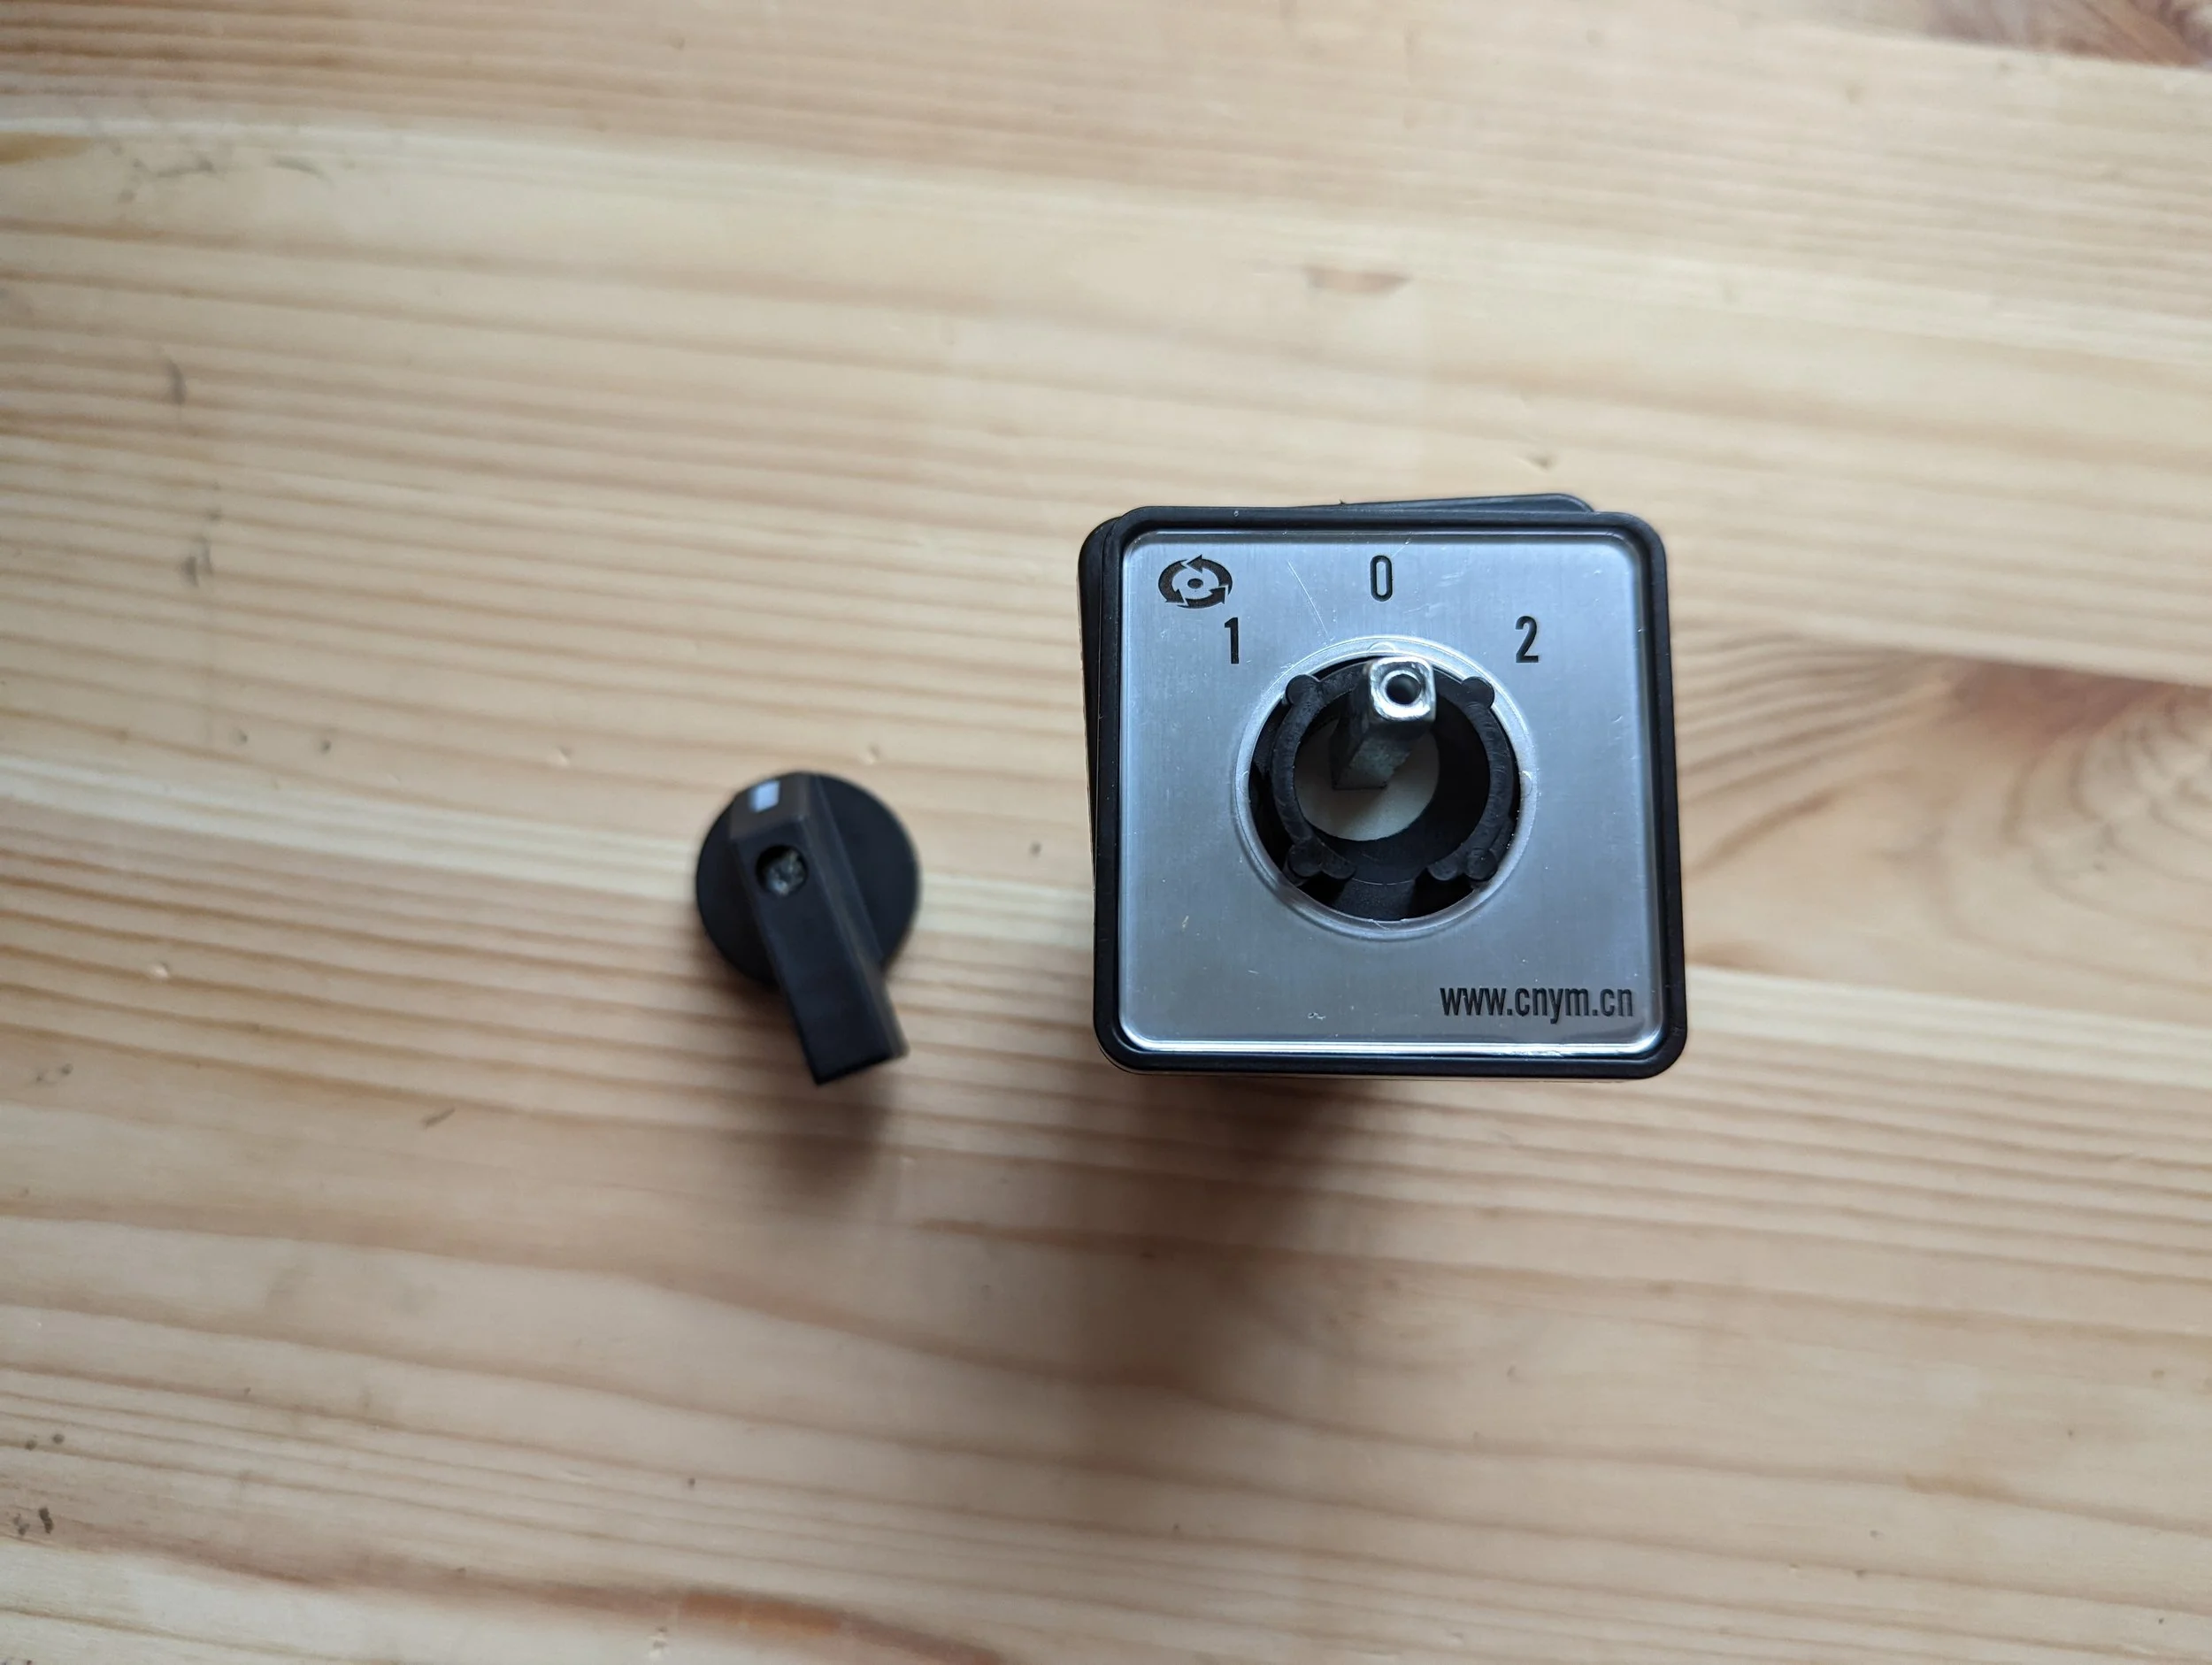
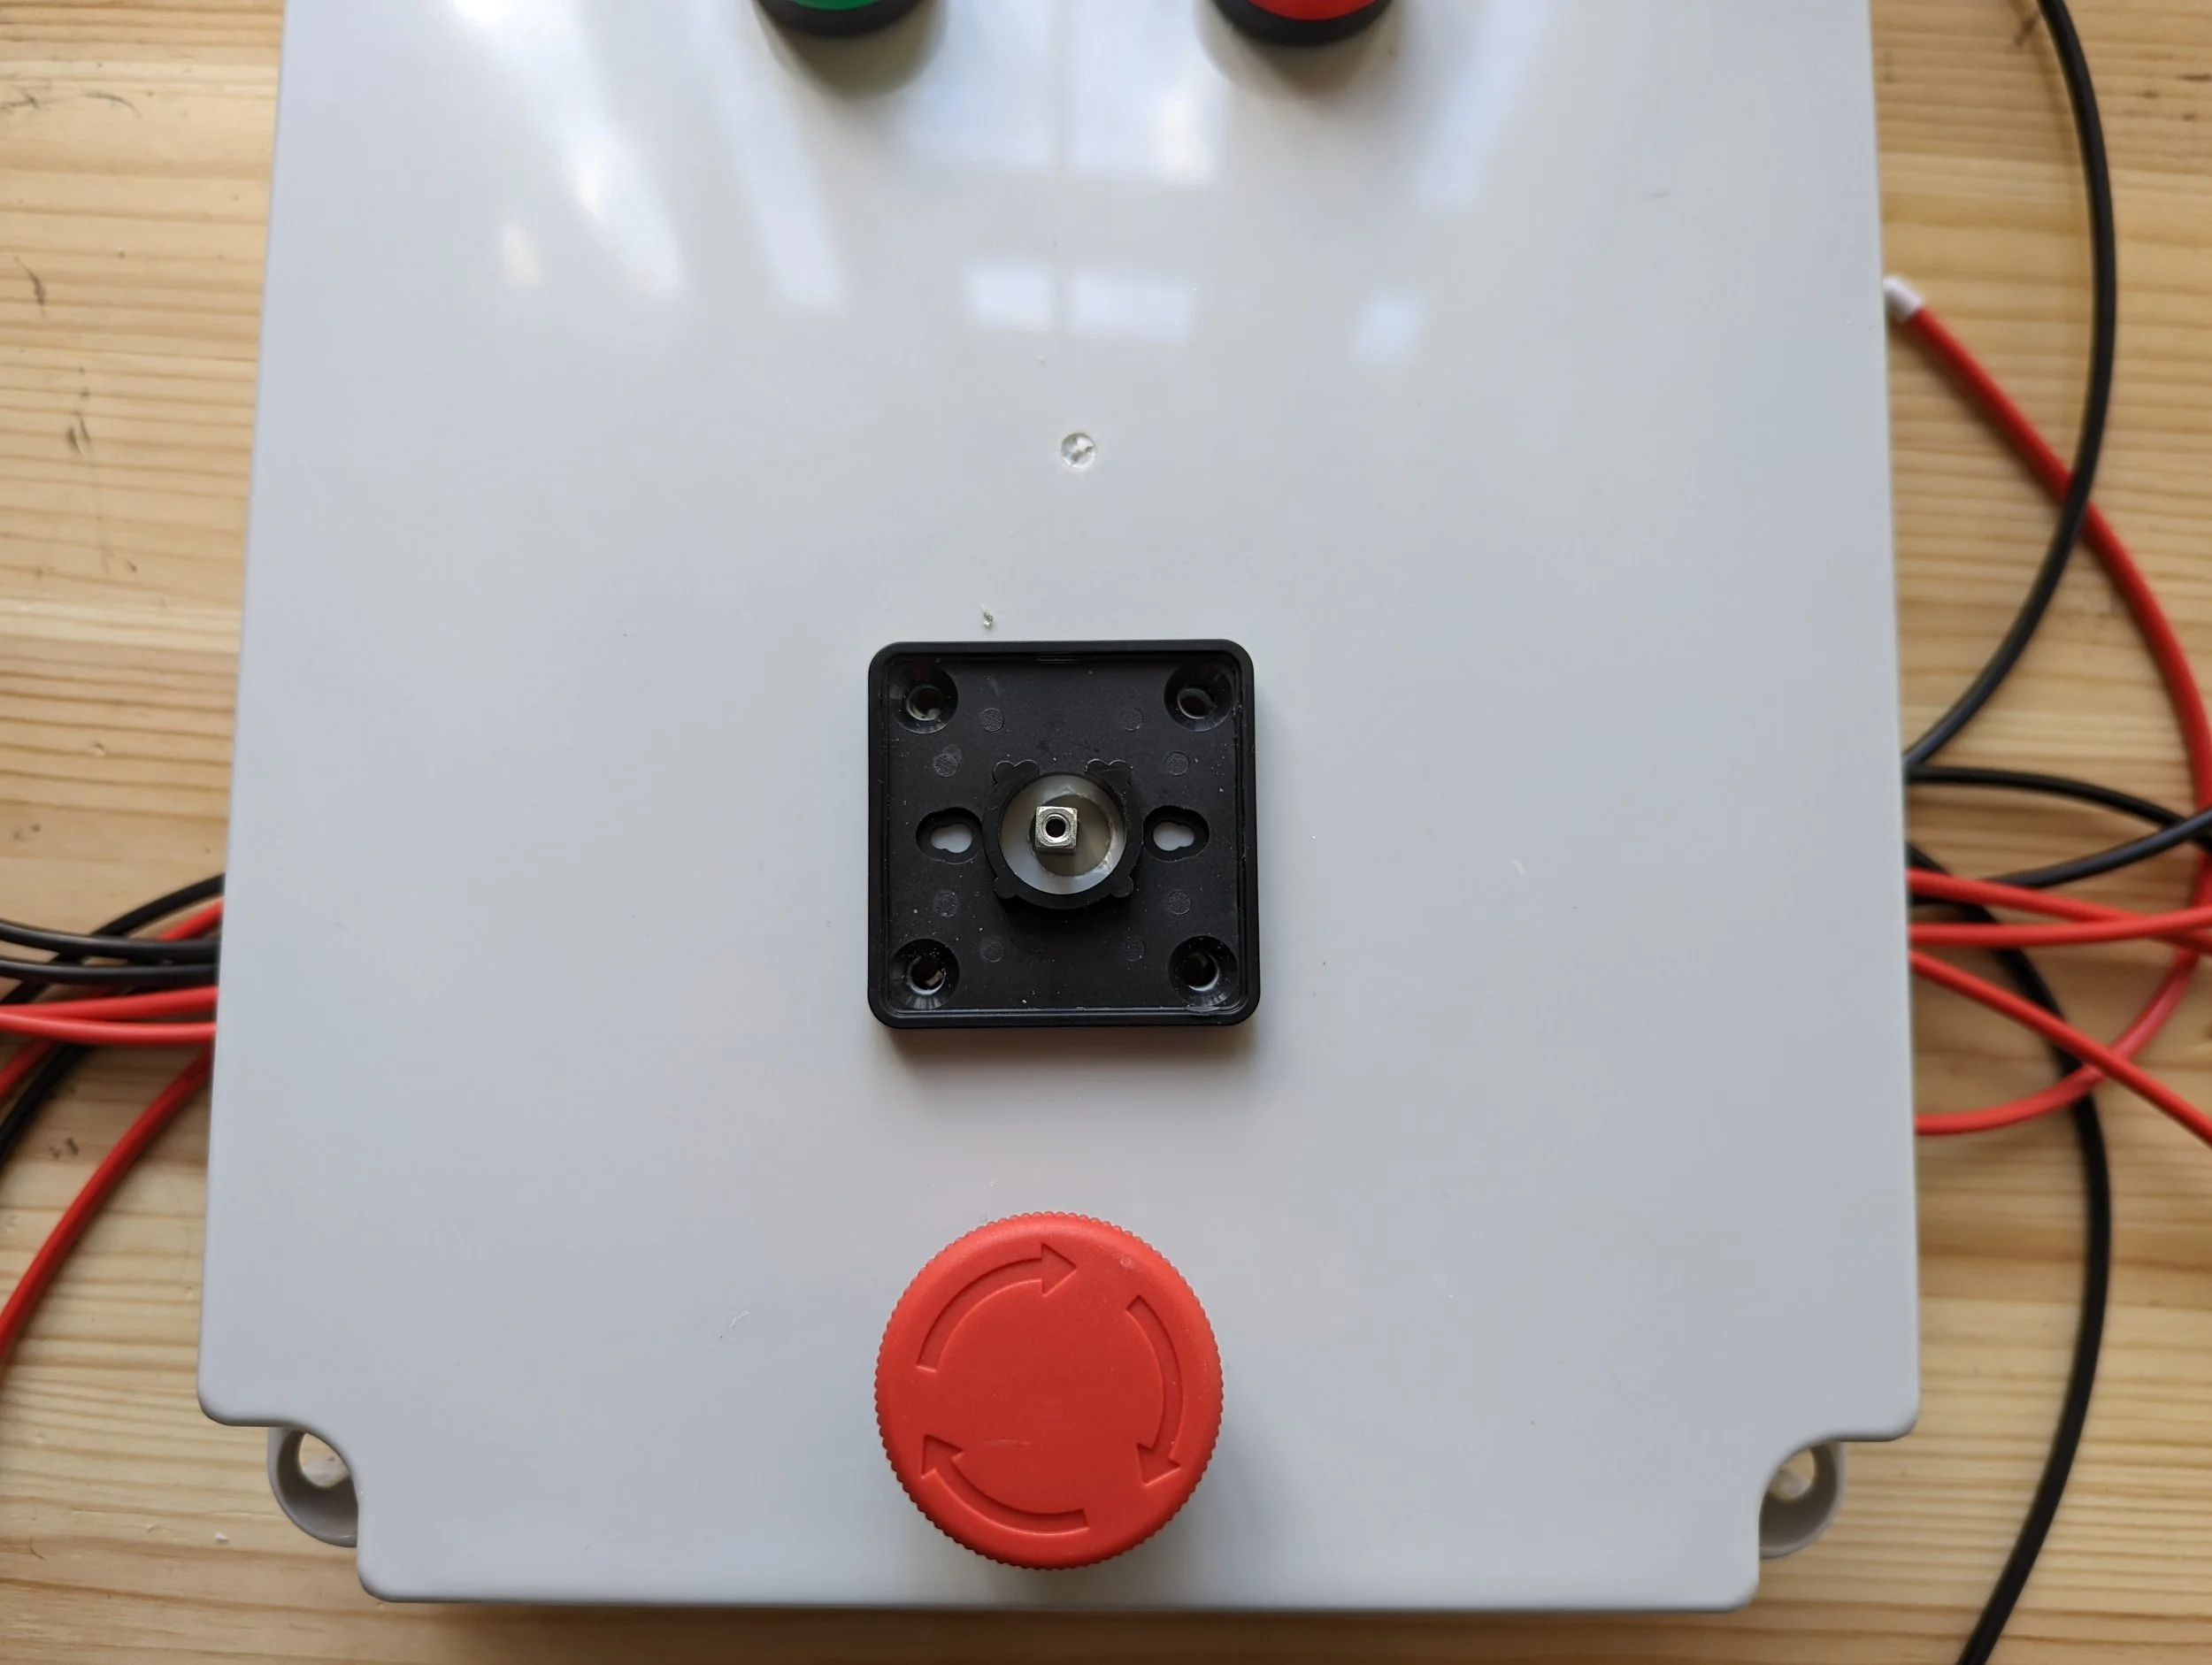
Next we are going to remove the knob from the 3-Way Switch by undoing the center screw.
Step 23
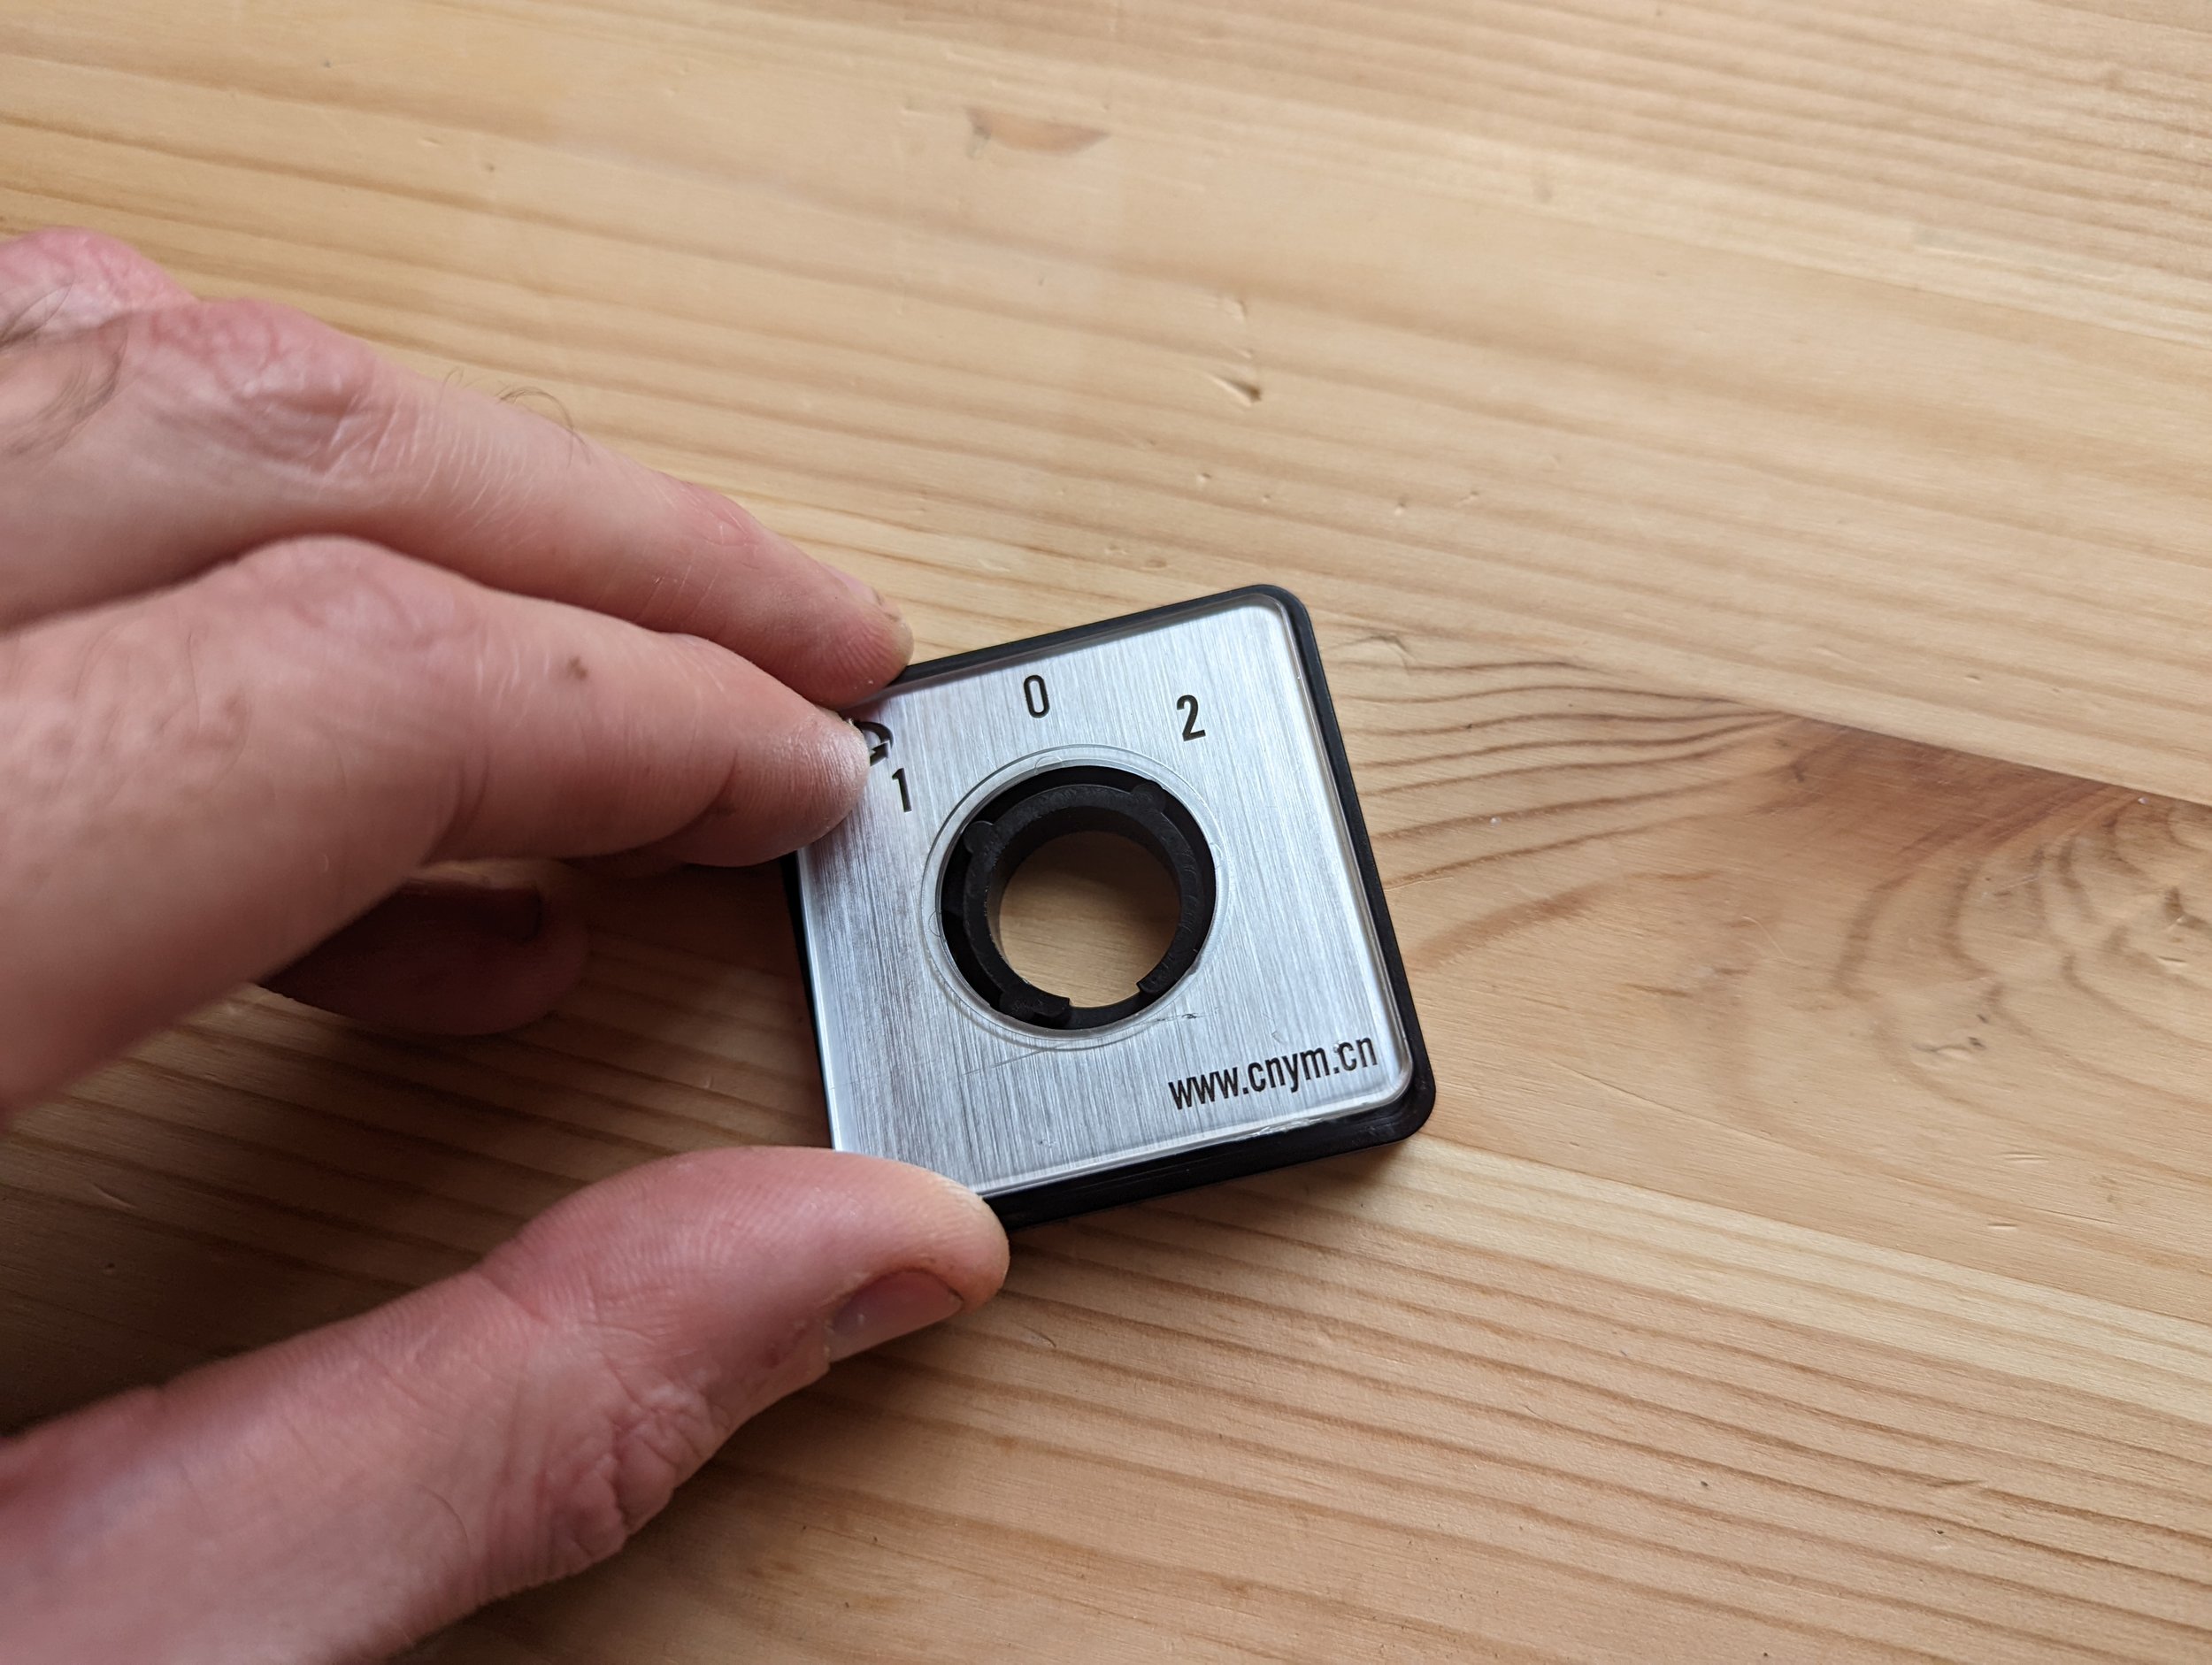
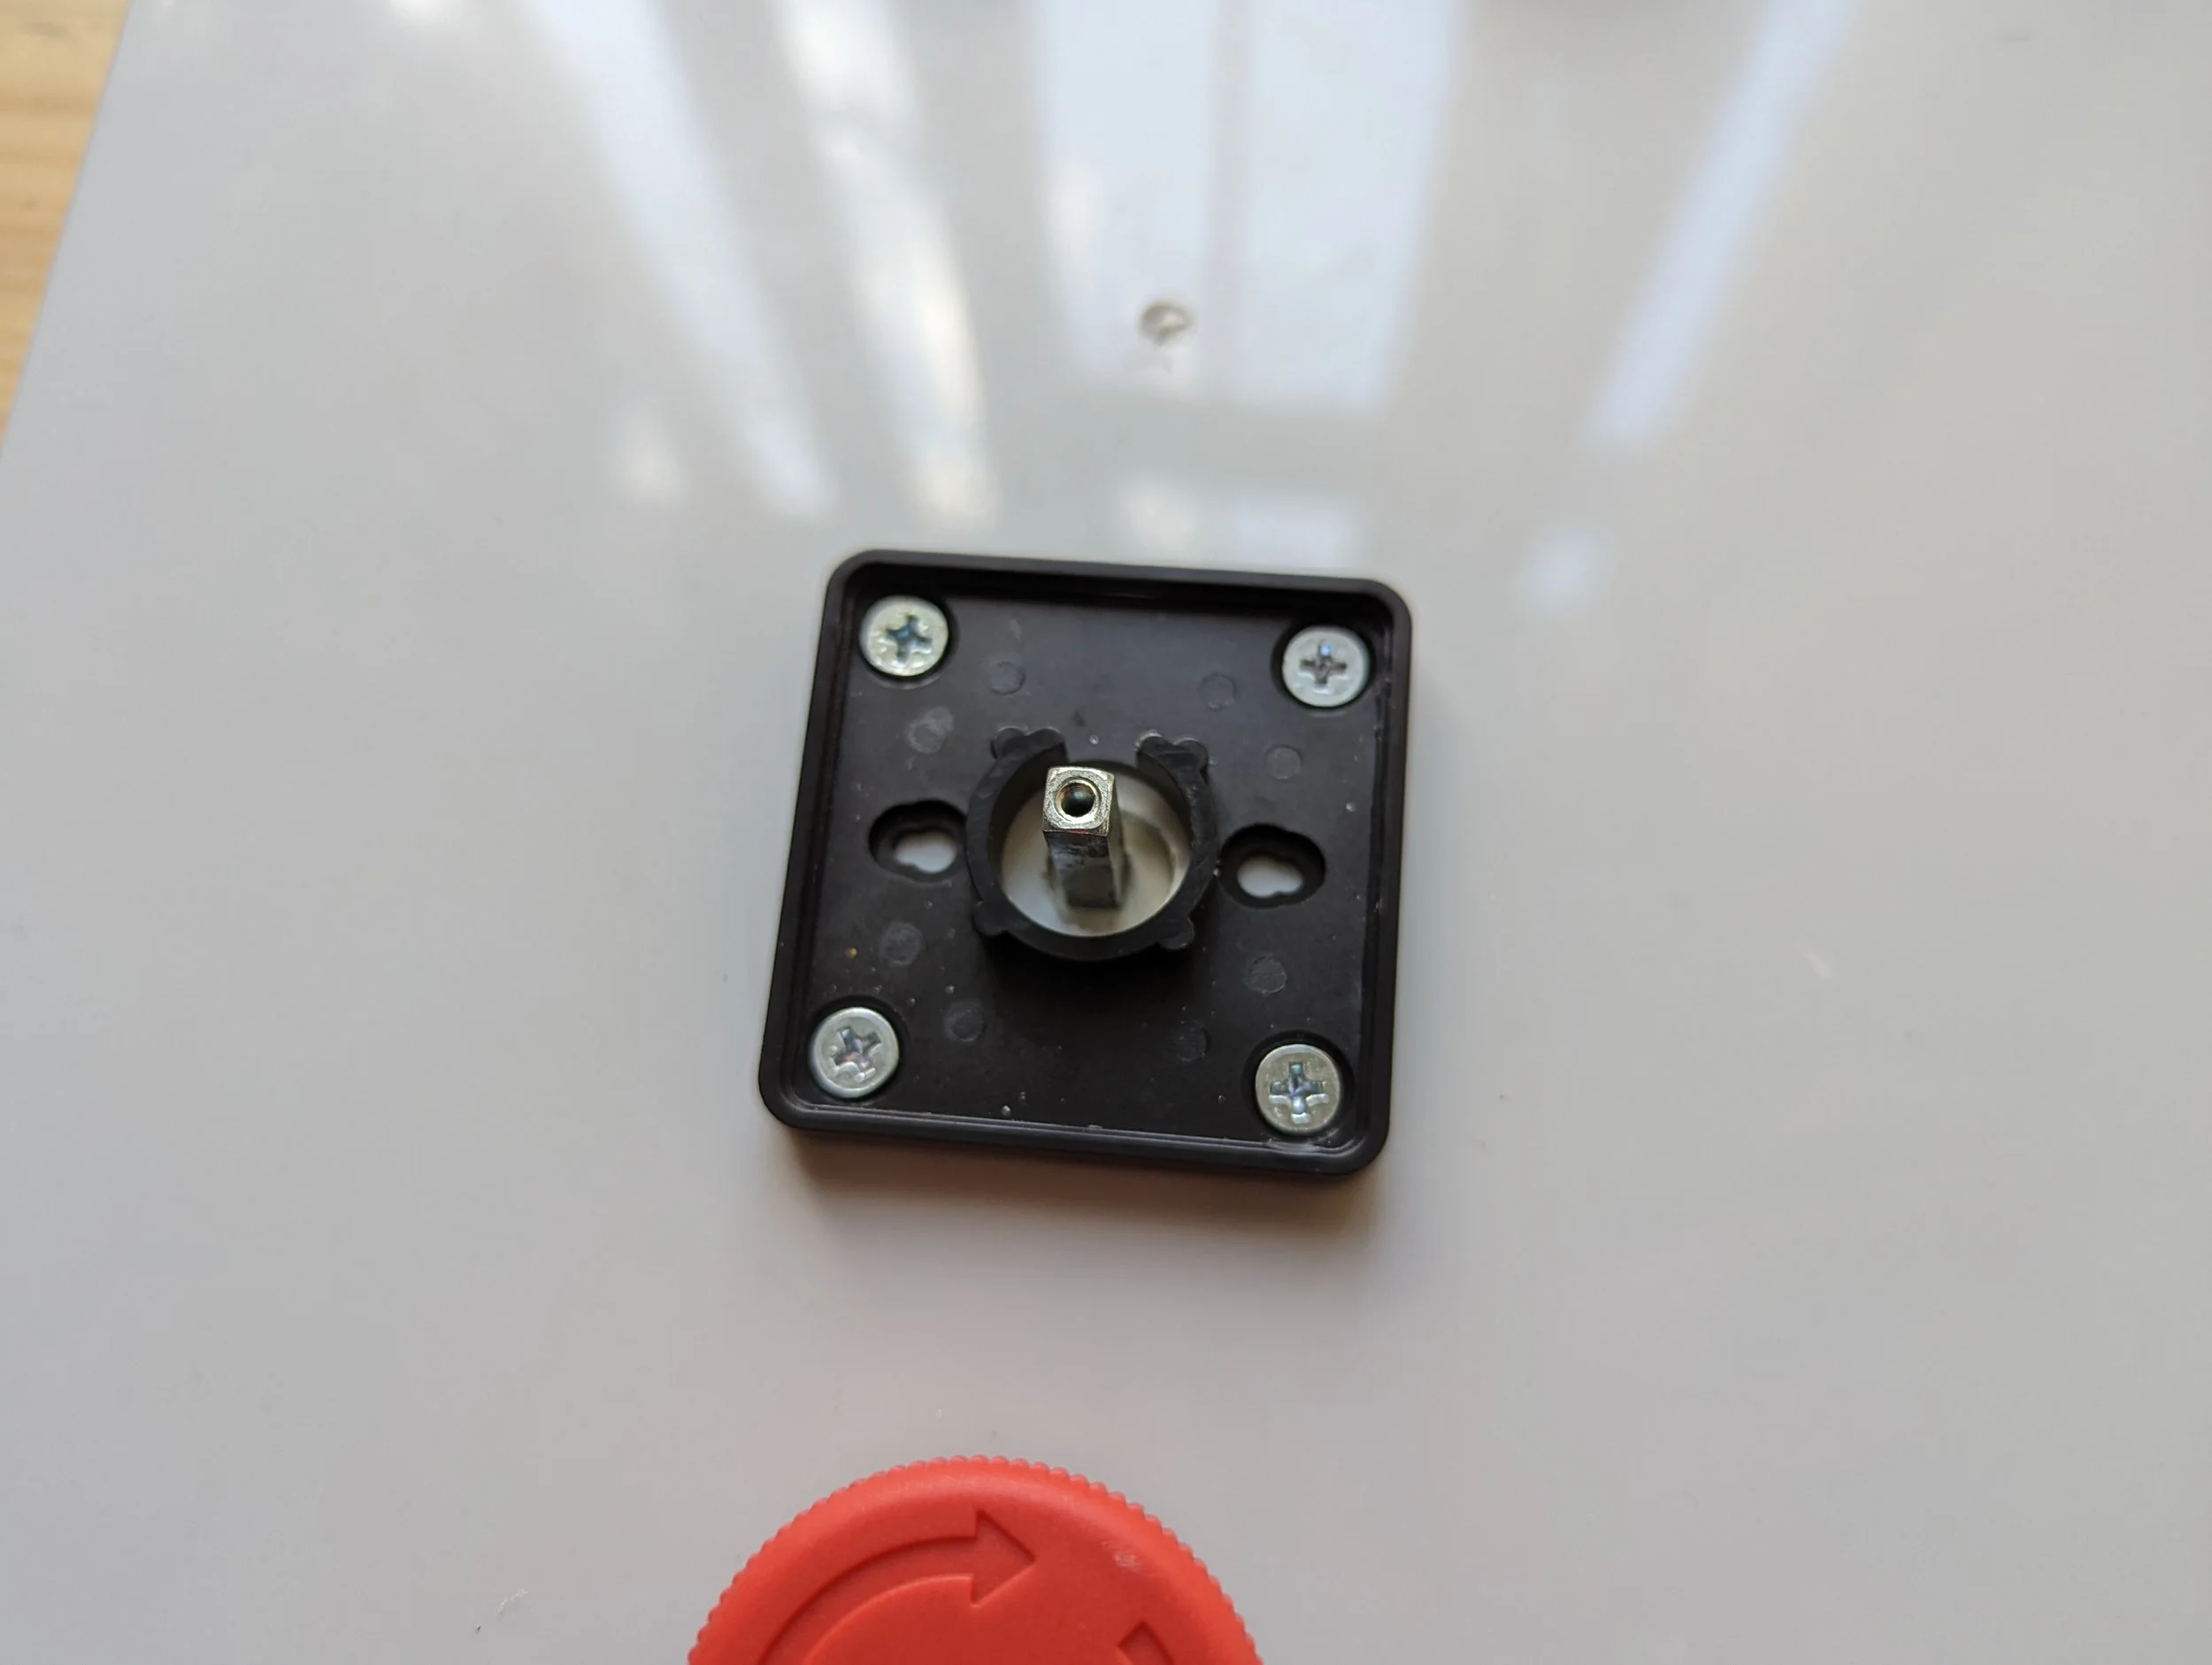
Then with a screwdriver, by hand, unlatch the front cover exposing the screw holes.
Step 24
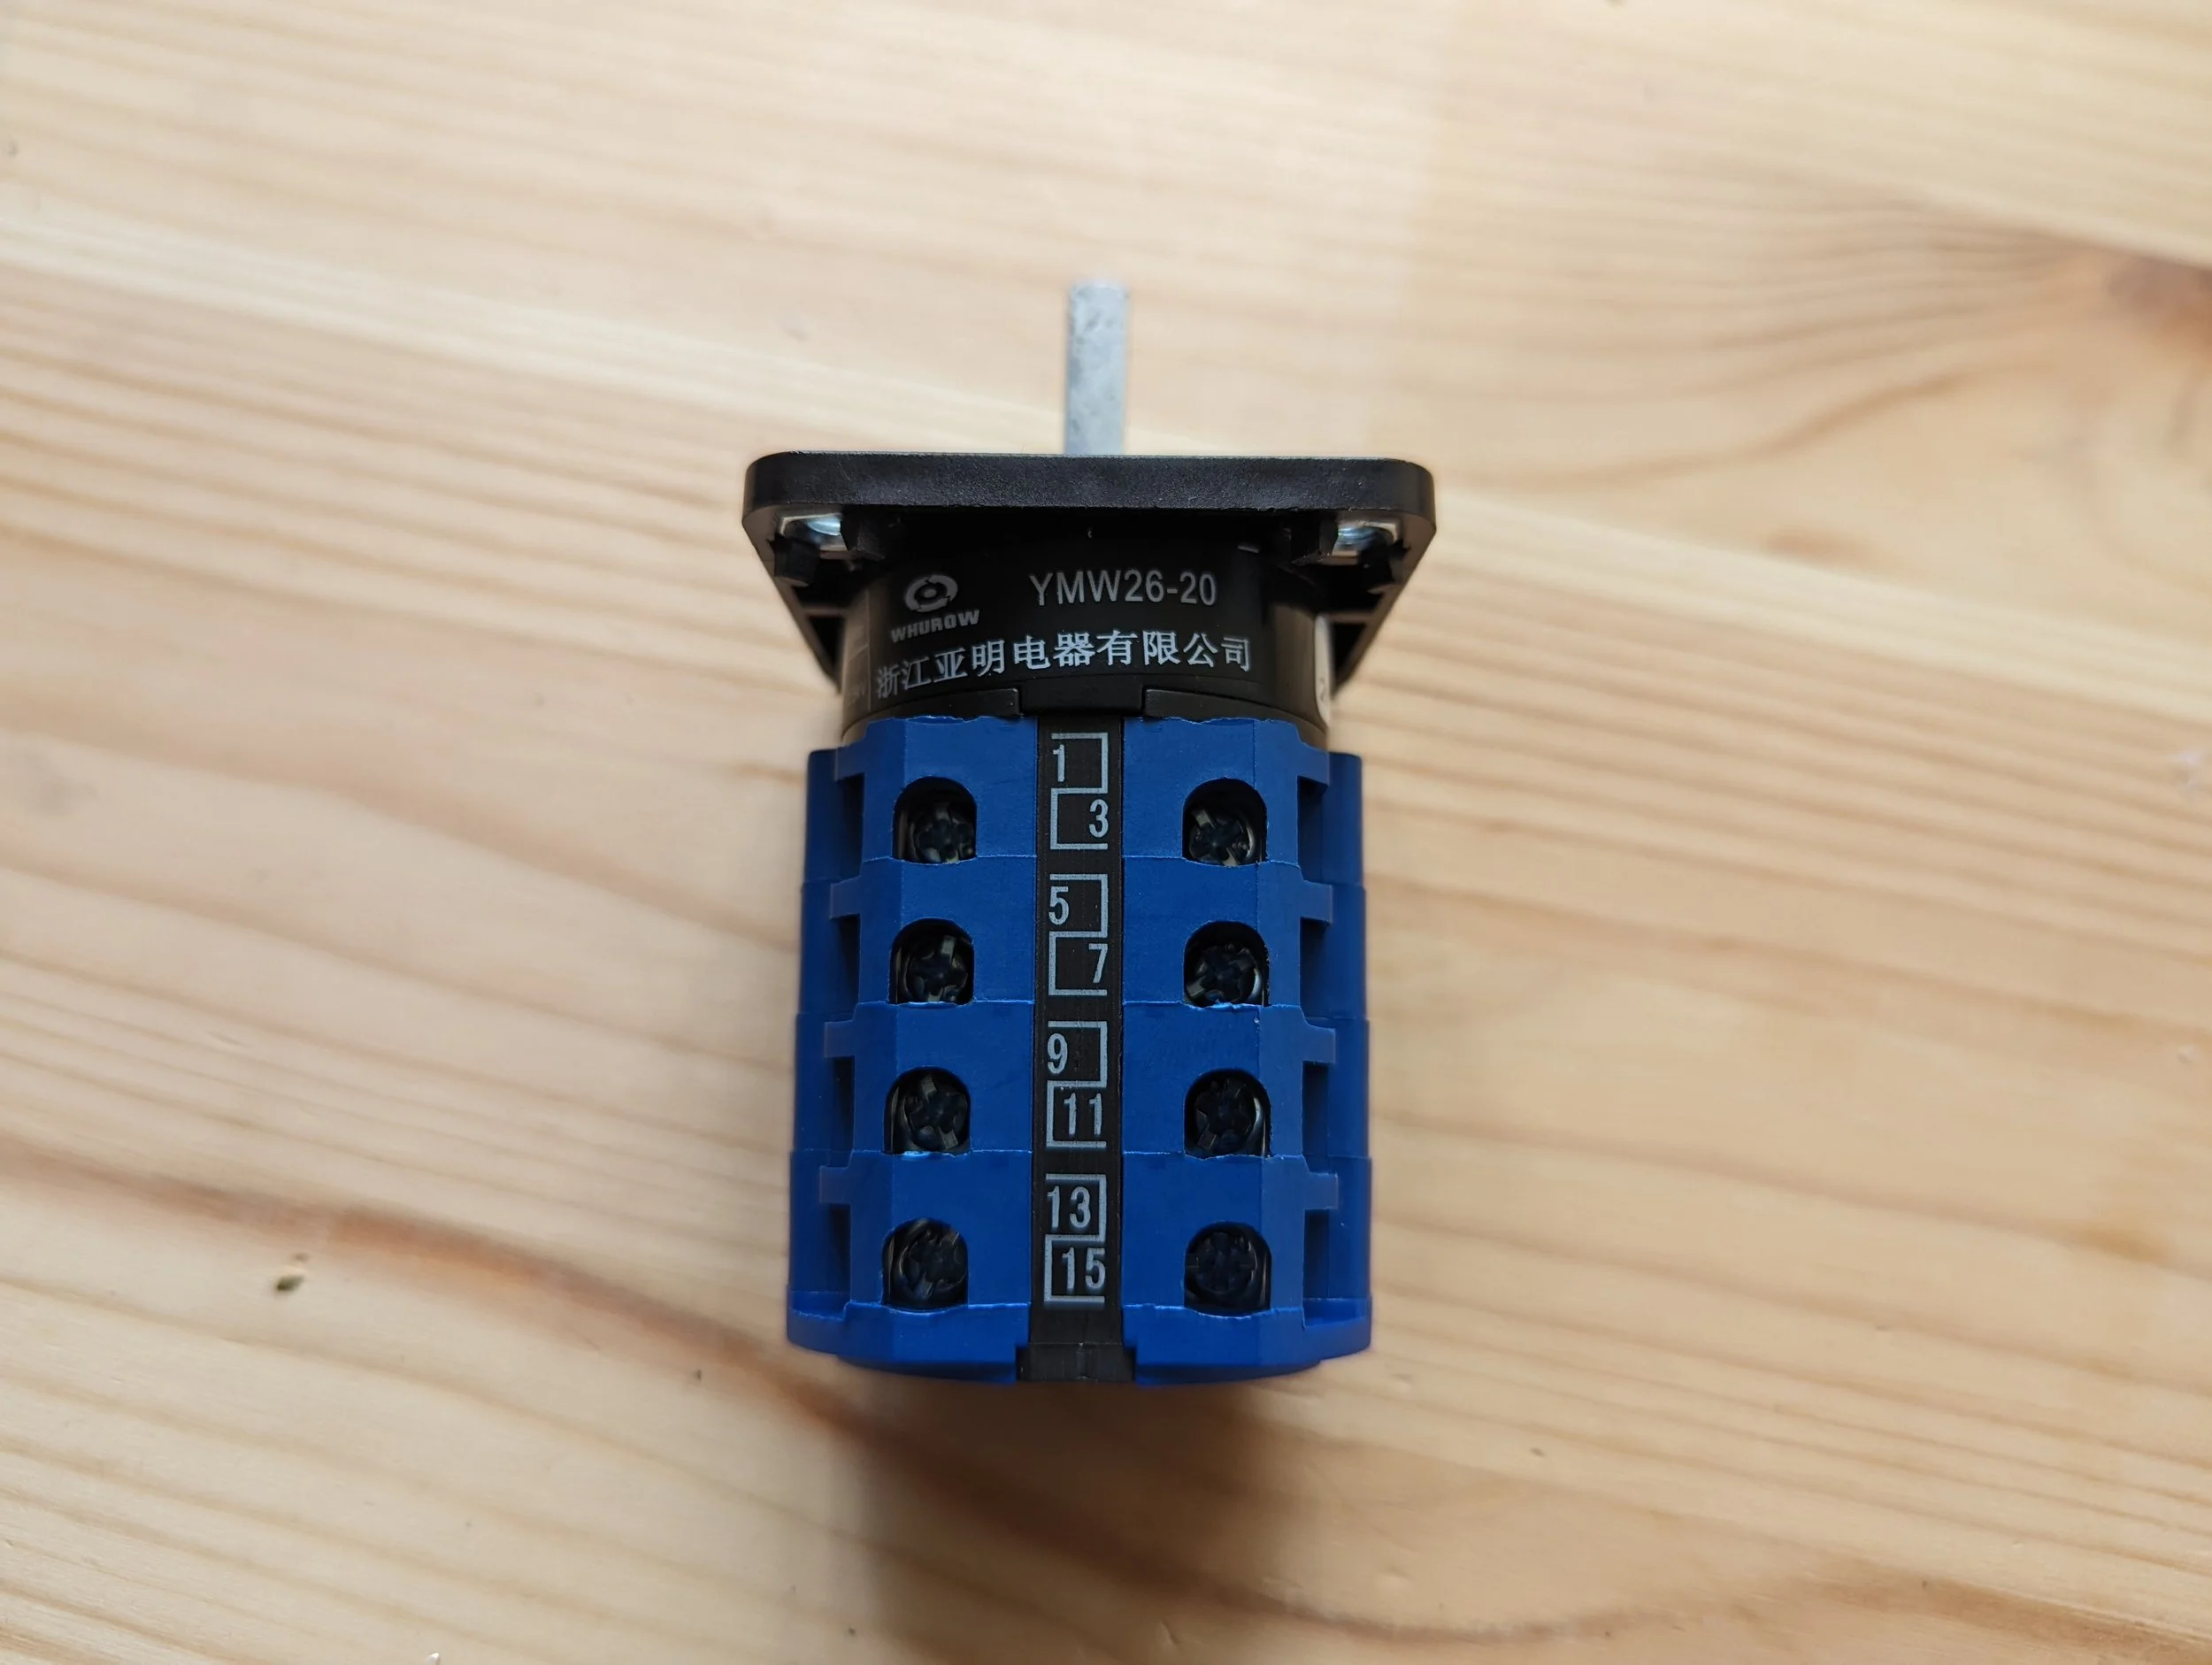
Next is fixing the 3-way switch, however, before we do this we need to explain how the numbering system works.
1, 5, 9, & 13 are all on the left. 3,7,11, and 15 are on the right of the switch when orientated the same in this photo. It’s essential to make sure you remember this for the following steps as we will be using the numbers to symbolise the where and how to connect the wires in the next few steps.
Step 25
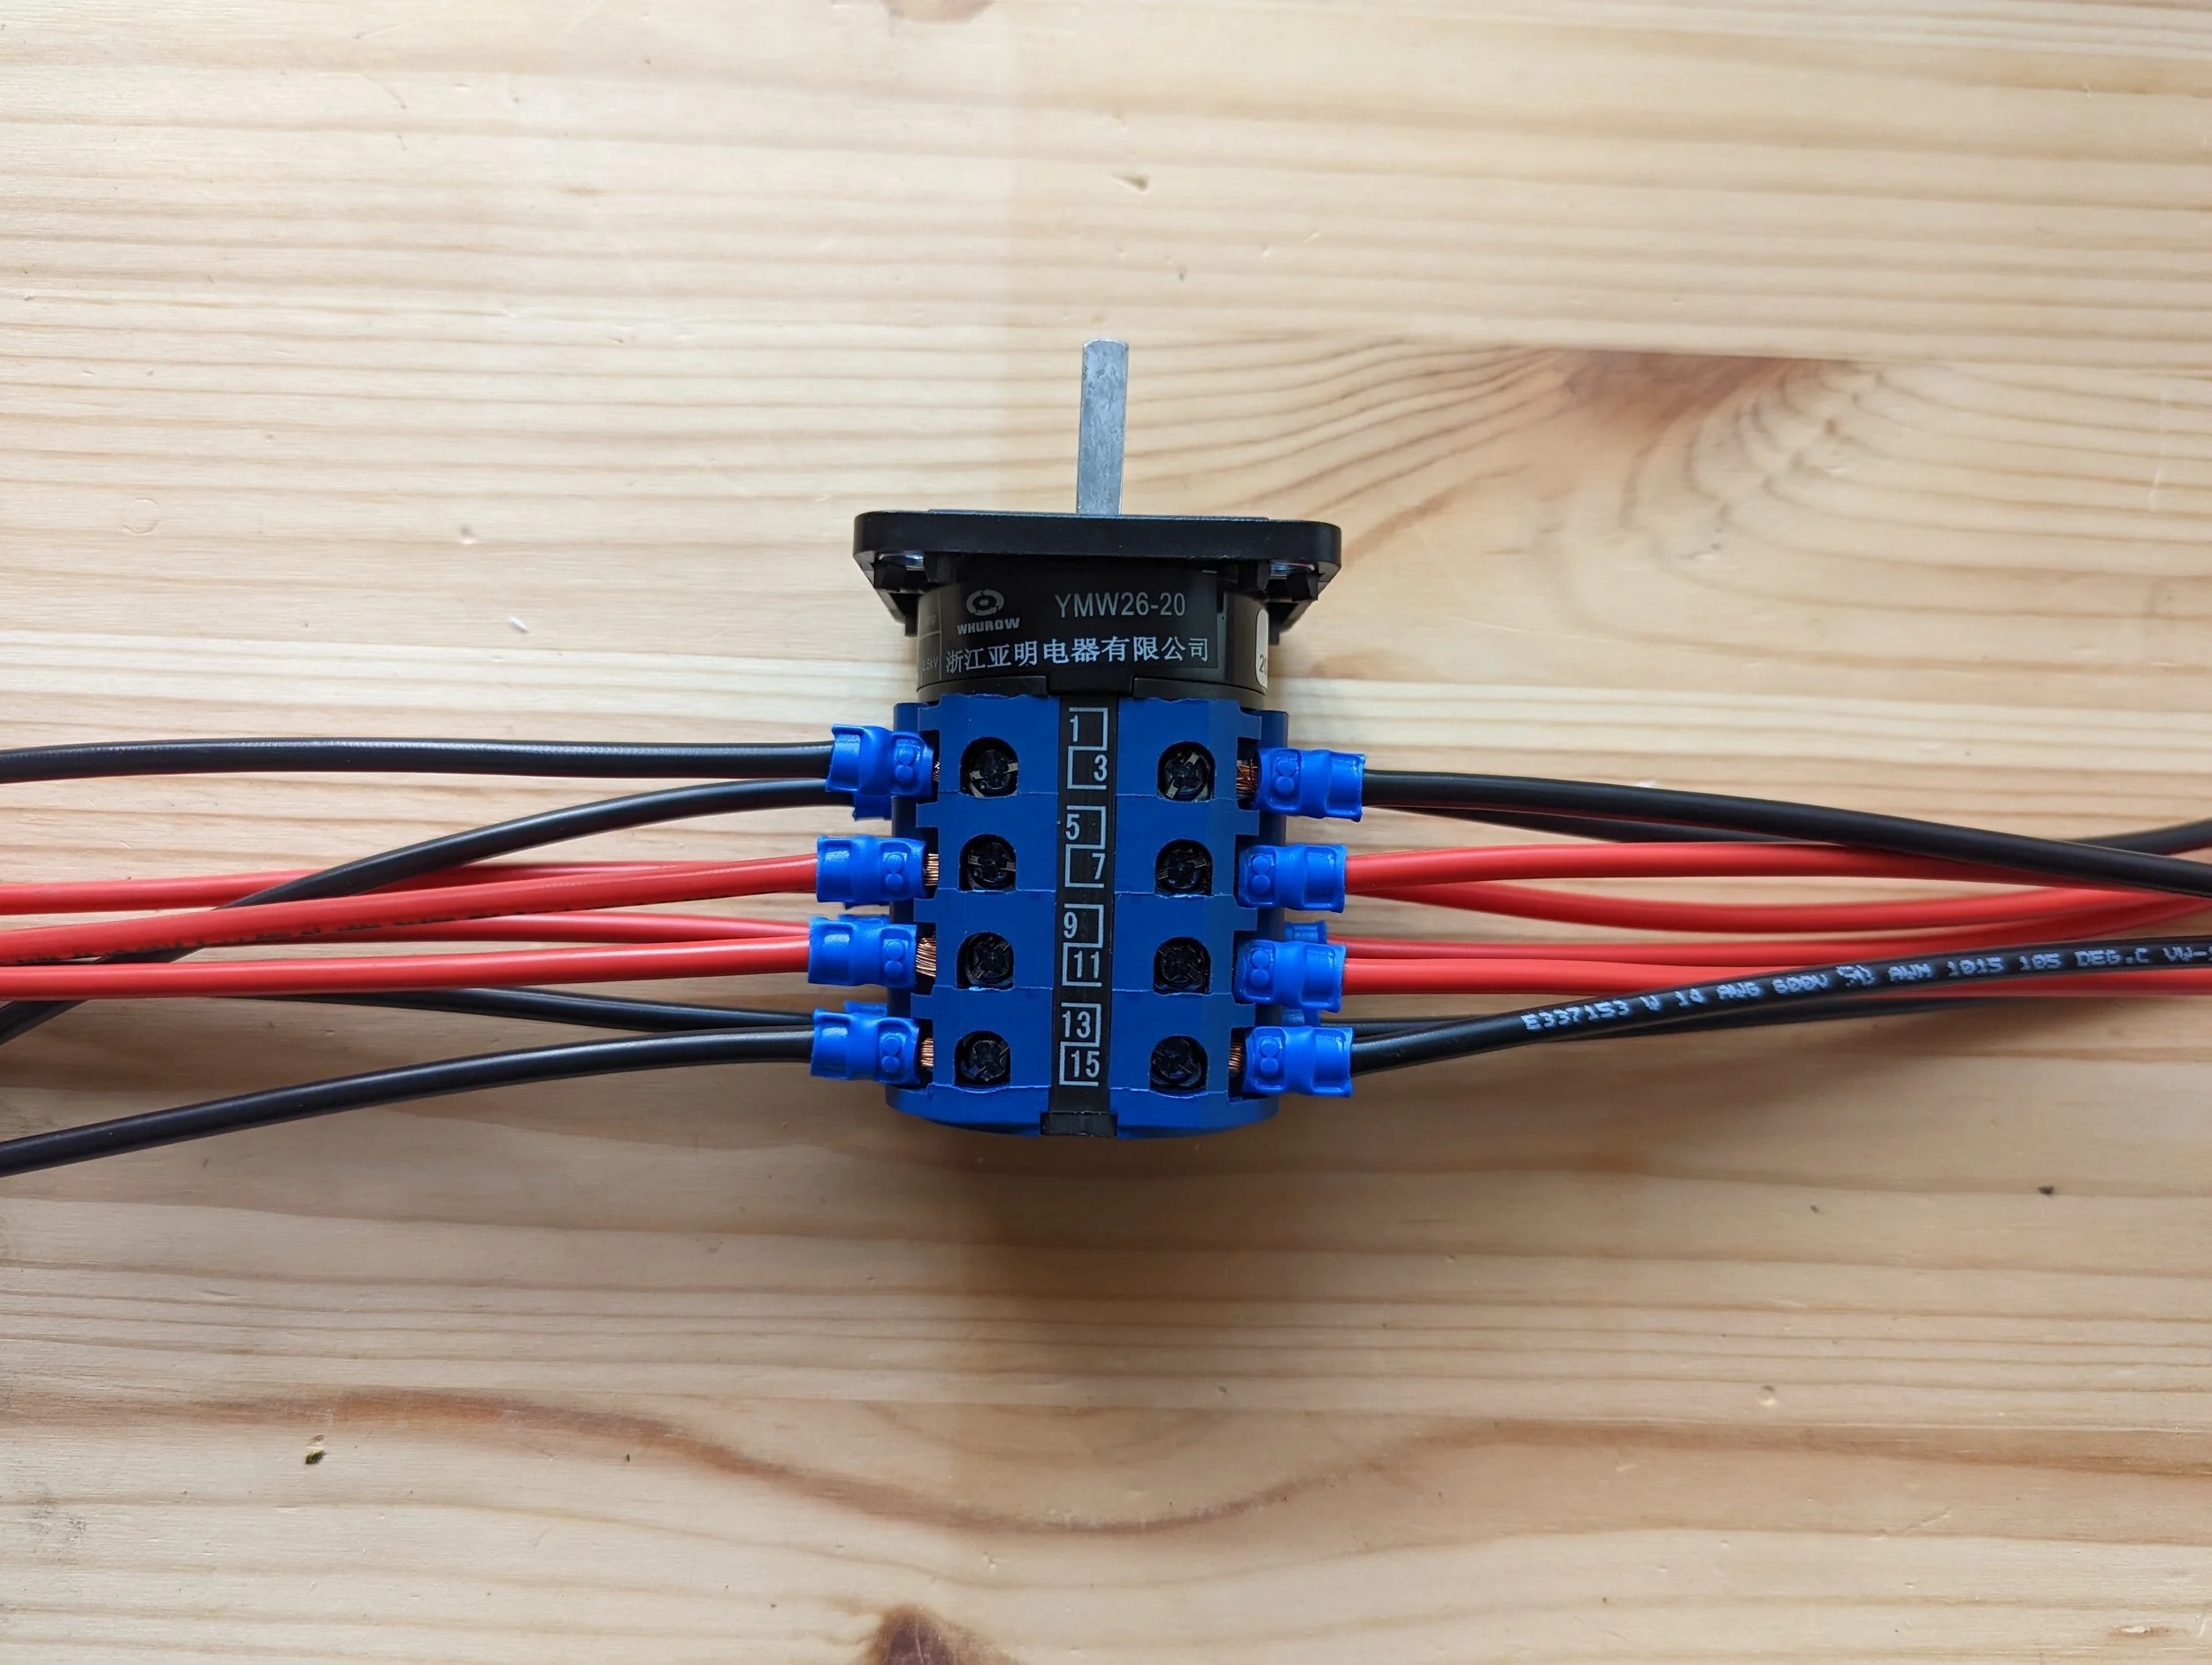
Using the 8x Fork to Bare Black 35cm Long Cables, and the 8x Fork to Bare Red 35cm Long Cables. Connect the Fork Ends to the switch as shown. Following the colour pattern of Reds in the middle, and Blacks on top and bottom.
Use a Screwdriver to firmly secure these in place.
Step 26
Now with all the wires in go ahead and place the switch through the remaining front, hole.
Place the cover that was previously removed from the switch. Aligning the holes Then place the 4 screws to firmly secure the switch in place.
Step 27
With the 4 screws in place, there should now be no movement.
Step 28
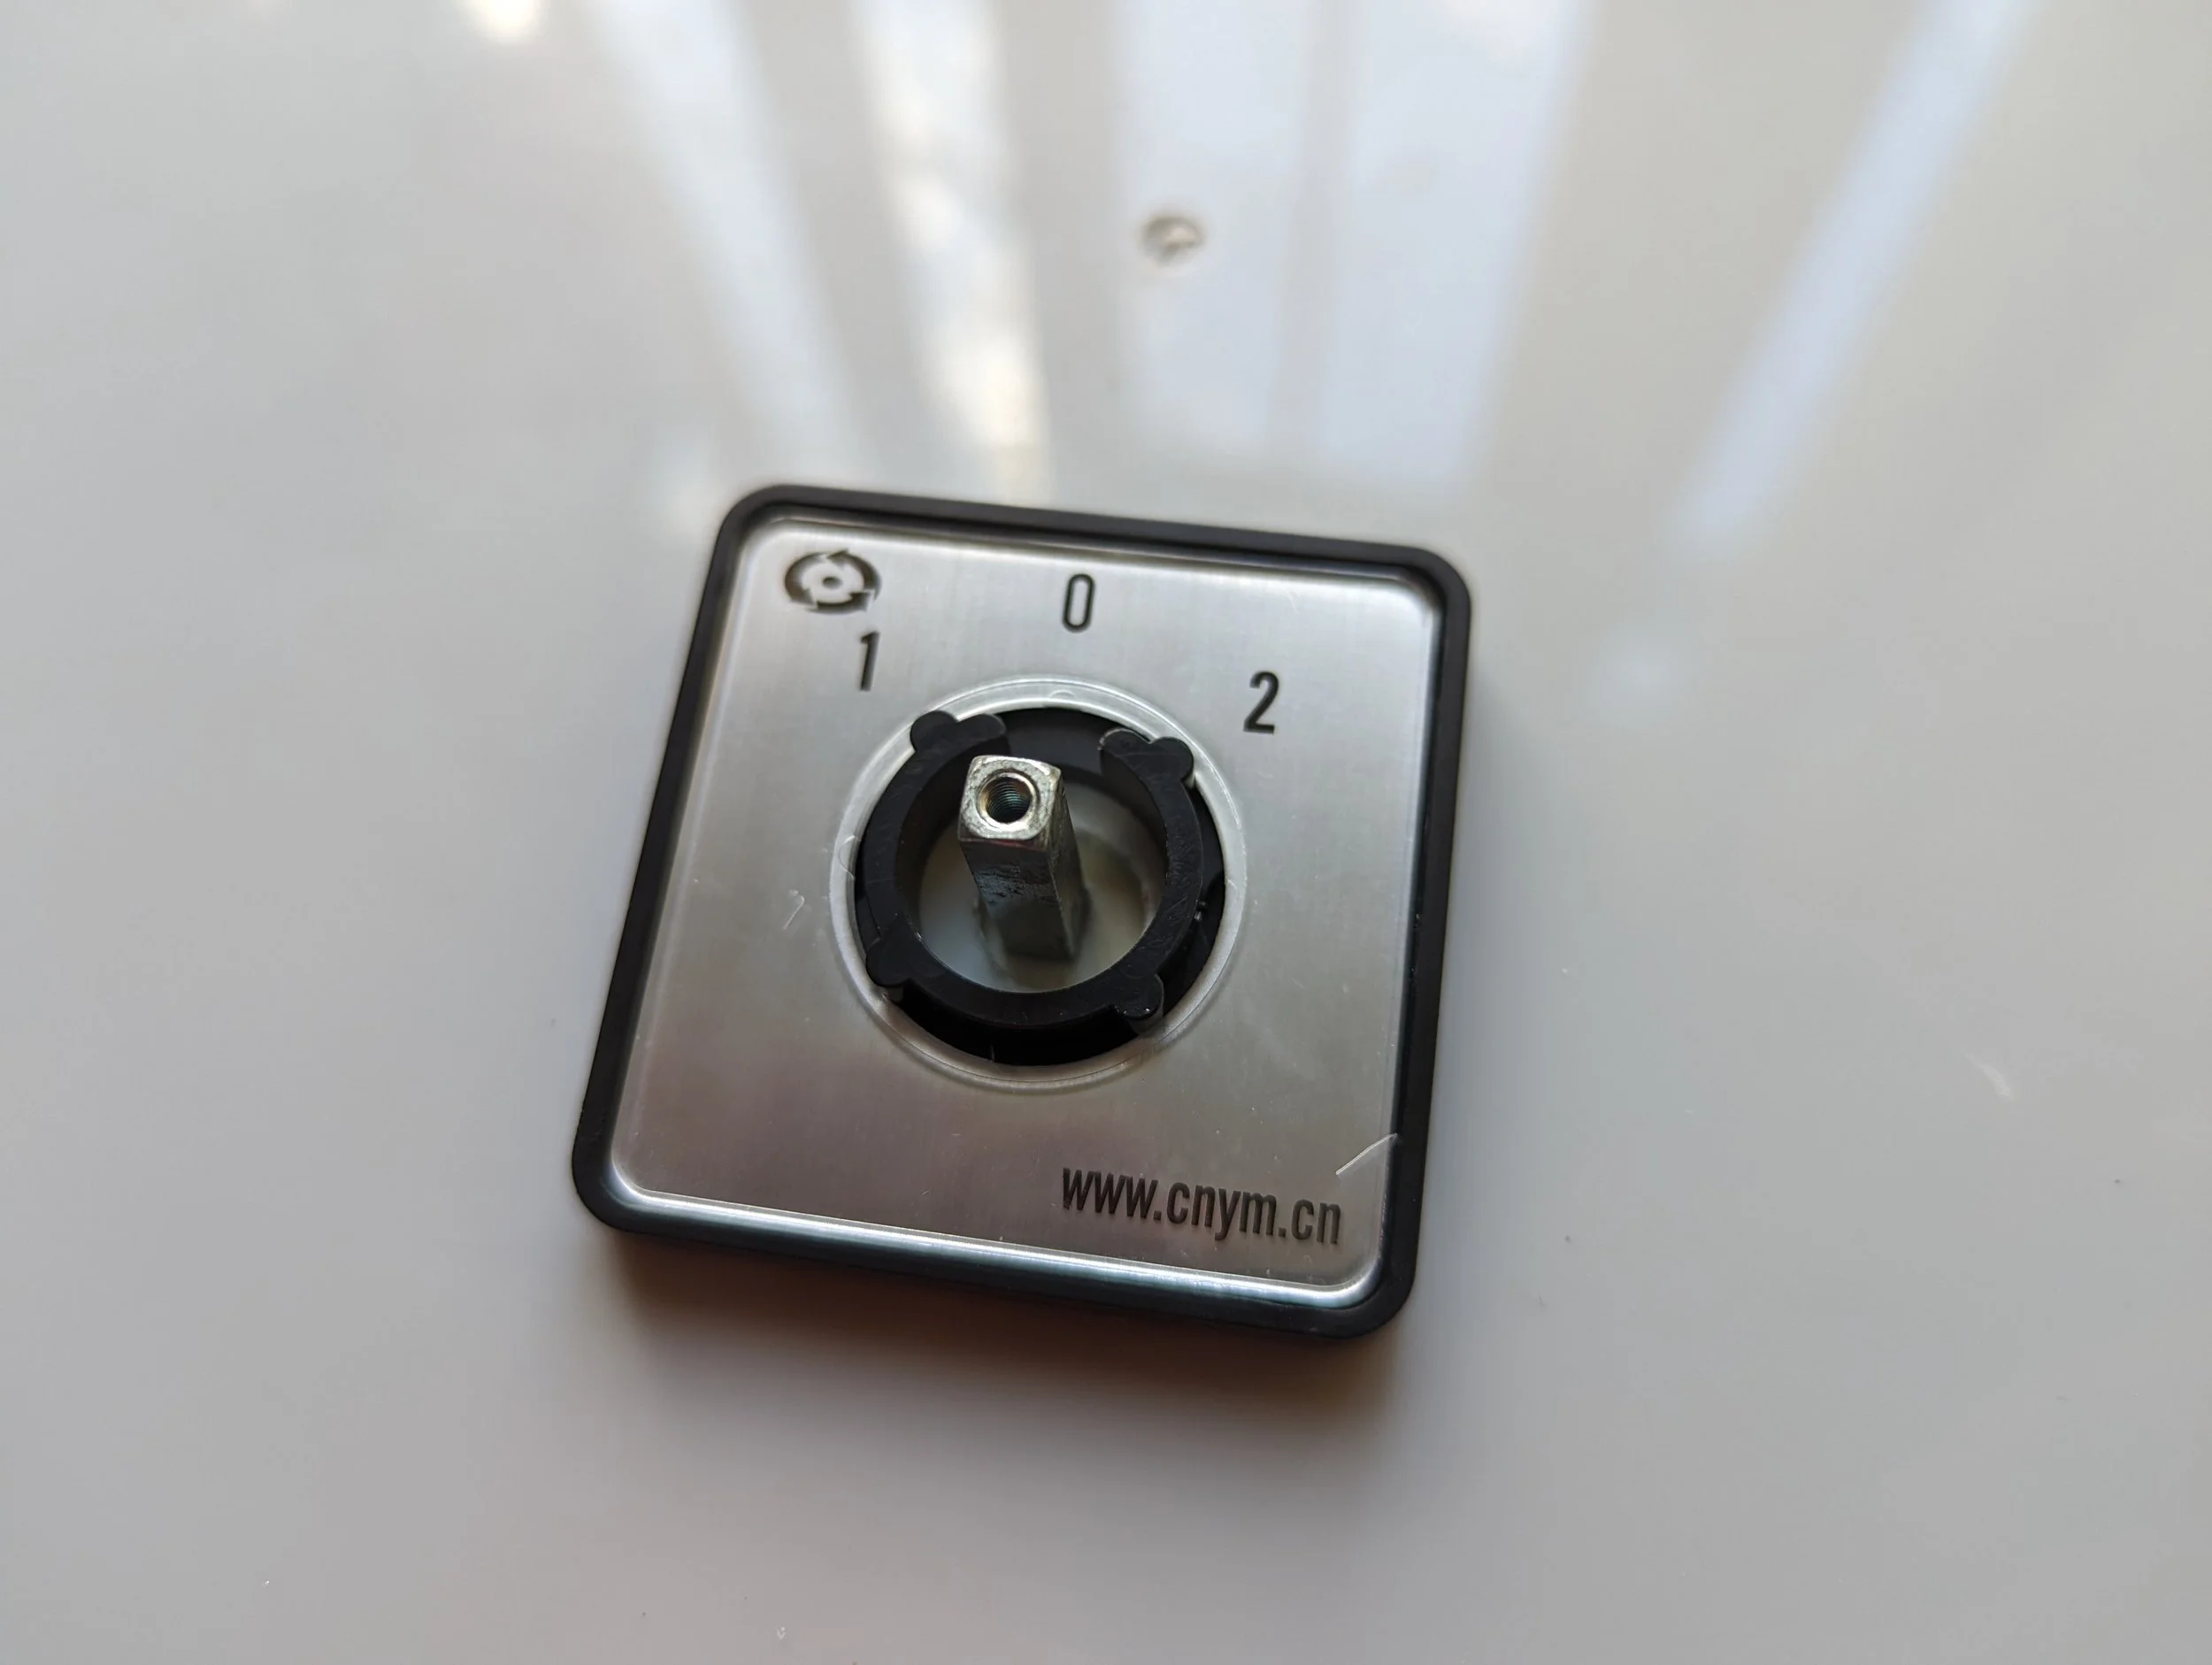
Next press the cover firmly into place, ensuring the numbers are on the top.
Step 29
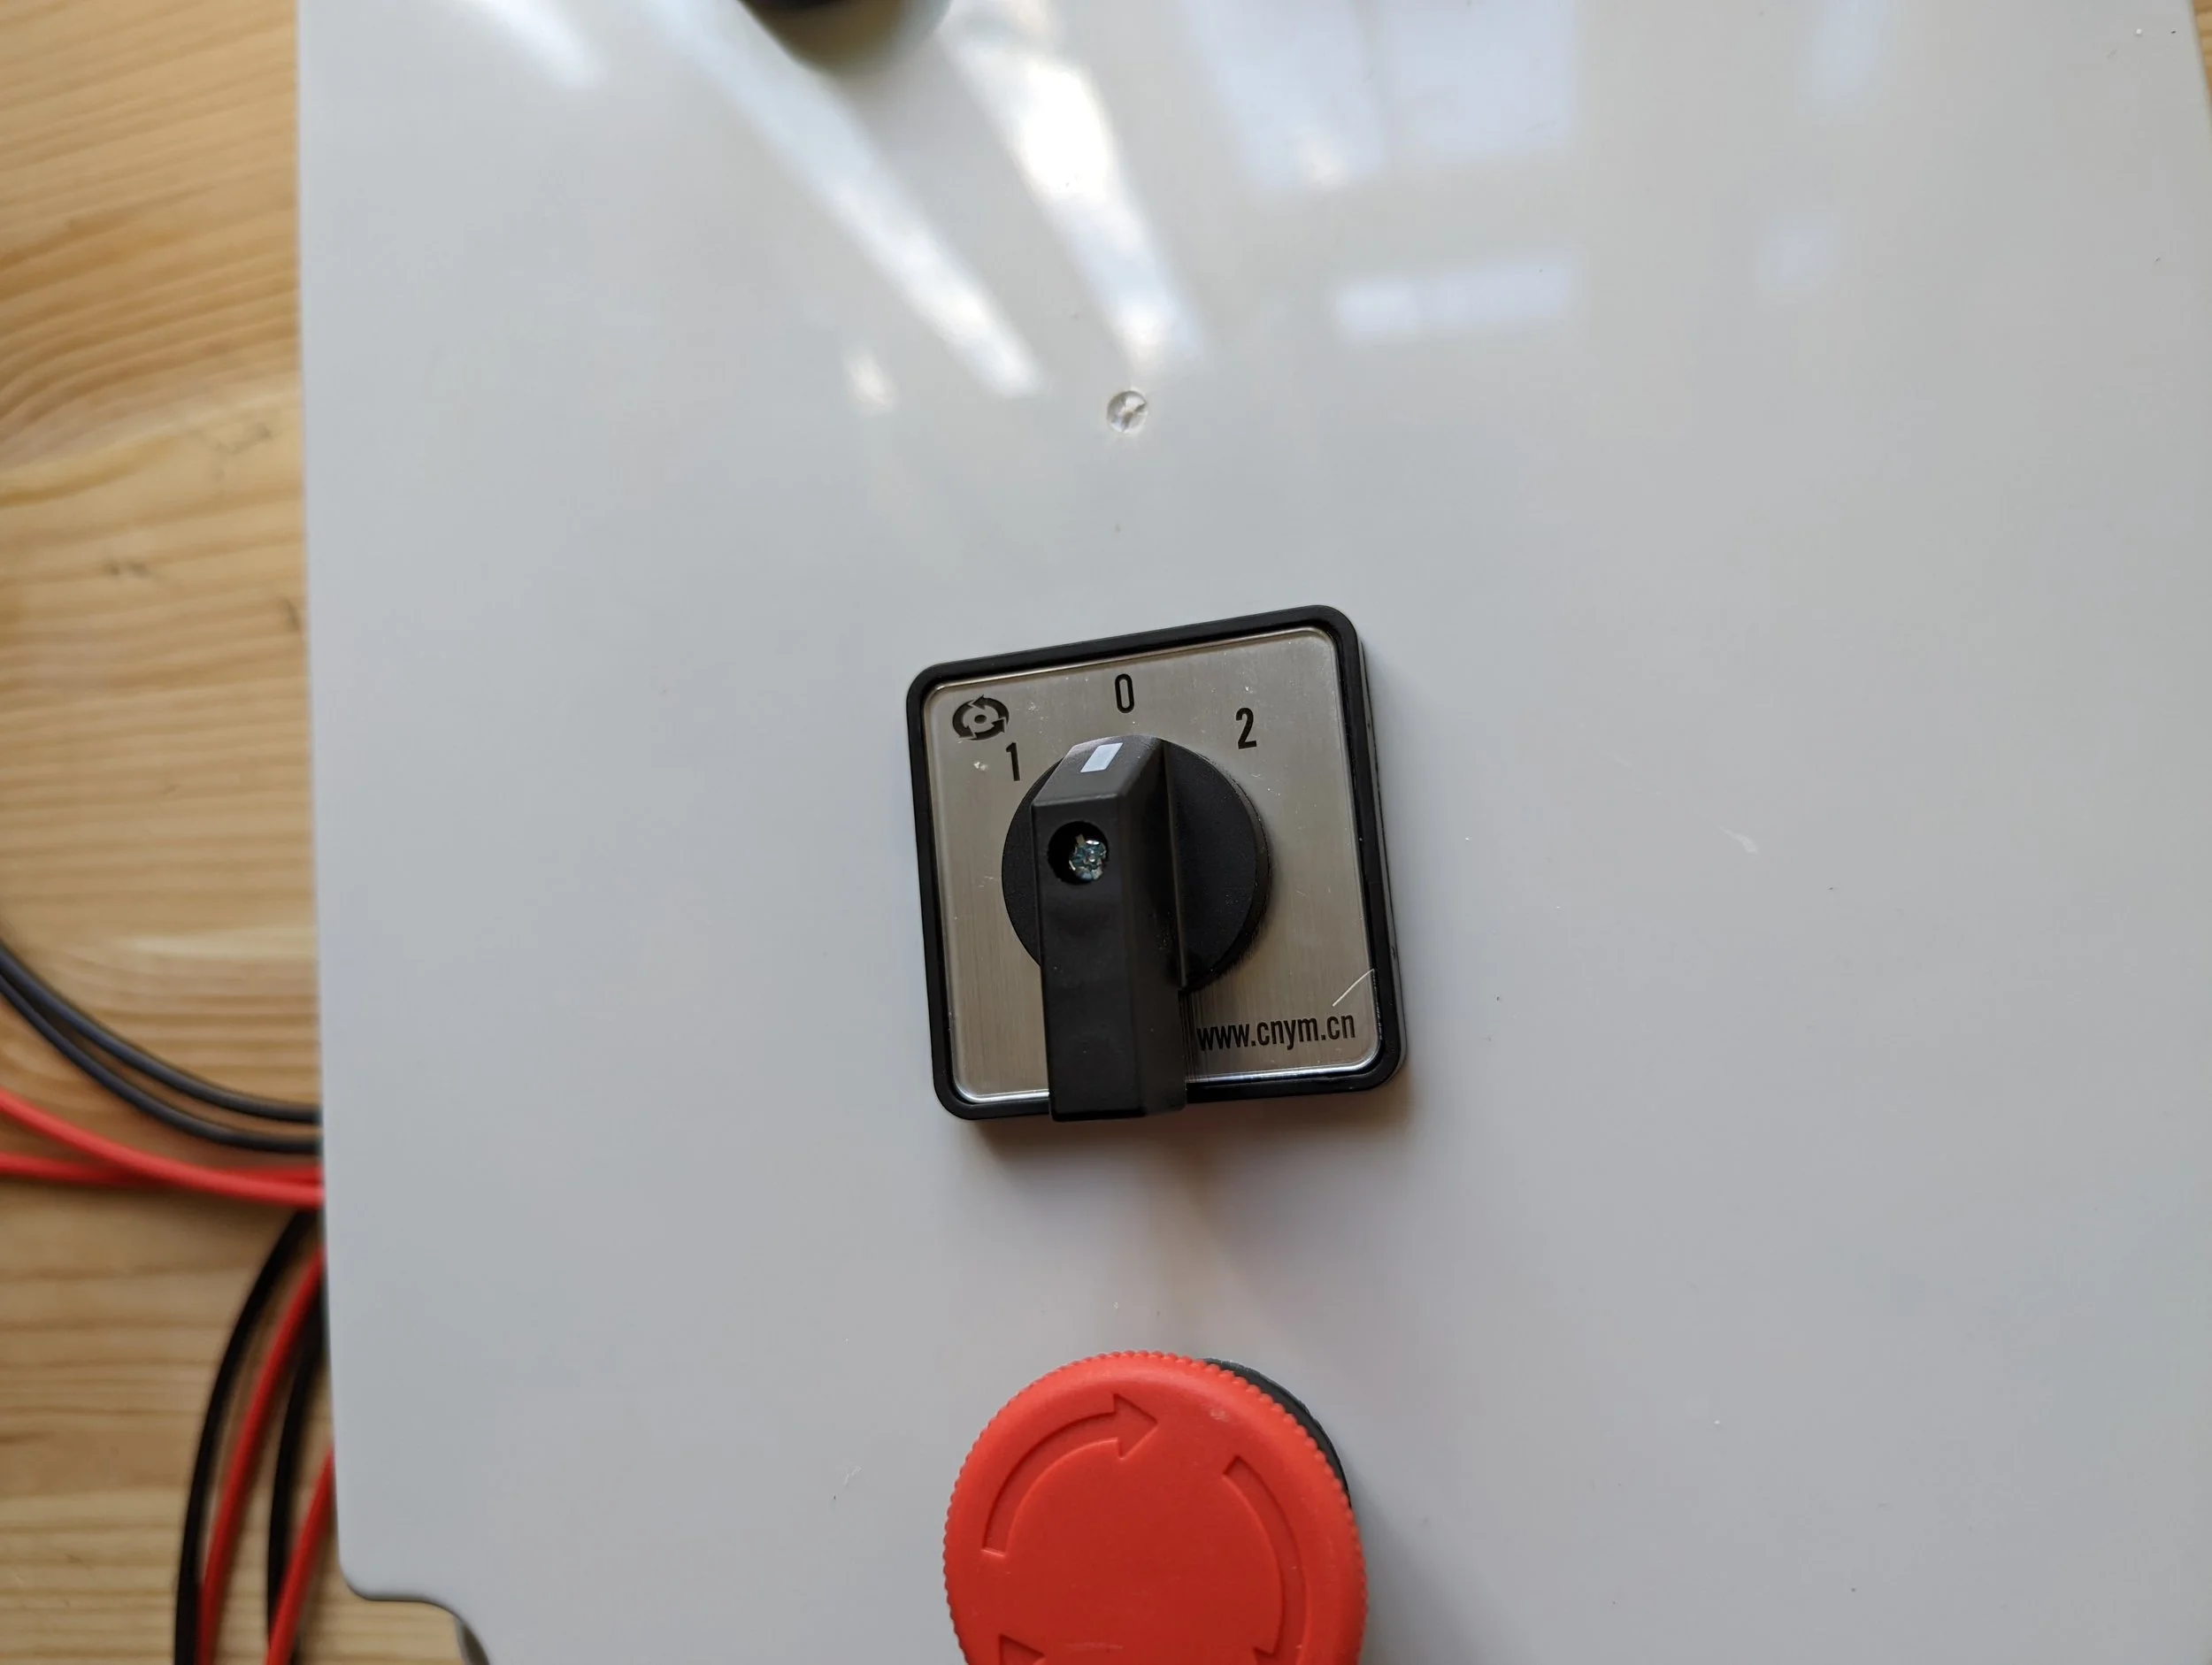
Then using the small screw and nob you removed earlier, secure the nob back in place. Then briefly check that you can turn the switch to the 1, 0 and 2 positions.
Step 30
From the back, your progress this far should look something like this.
Step 31
Before we move onto joining the front and back, make sure that you add the little relay that connects to the Emergency Stop Switch. This should just clip in place, but may need to be rotated to connect properly.
Note: Make sure that this doesn’t come loose, and is actually firmly locked in place before moving onto the next step.
Step 32
Now with two of the plastic screws that you used removed from the box, when you opened it on the first step. Insert these into the top right hole and bottom right hole, turning only a few times.
If done correctly this should allow the front cover to hinge, making the following wiring much easier to do.
Step 33
This is how your setup should look at this stage. With the hinge allowing you to wire up the following stages.
Step 34
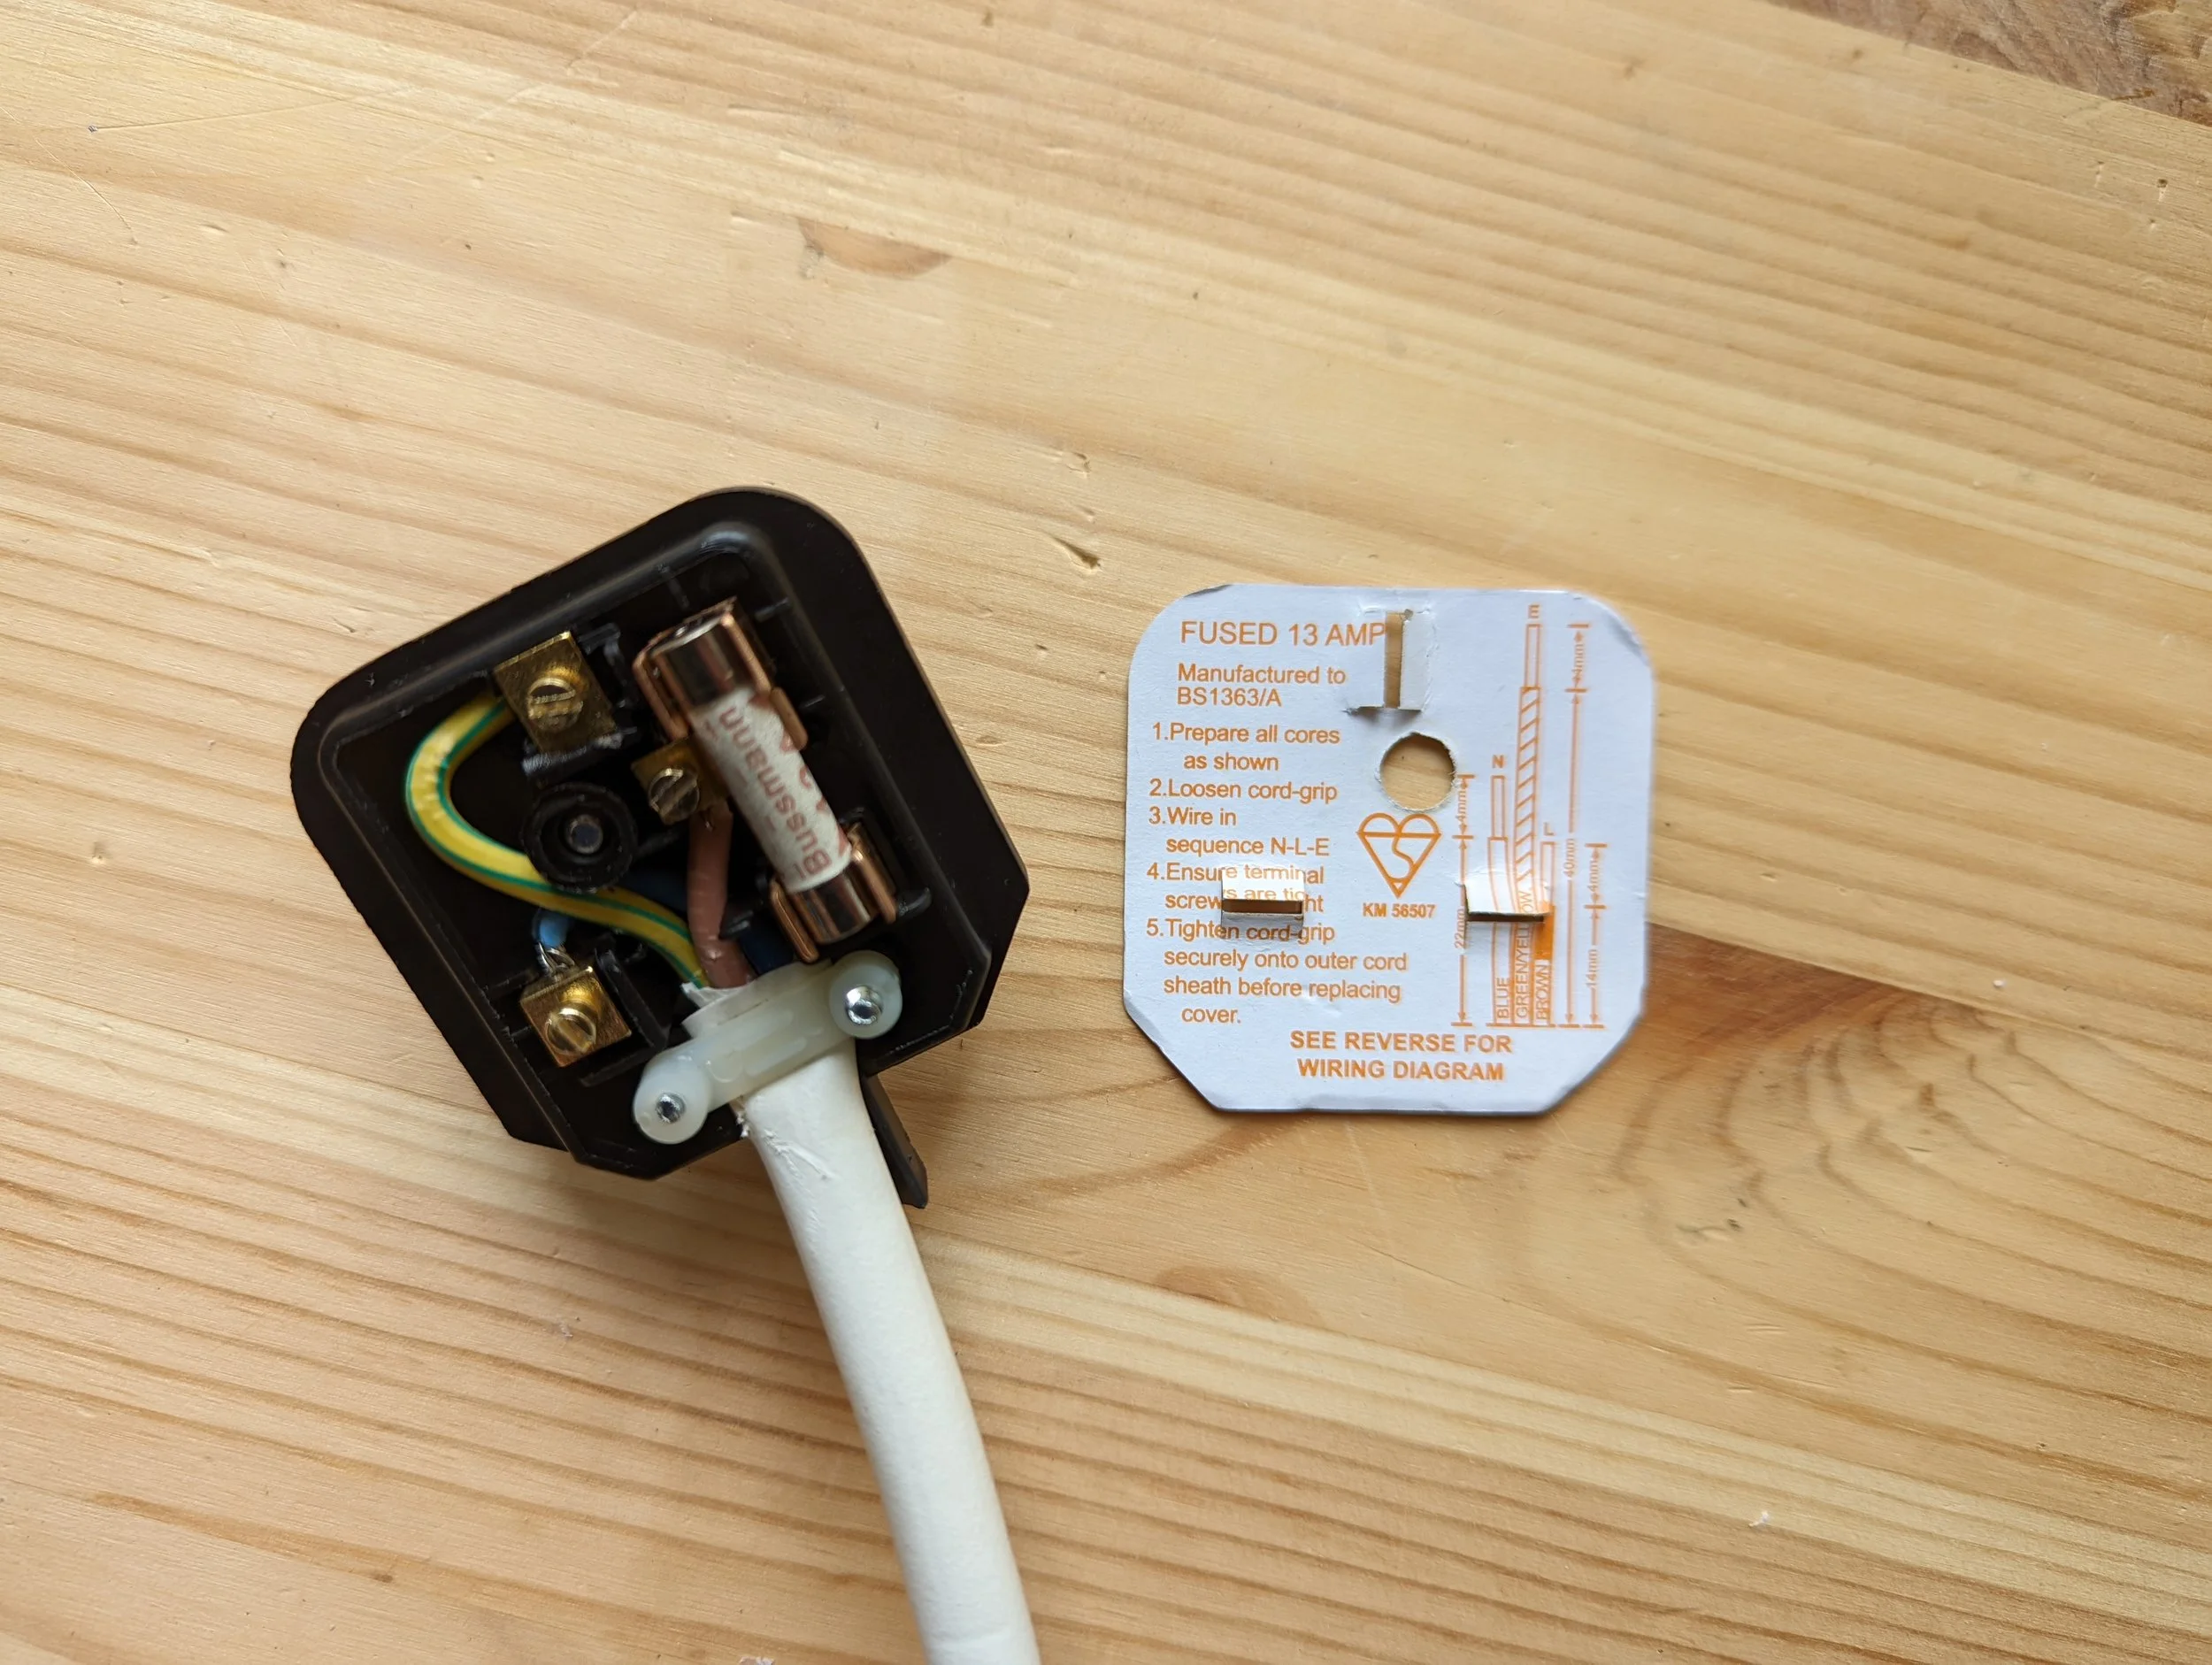
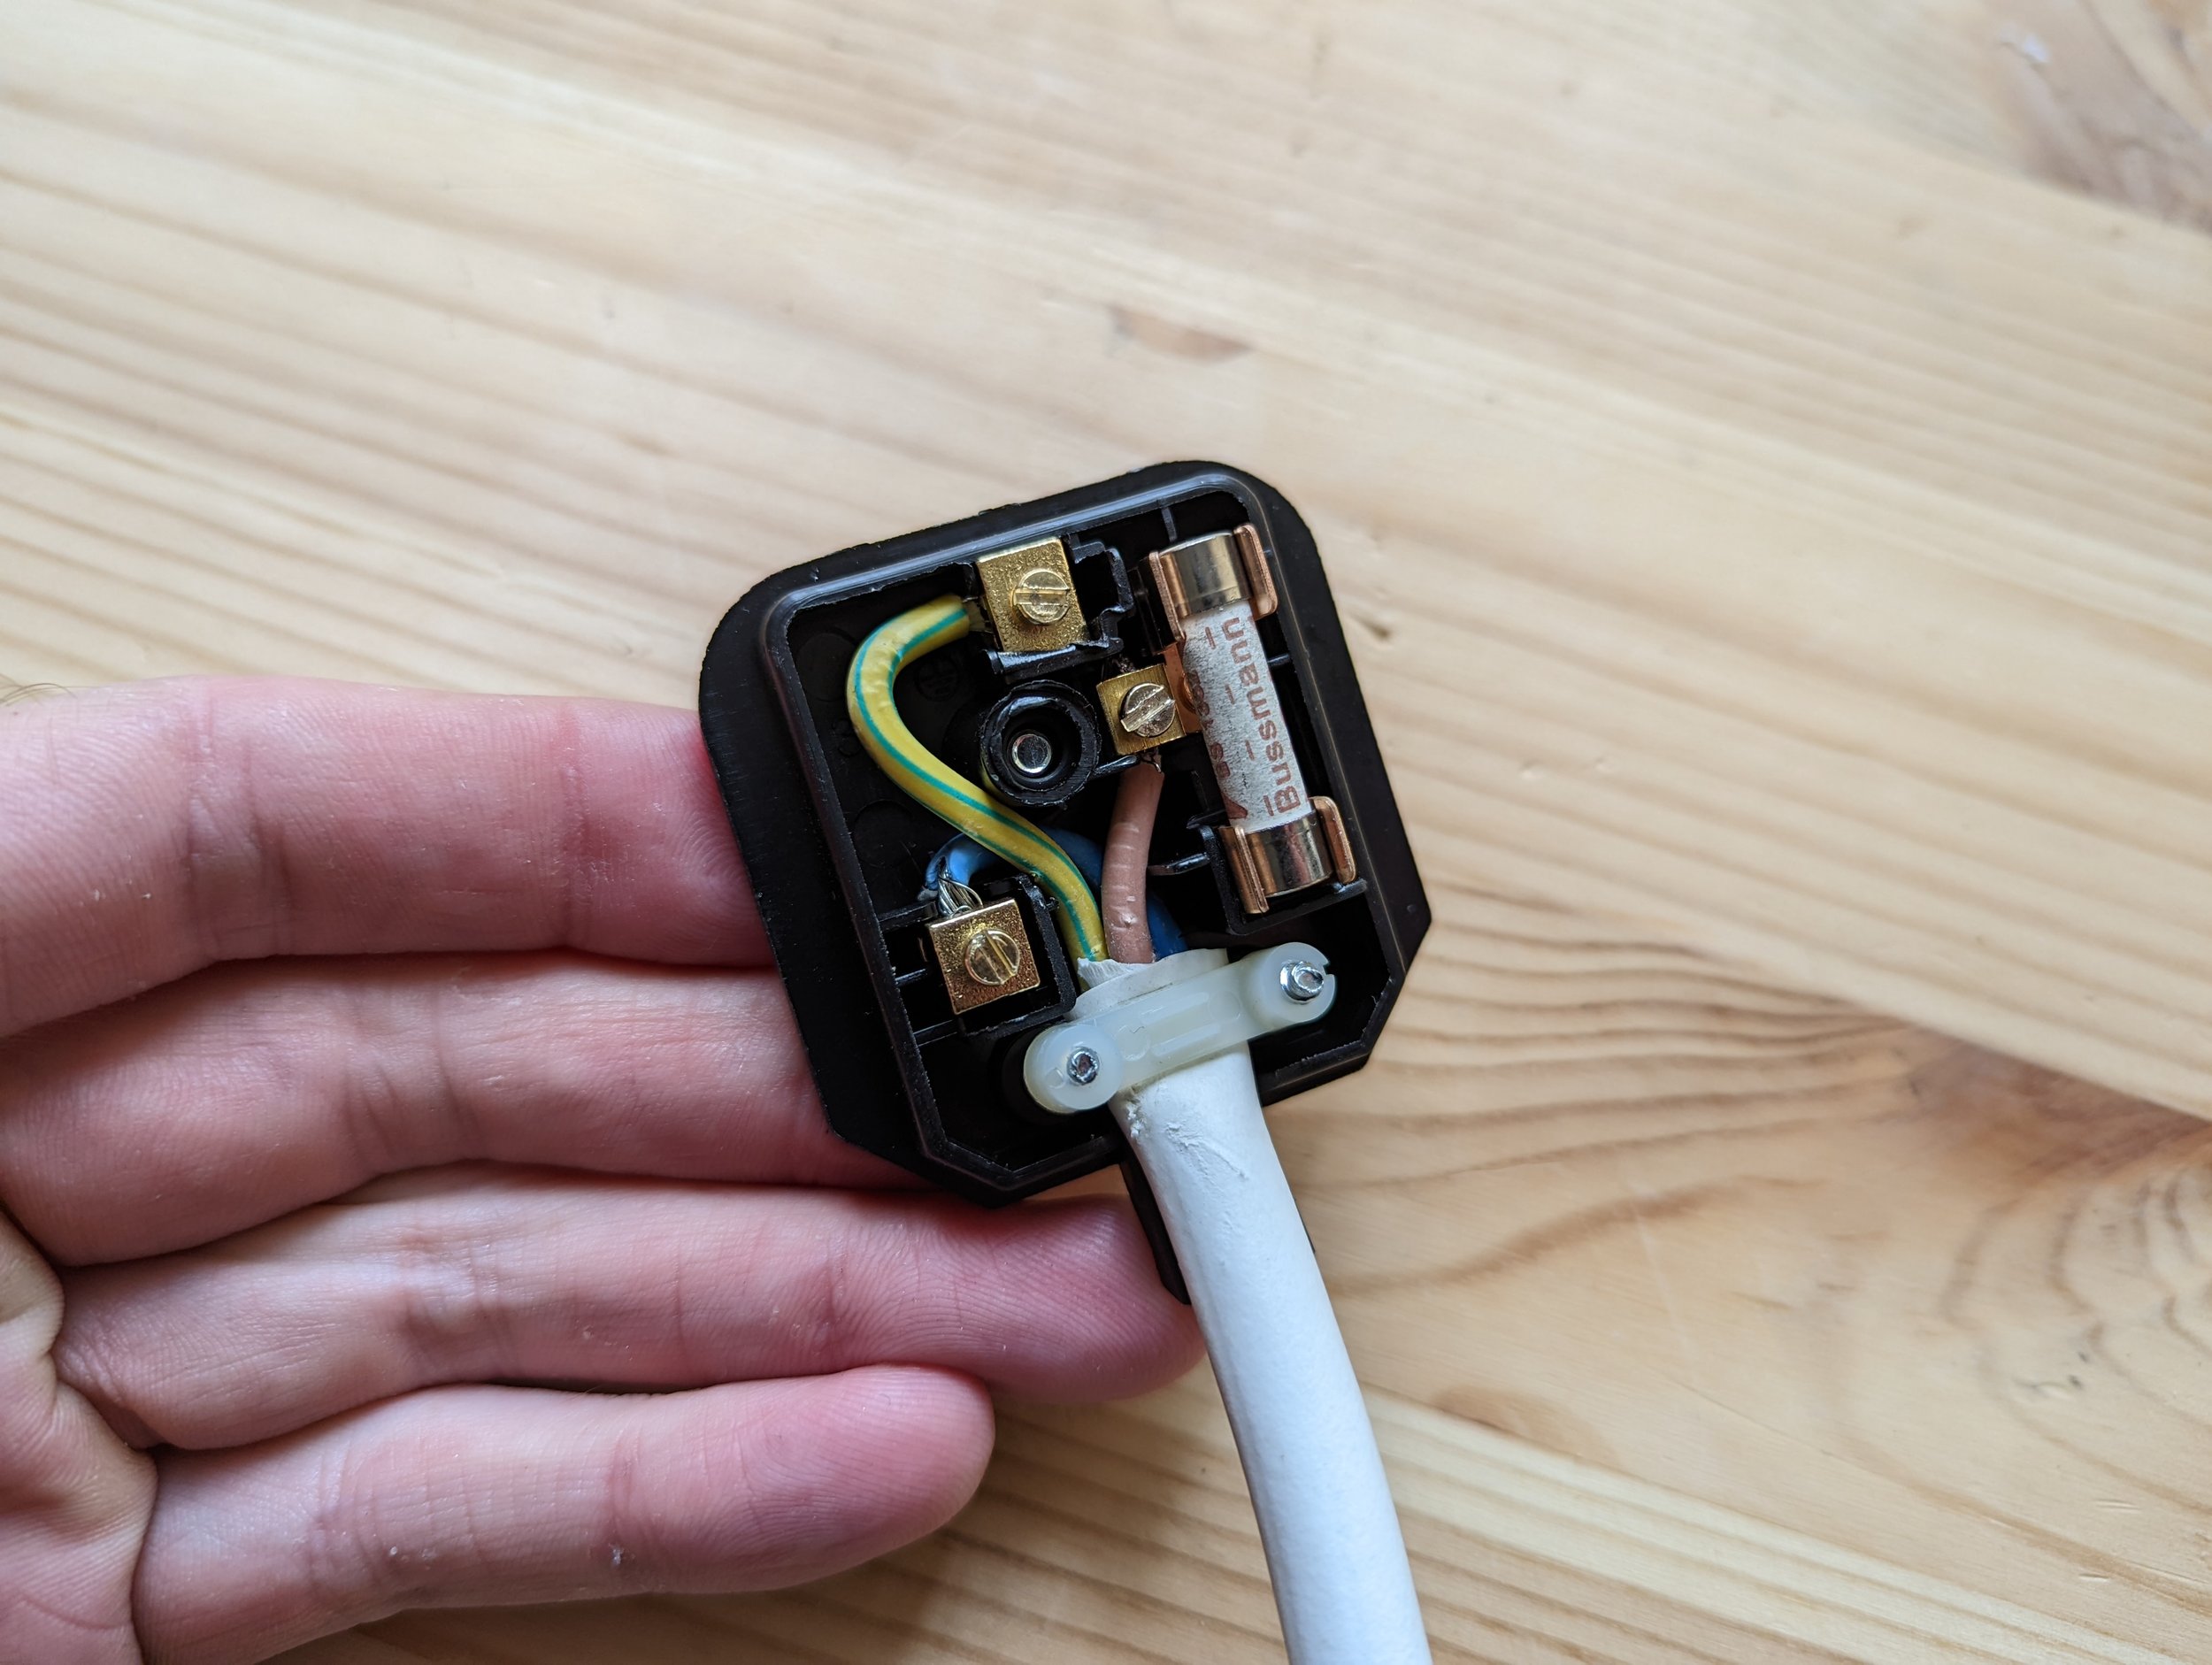
Briefly lets switch our attention to the wiring of the plug. Following the diagram on the plug, wire the bare exposed wires of the Long White Cable as shown. There is nothing special about this, and the process is identical to normal plug wiring.
Note: If you have a different plug socket type (EU) then please follow the guidelines for wiring that plug type.
Step 35
Once wired and with the cable securely clamped in place, your plug should look something like this.
Step 36
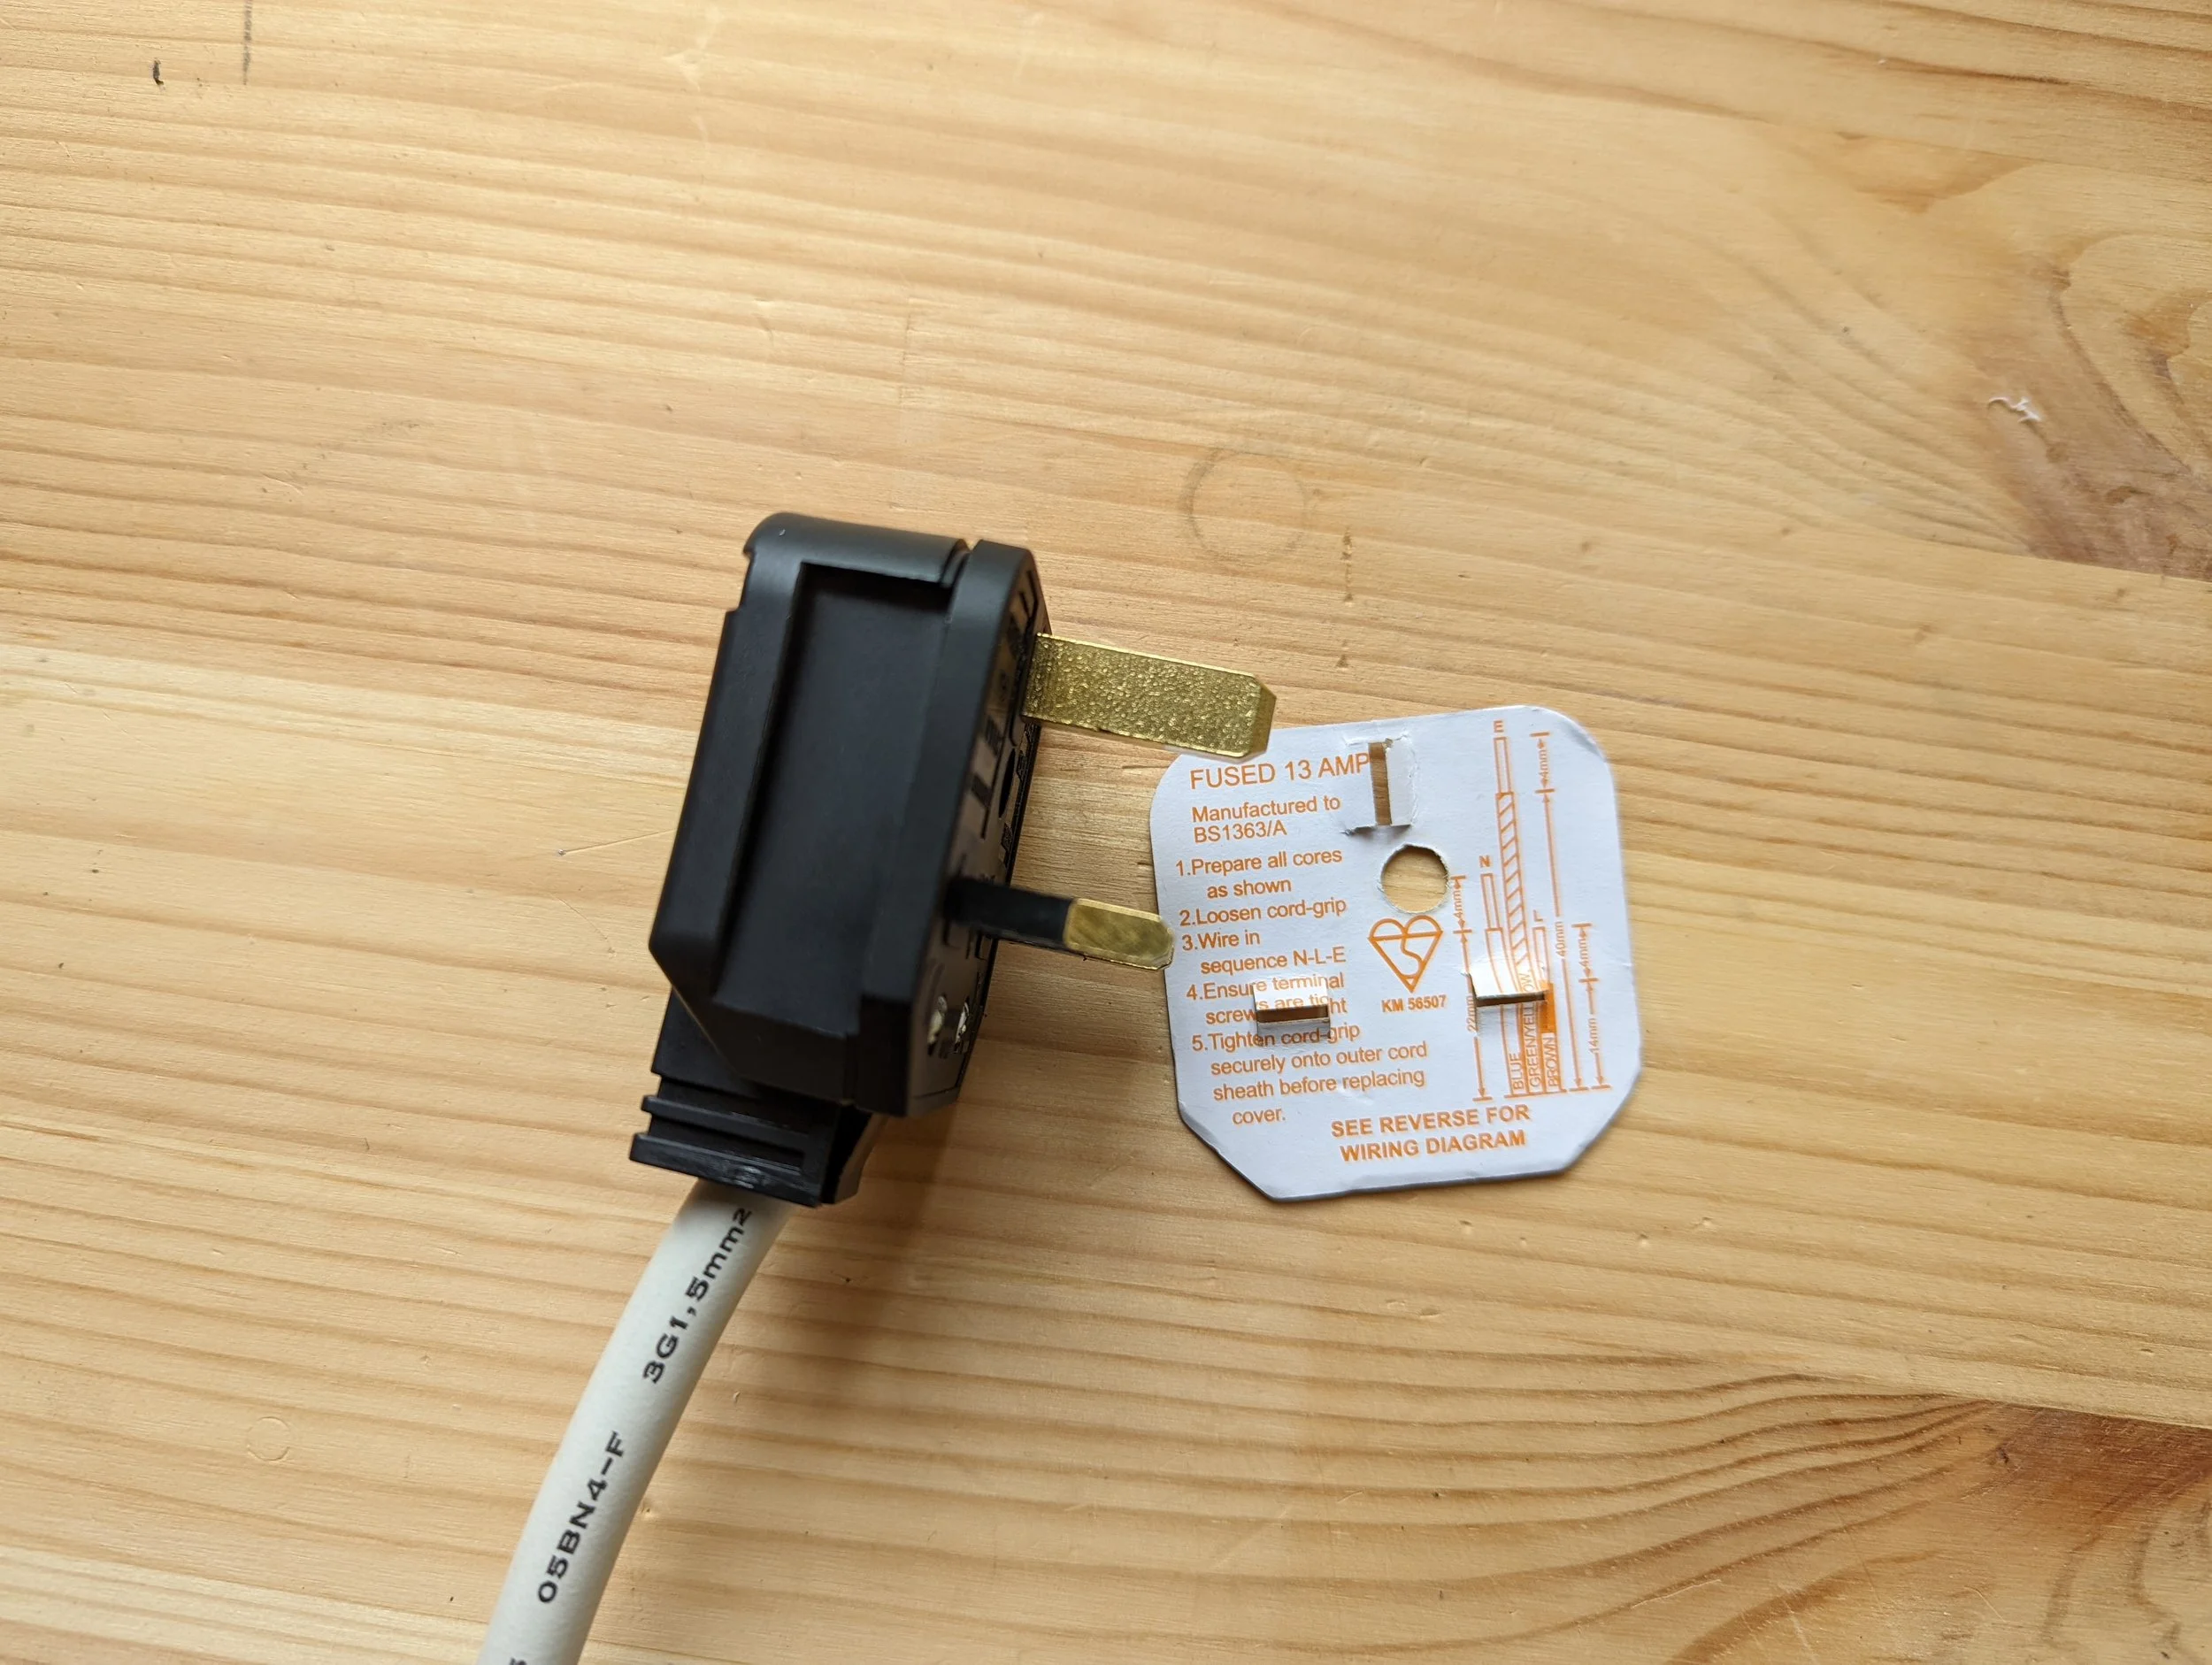
Close the plug cover.
Step 37
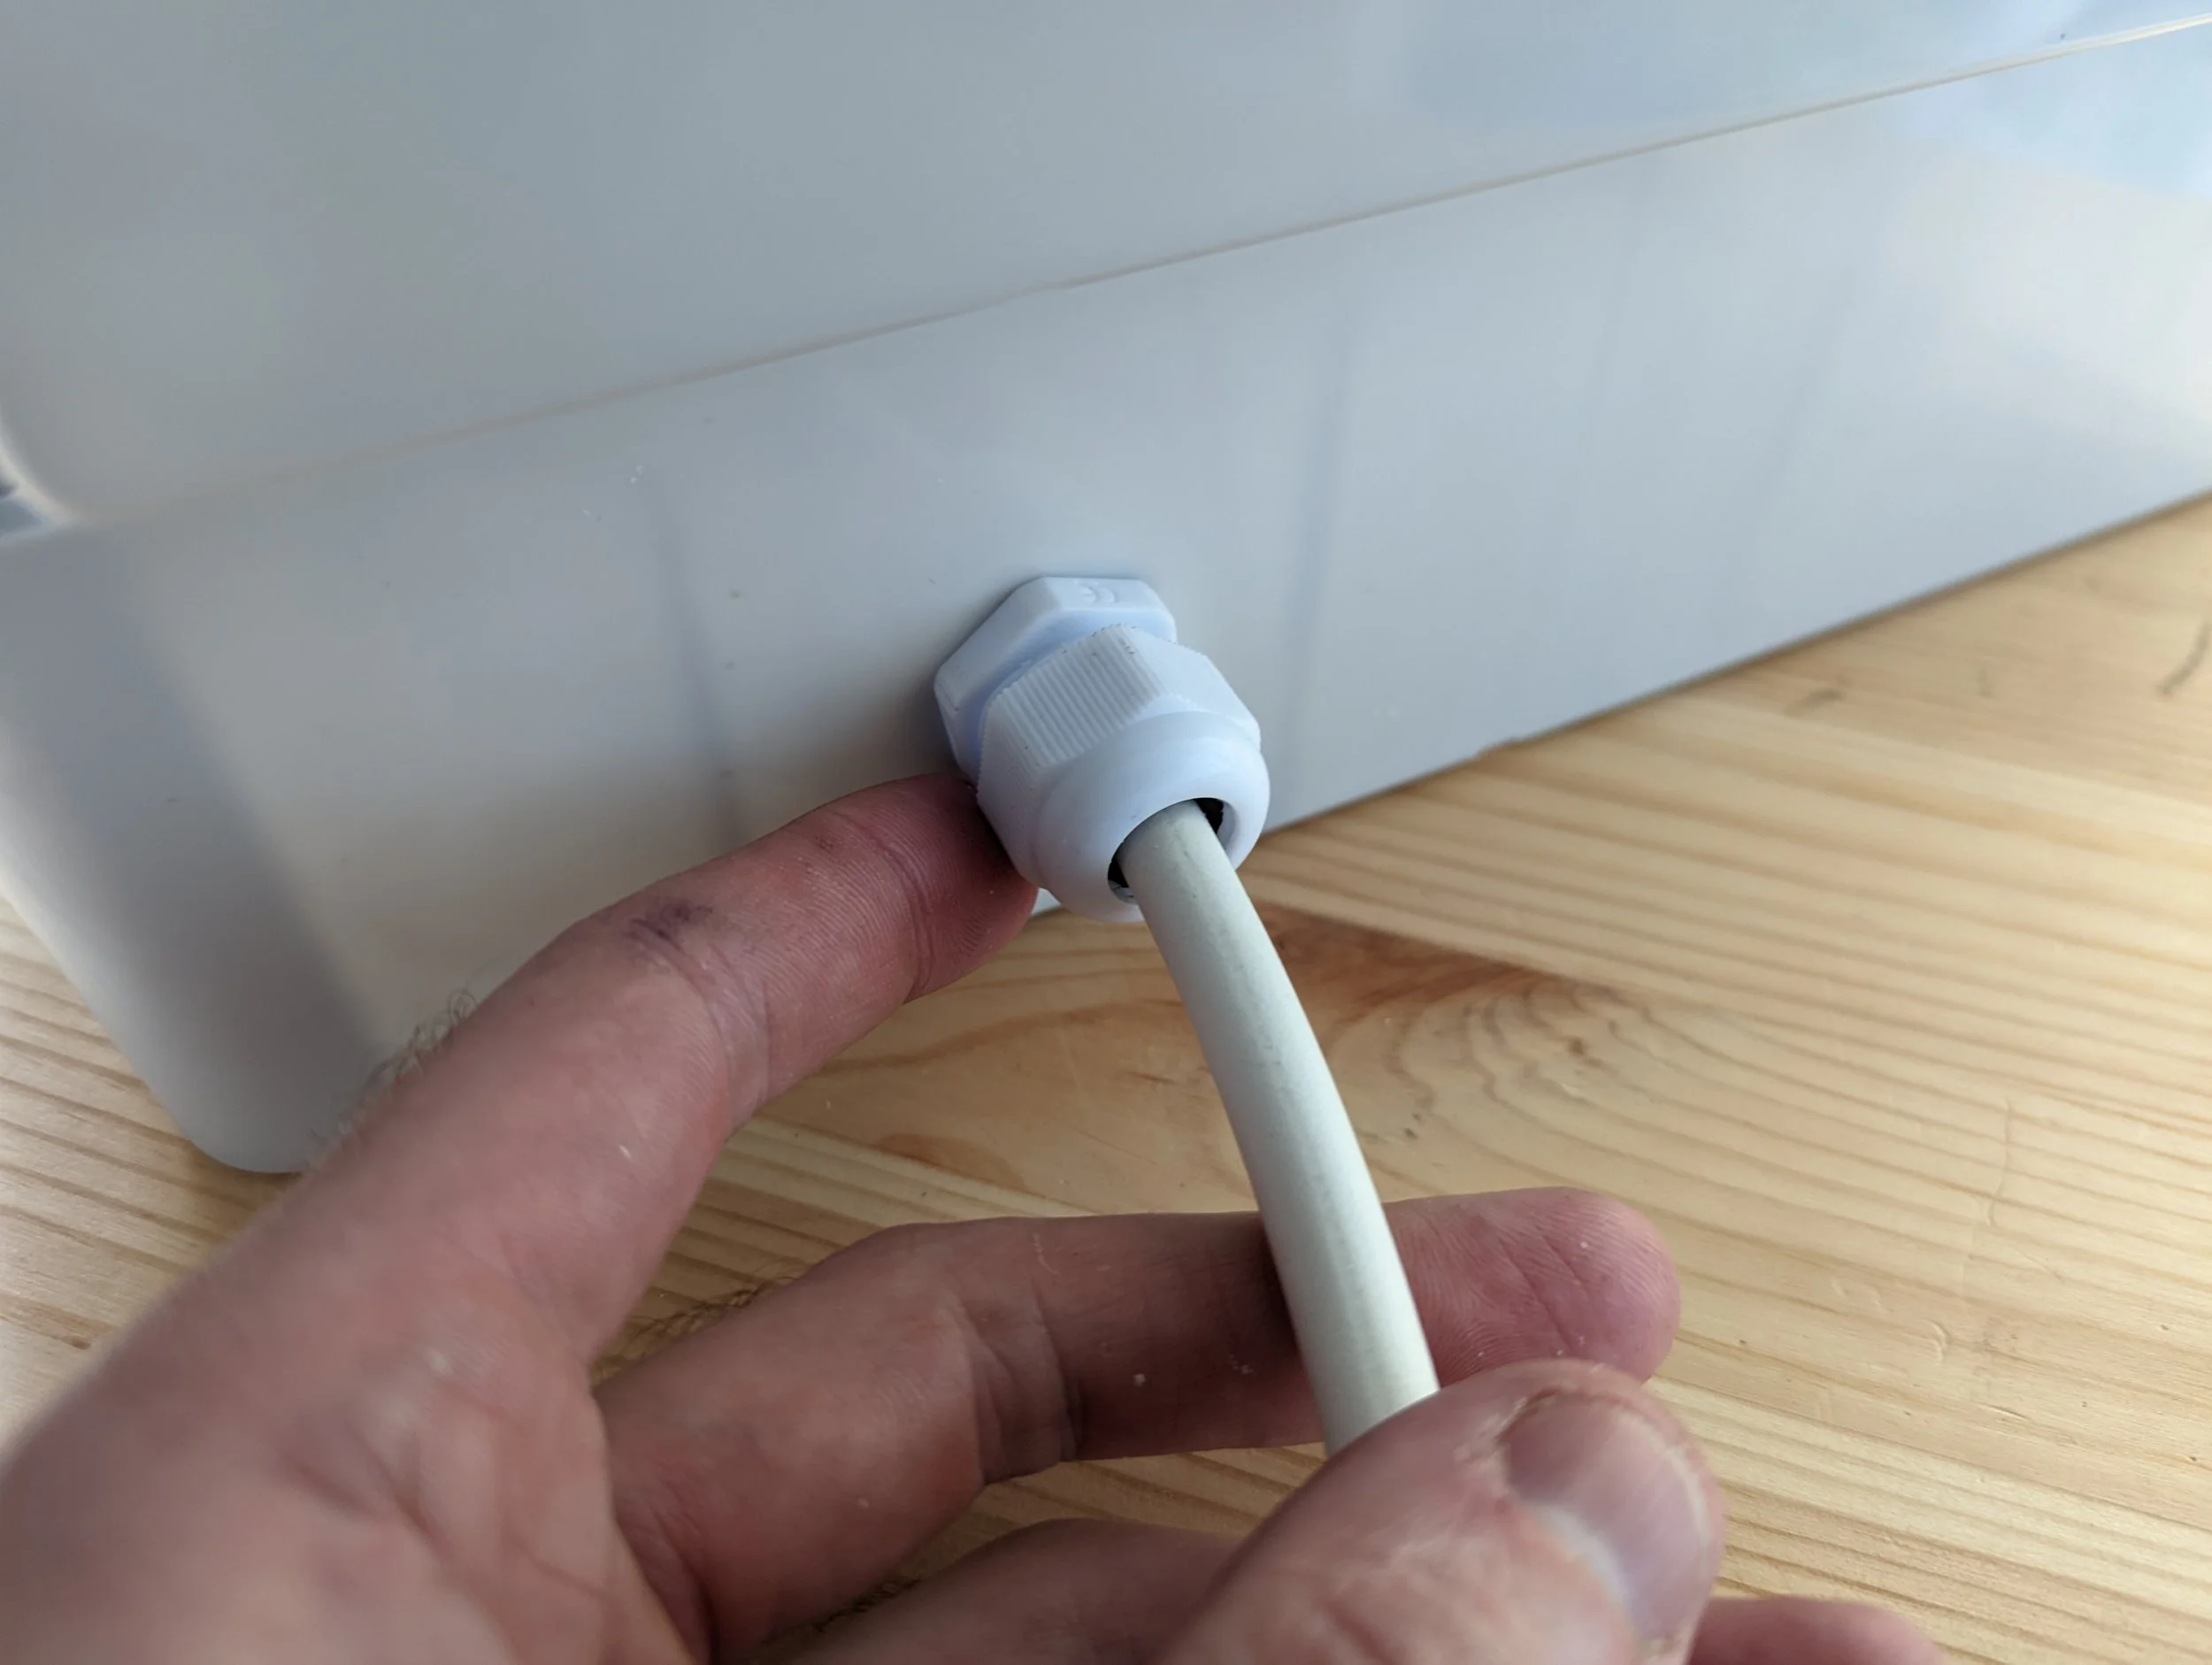
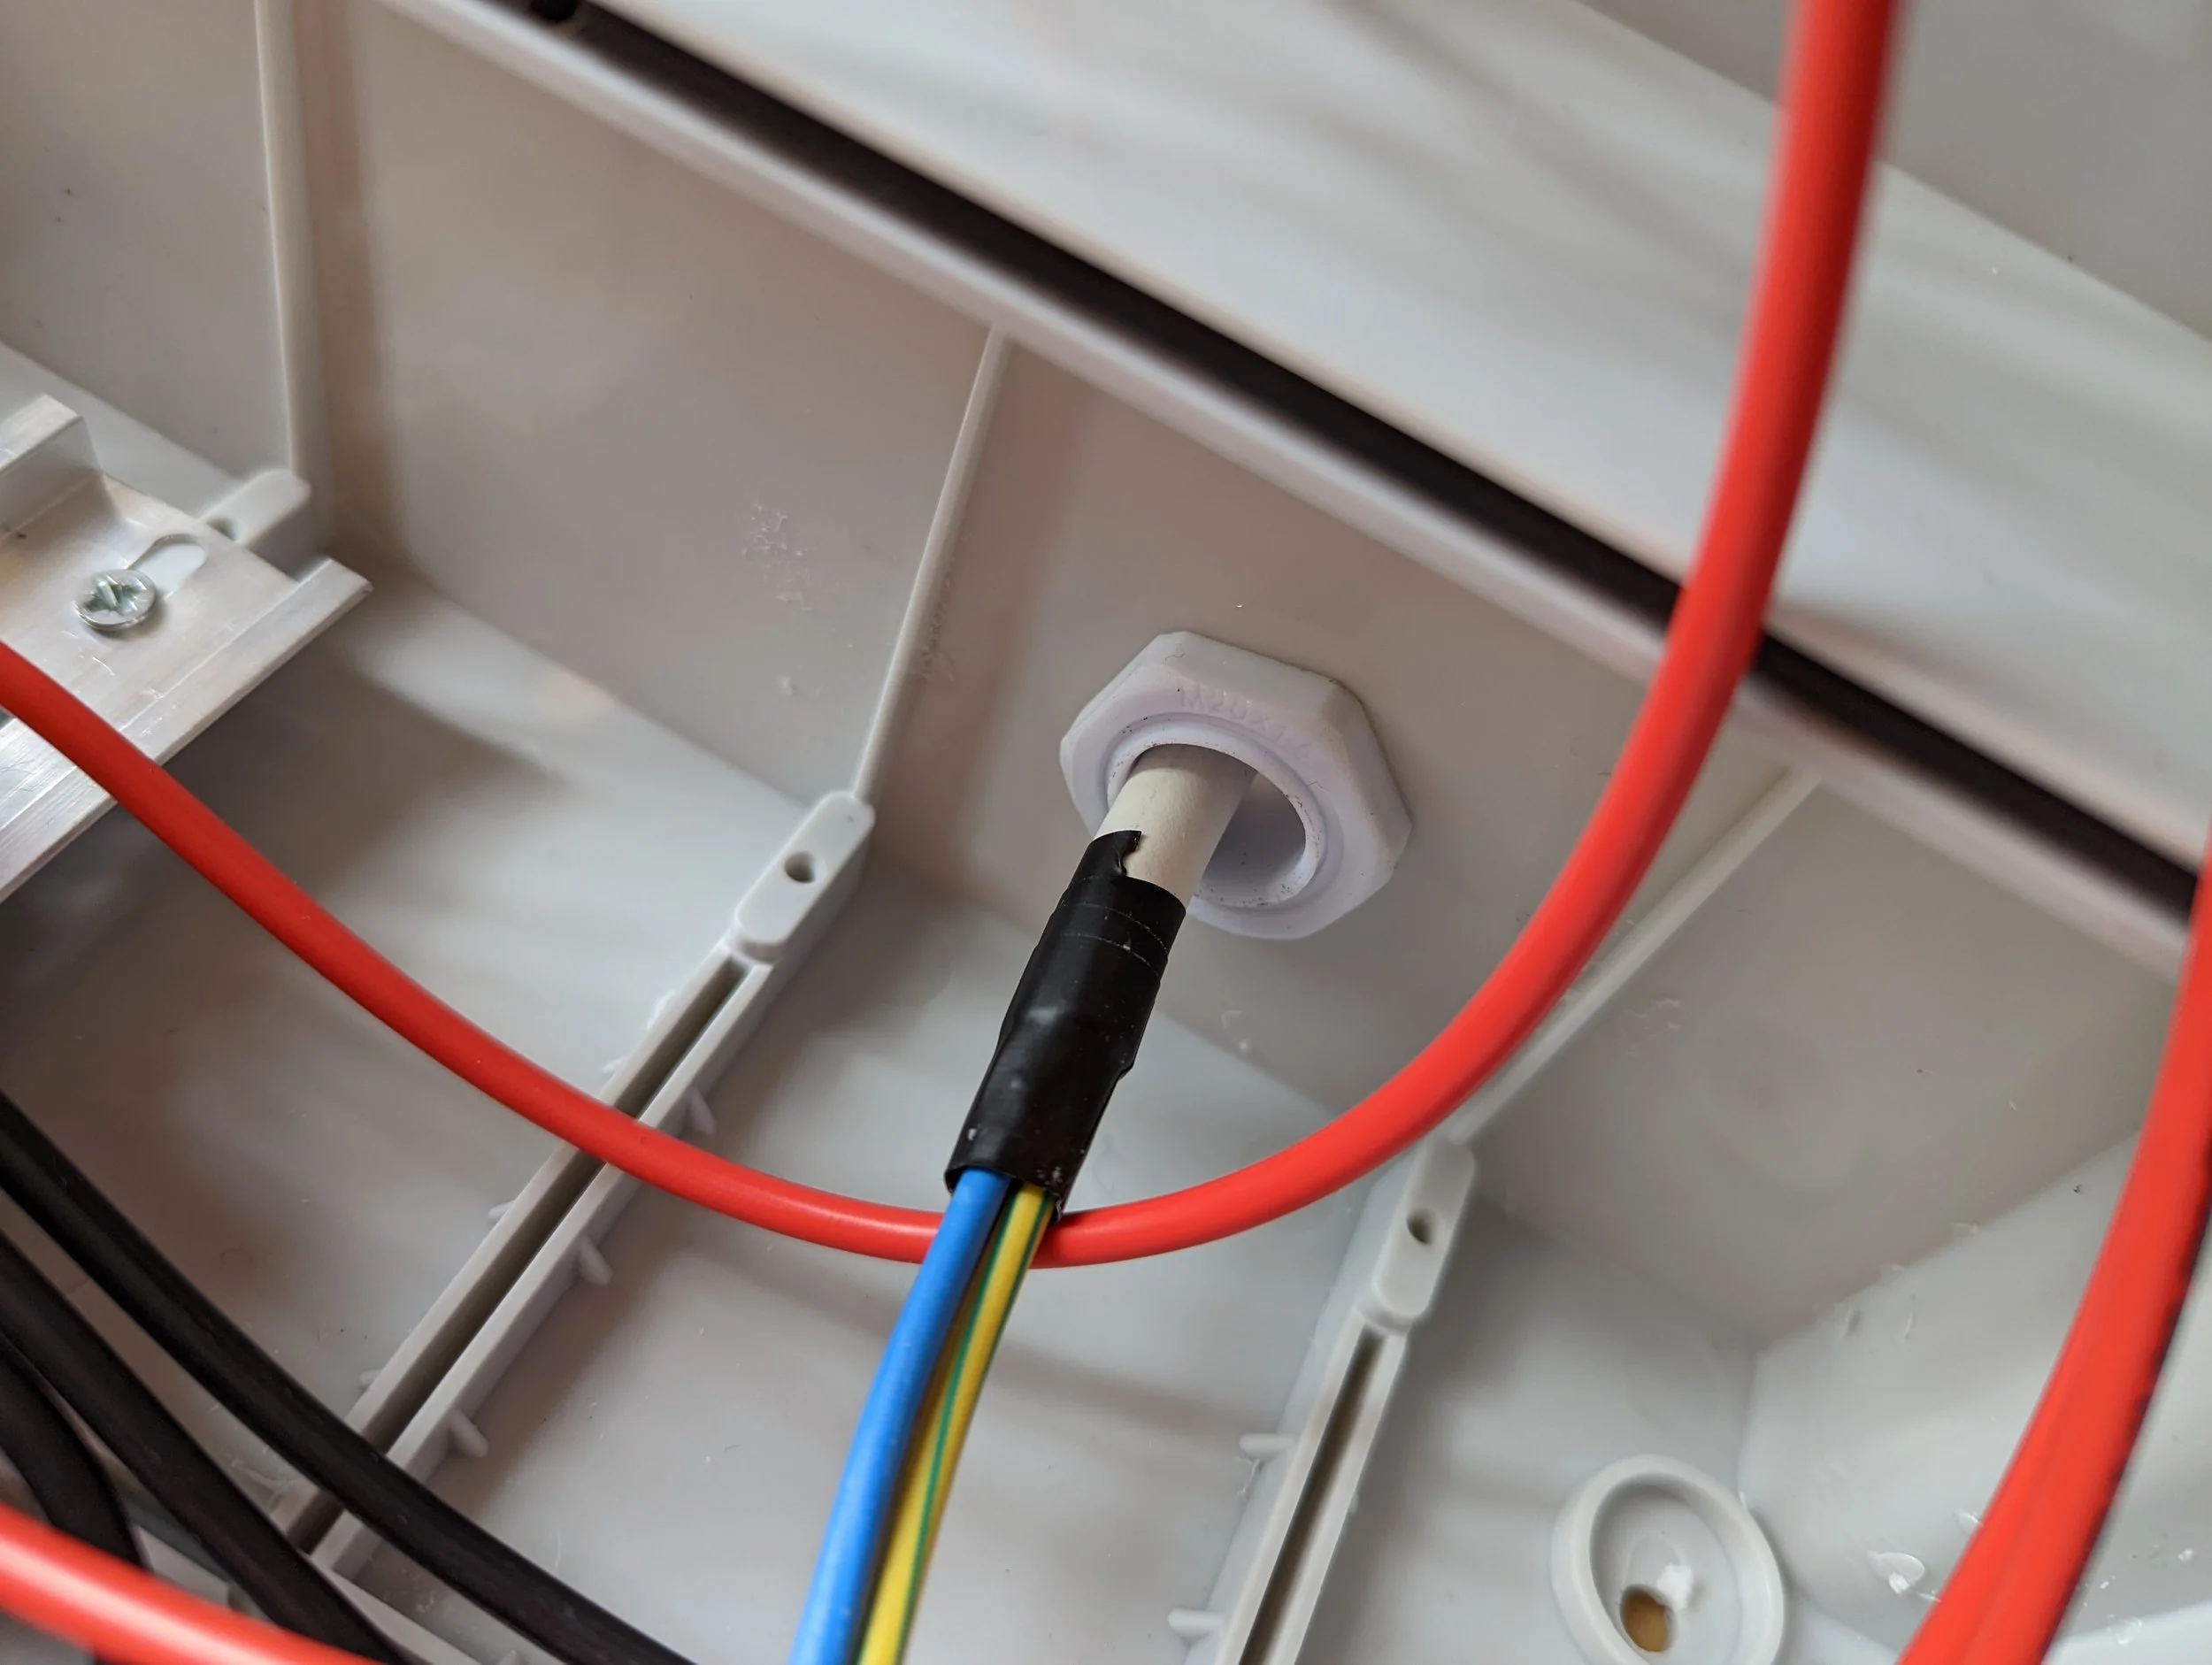
On the opposite end of the cable, plug thread the cables through the Wire Gland on the right side of the box (near the recently added hinges). Once threaded through, tighten the gland, locking the wire in place.
Step 38
You should have a bit of excess left inside the electronics box, allowing us to connect these to the terminals in the future.
Step 39
This step is probably the hardest of the whole build. This step must be implemented with caution and no mistakes must be made.
Below is a downloadable PDF. It states the wire Colour, Length, Connection Types and most importantly where each end of the cable is to be connected.
The numbers correspond with the numbers you added in Step 16. The Switch numbers are those mentioned in Step 24.
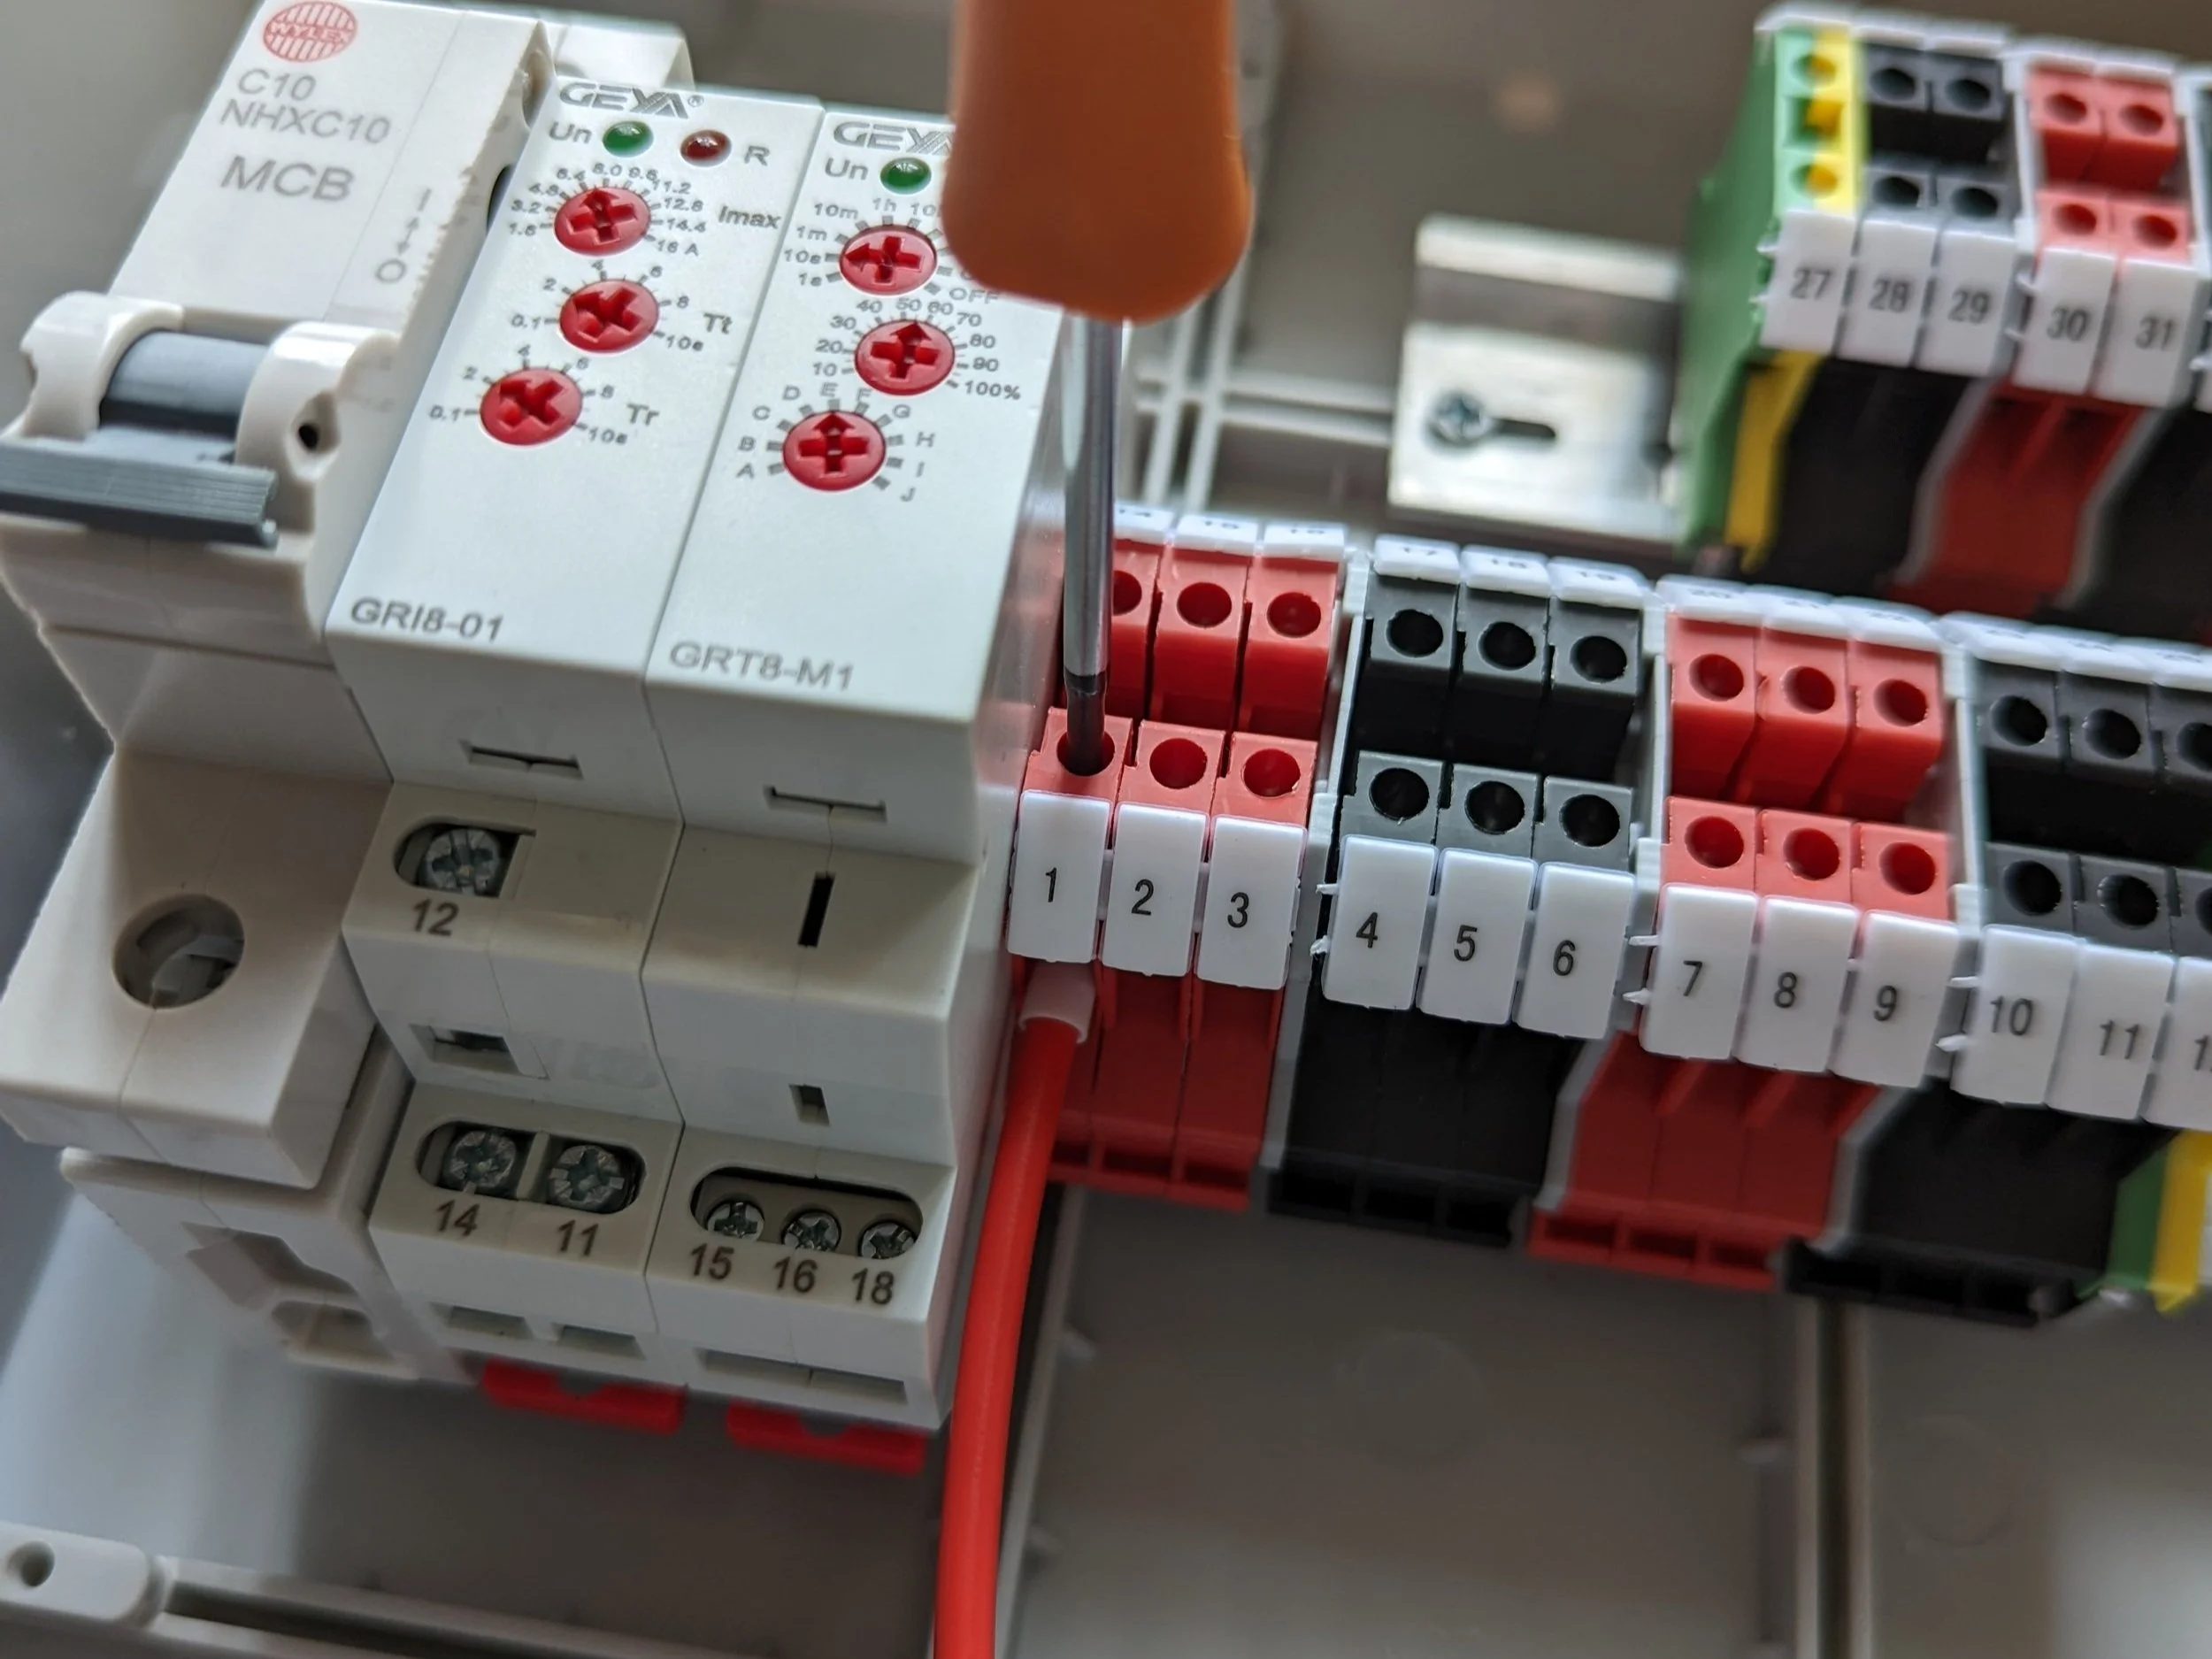
For connecting the ends to the Coloured Terminal Blocks, You will first need to unscrew the screw on the top and then press in the wire firmly. Then tighten the screw. Give the cable a good tug after each insertion to make sure that the connection is solid.
Remember: We are always here to help. You can find our contact information at the bottom of this page should you have a question!
Step 40
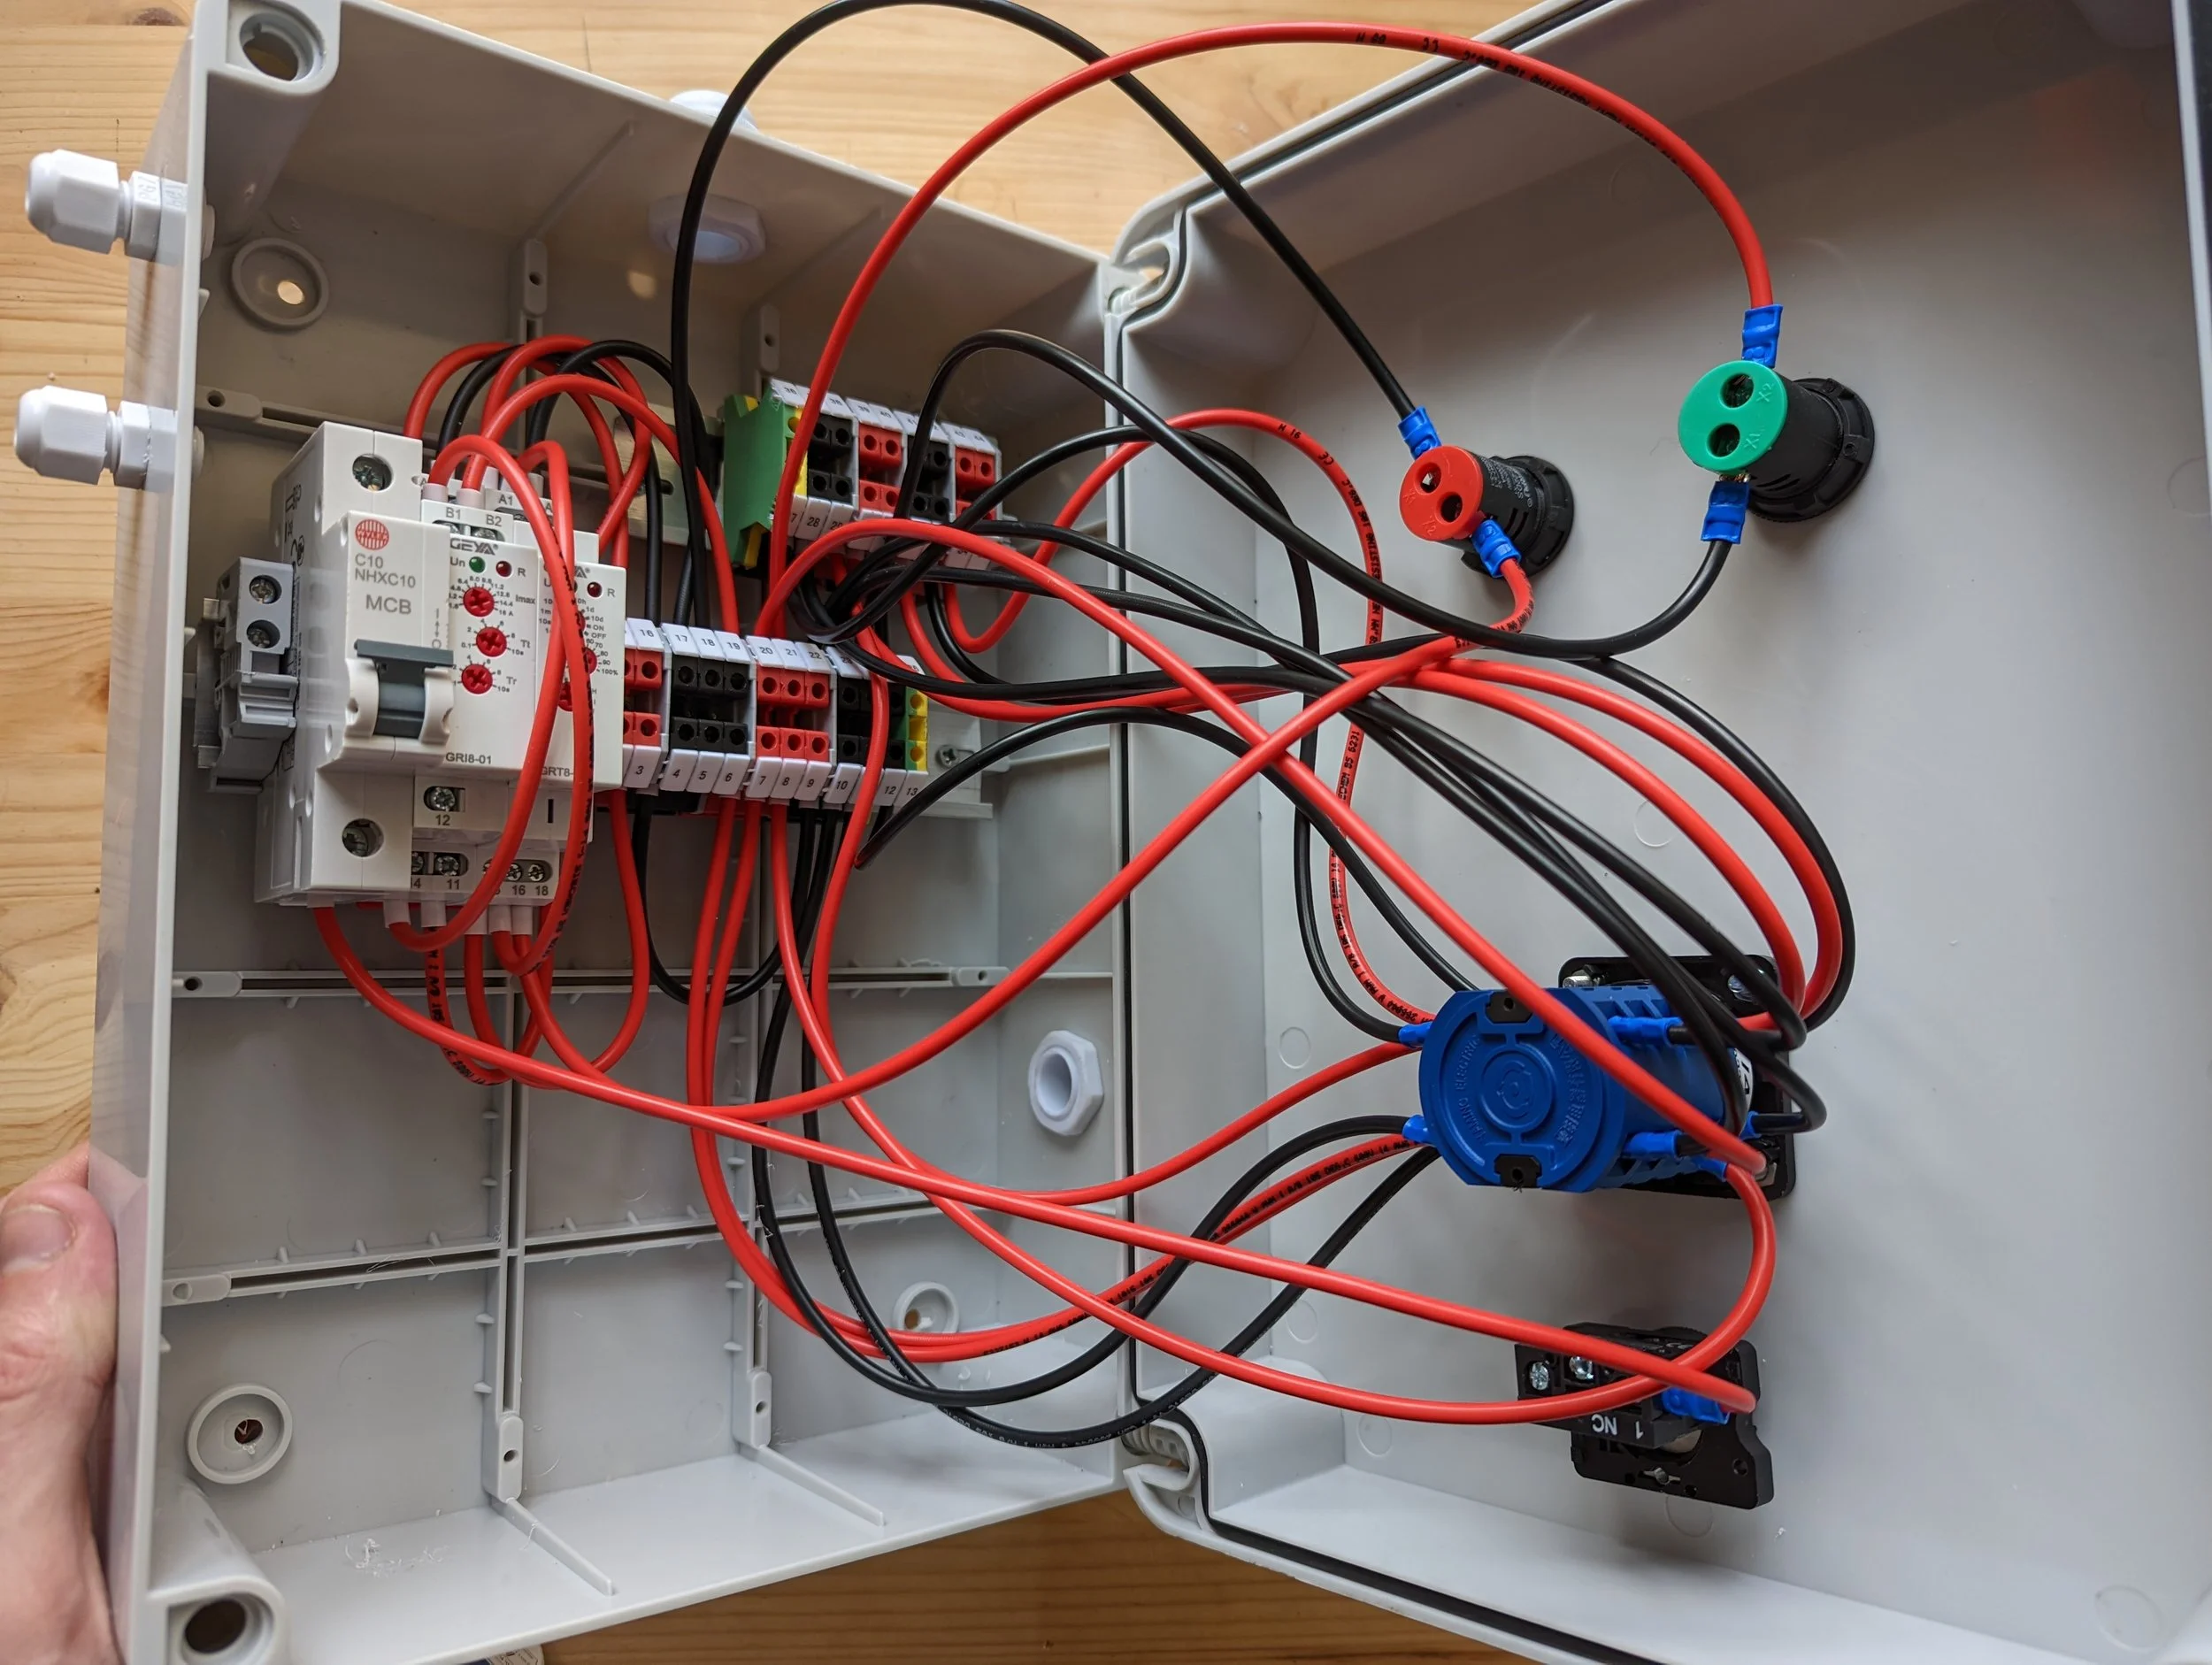
After following all the wiring connections you should be left with something like this.
Step 41
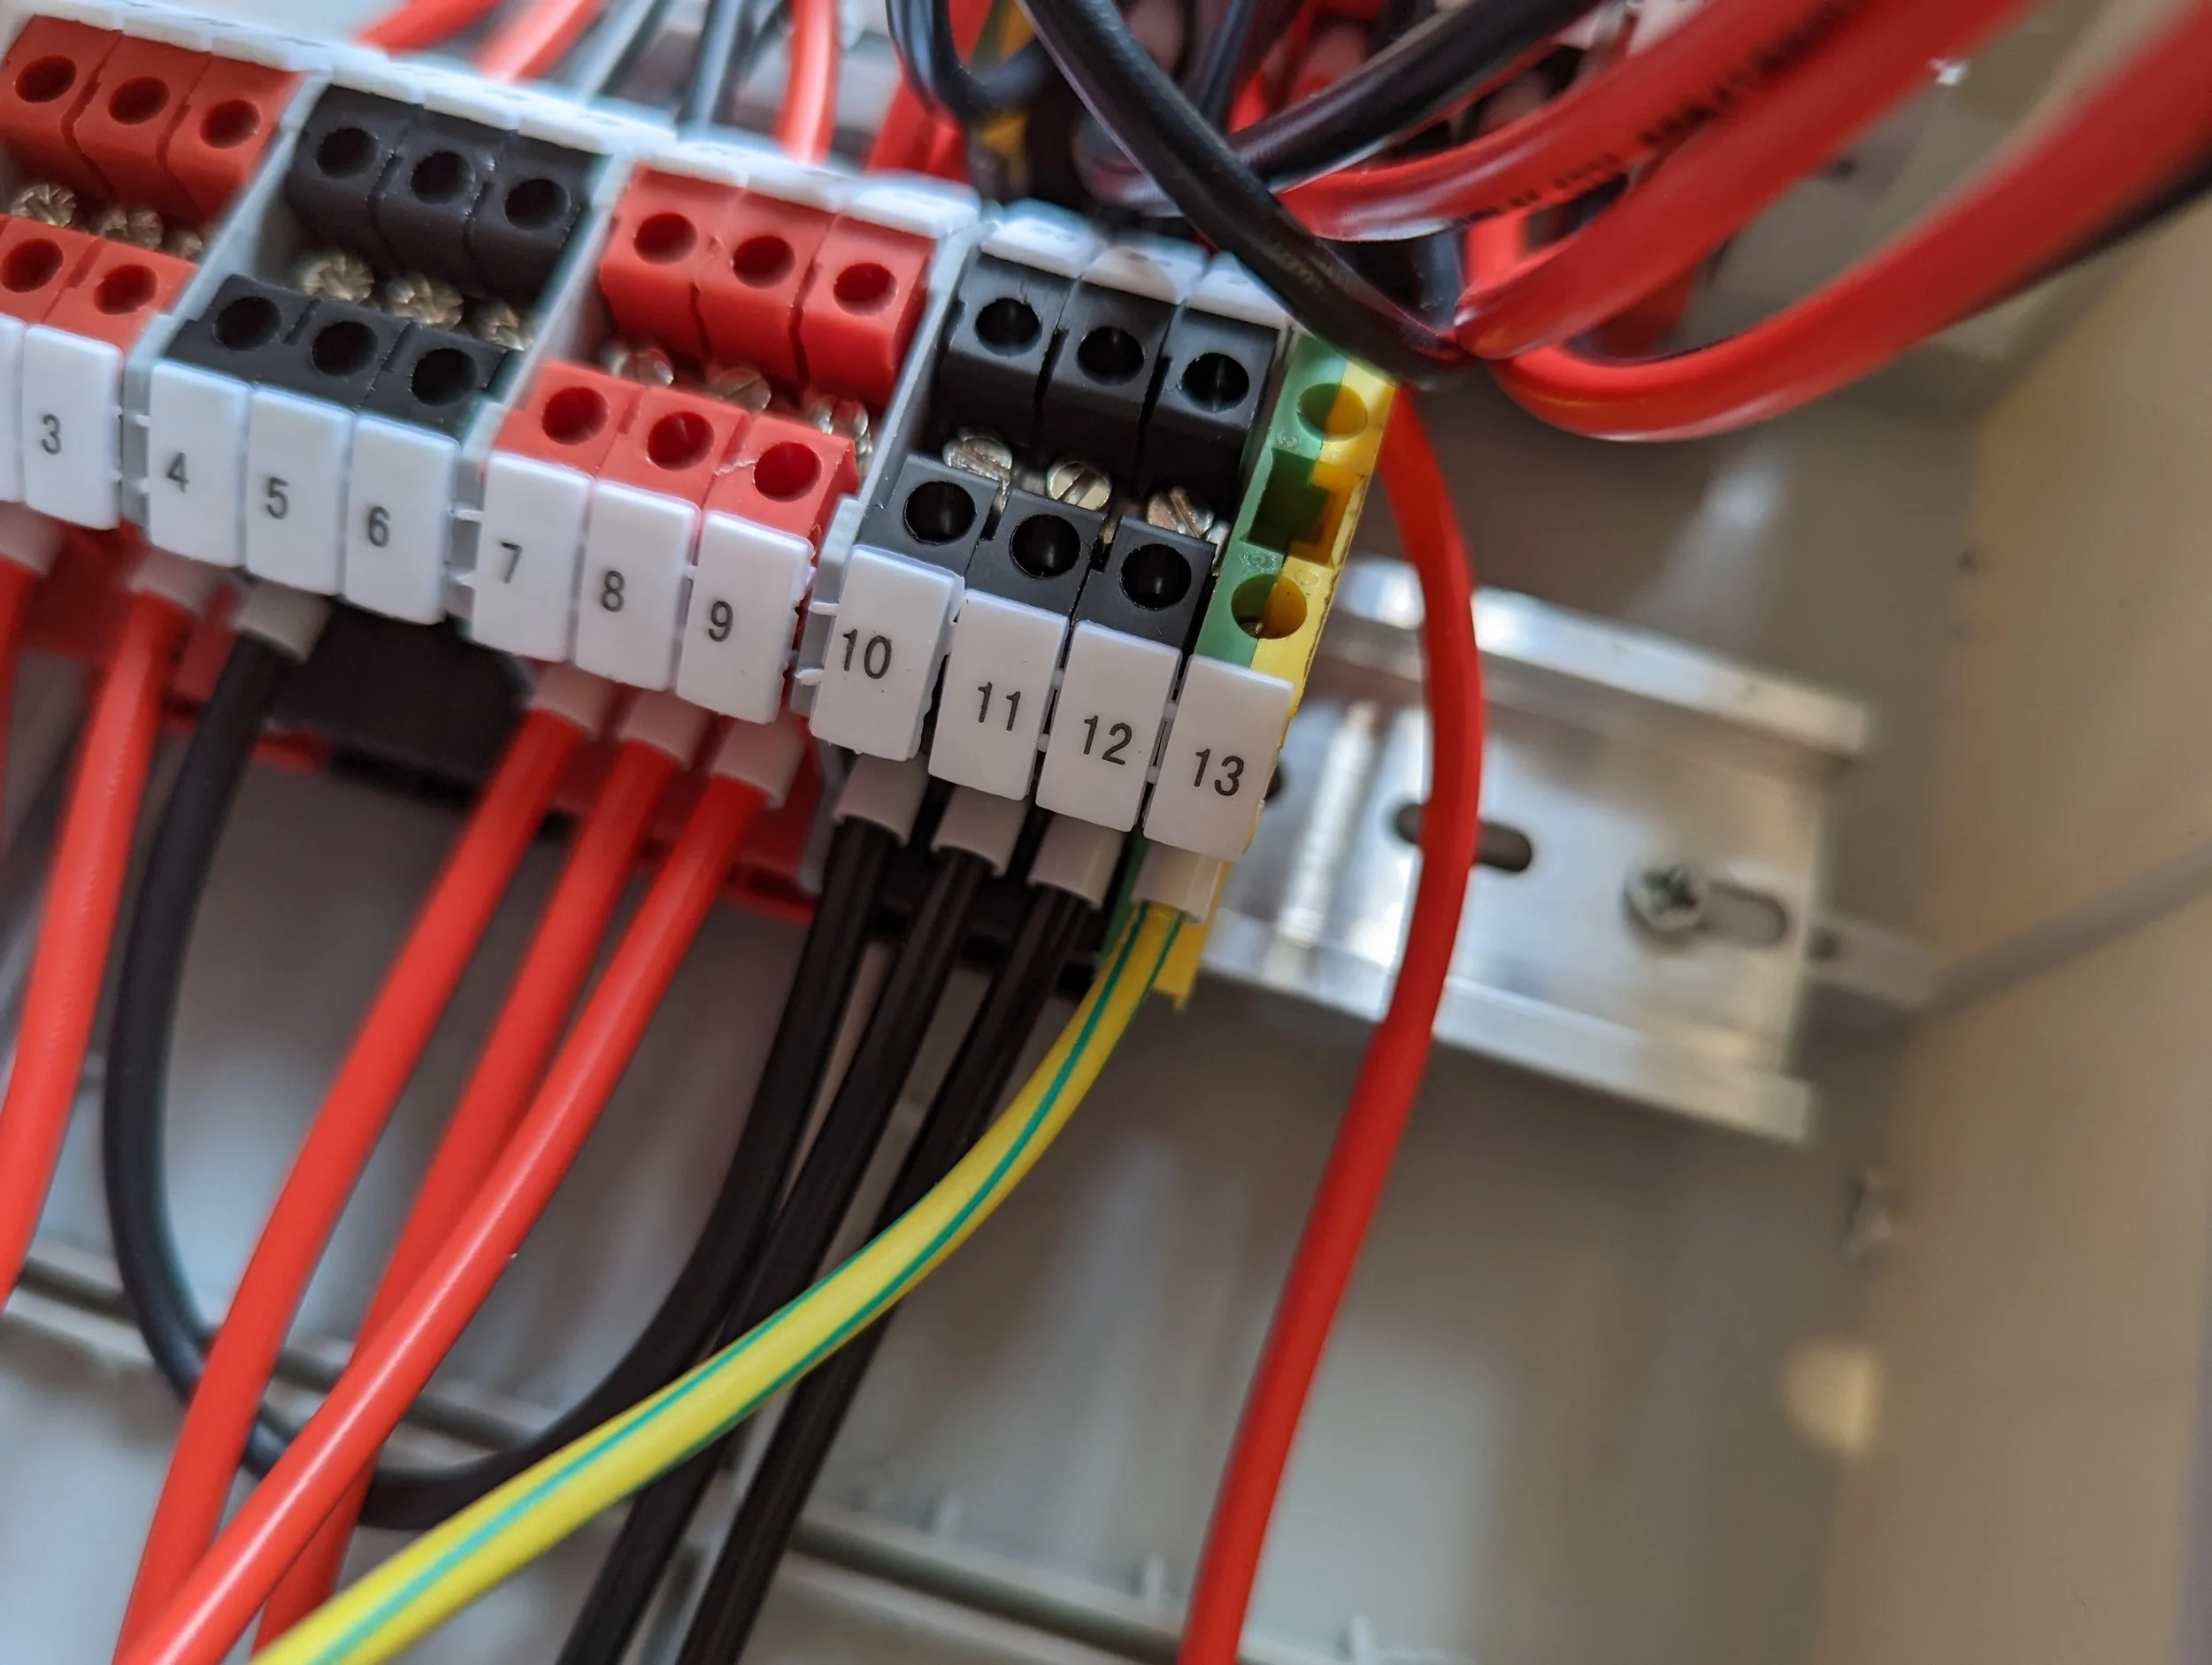
Please double check that point 13, 26, 27 are firmly connected with Ground Cables.
Step 42
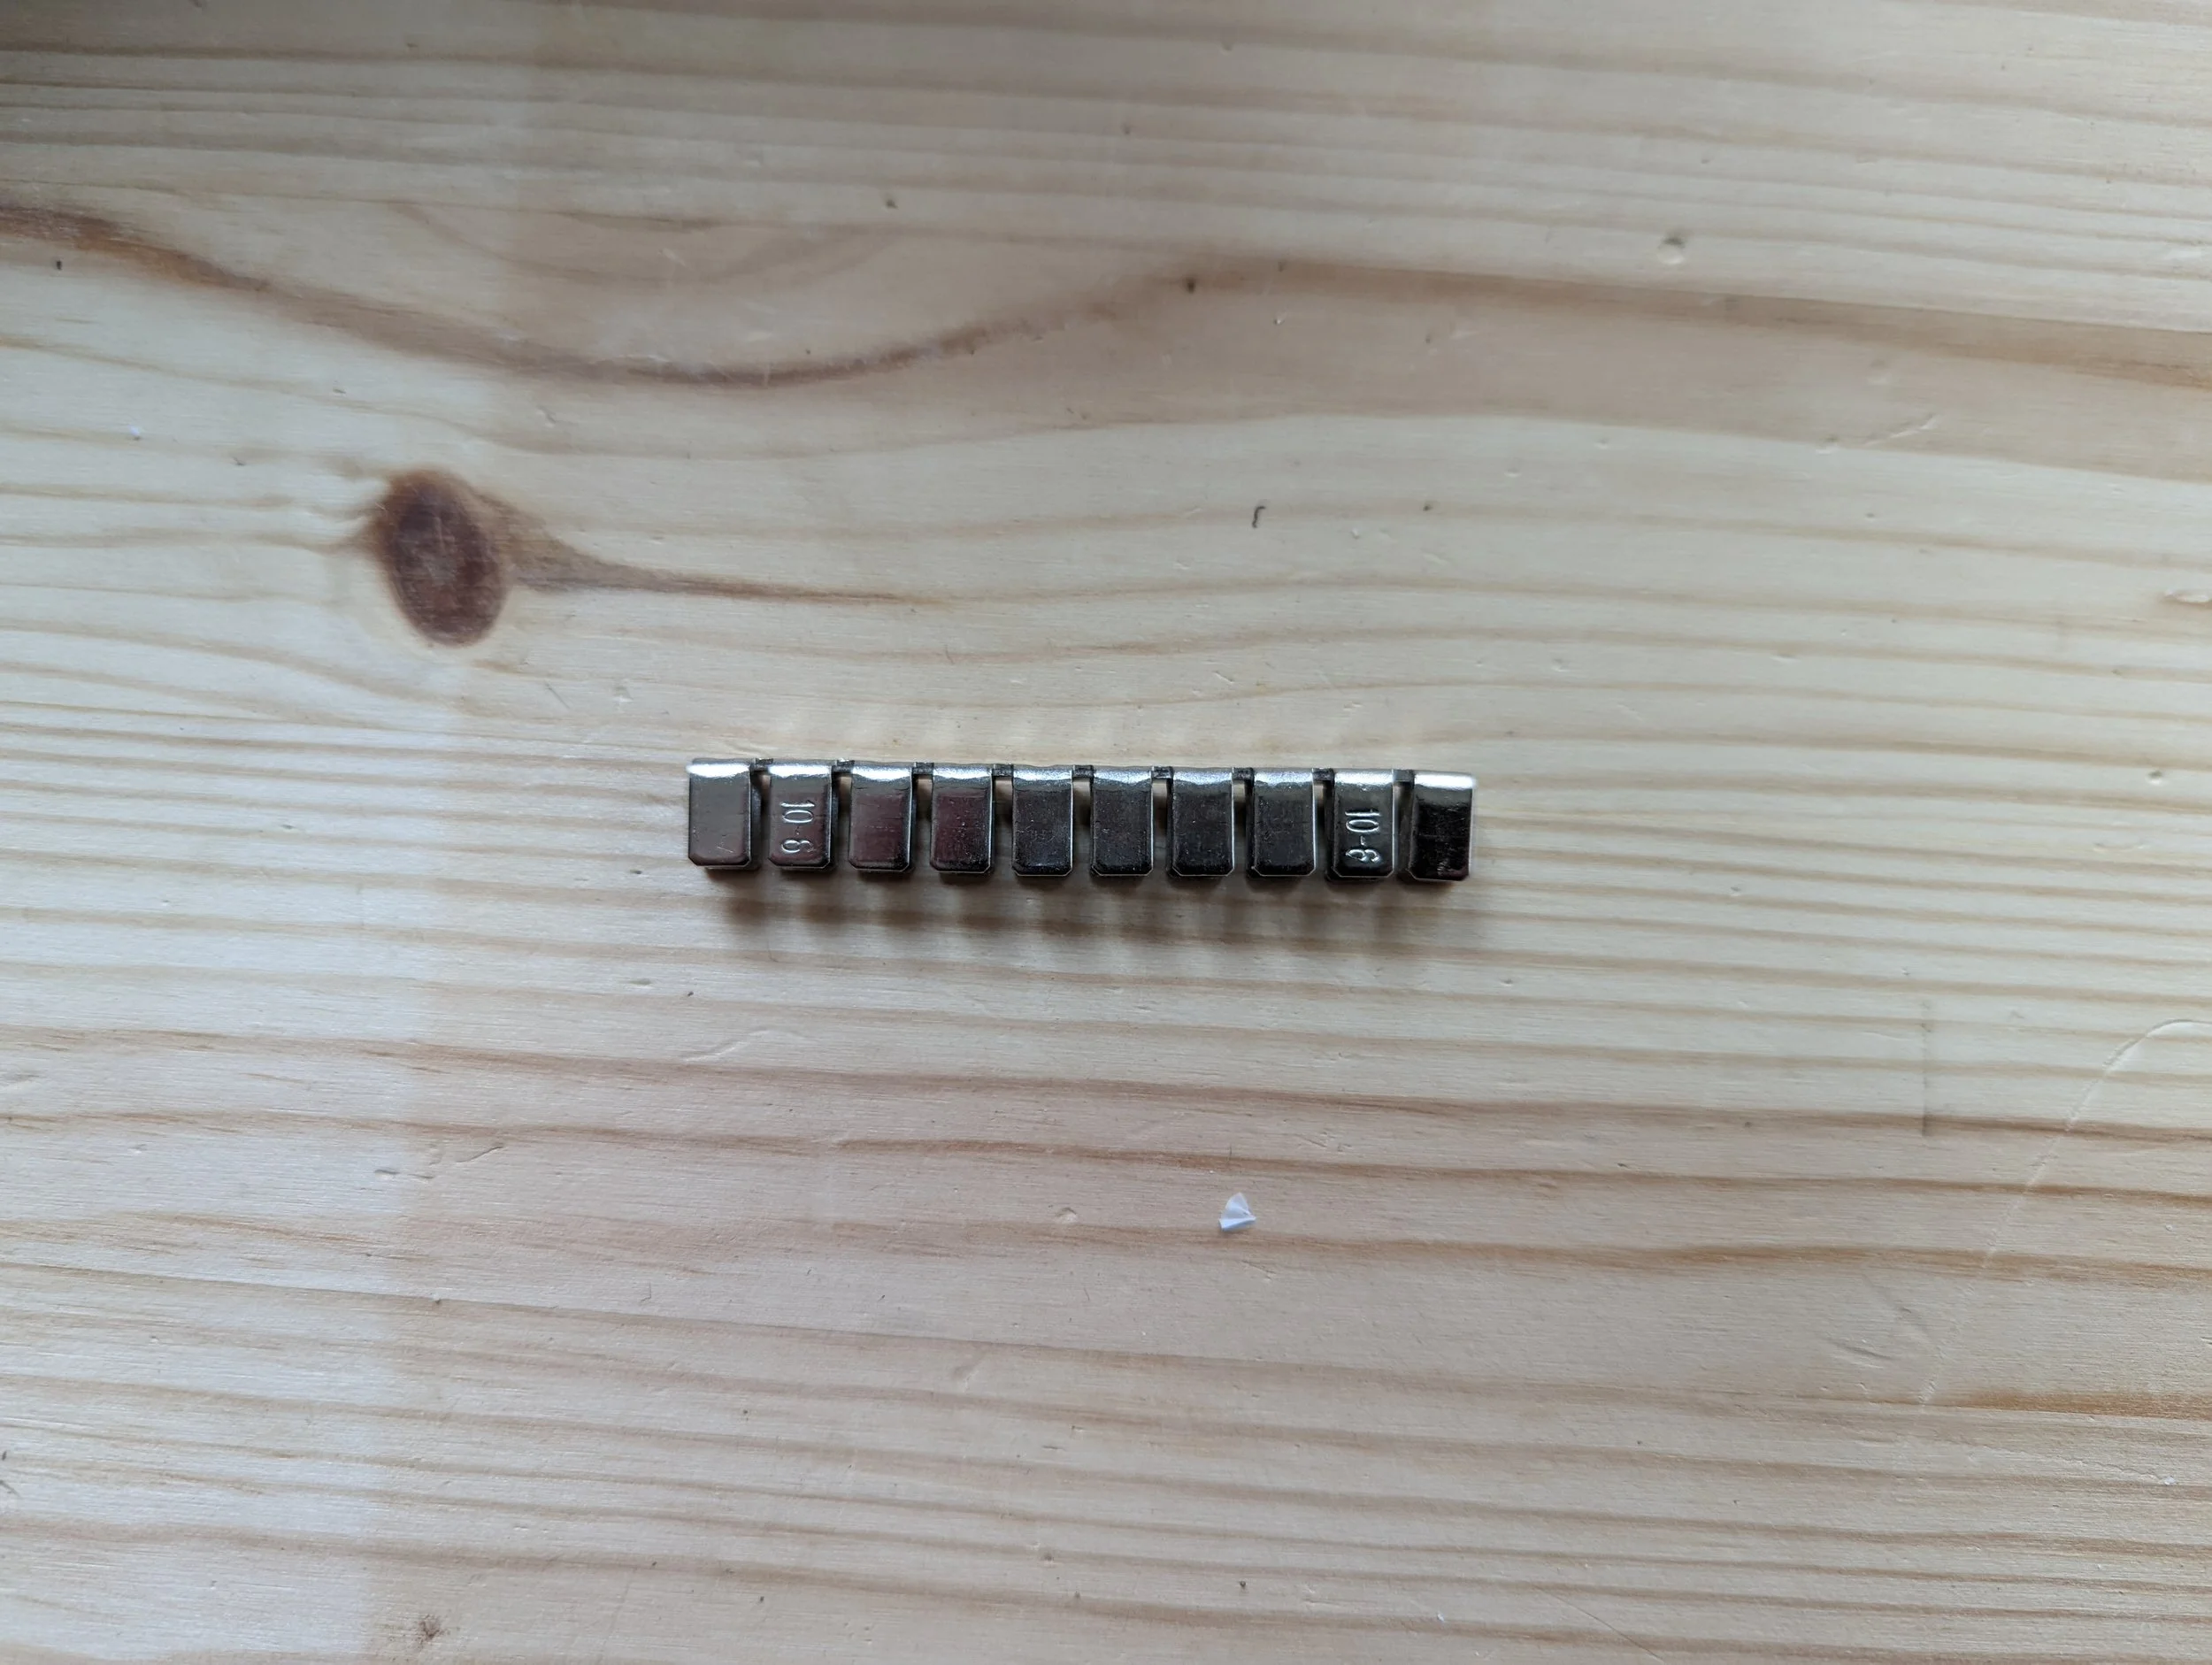
We now need to connect the metal strips, but these need to be broken into strips of 3 and 2. Each row comes in a row of 10. Which should be split segments into 2pcs of Three, and 2pcs of Two.
You can do this with pliers.
Step 43
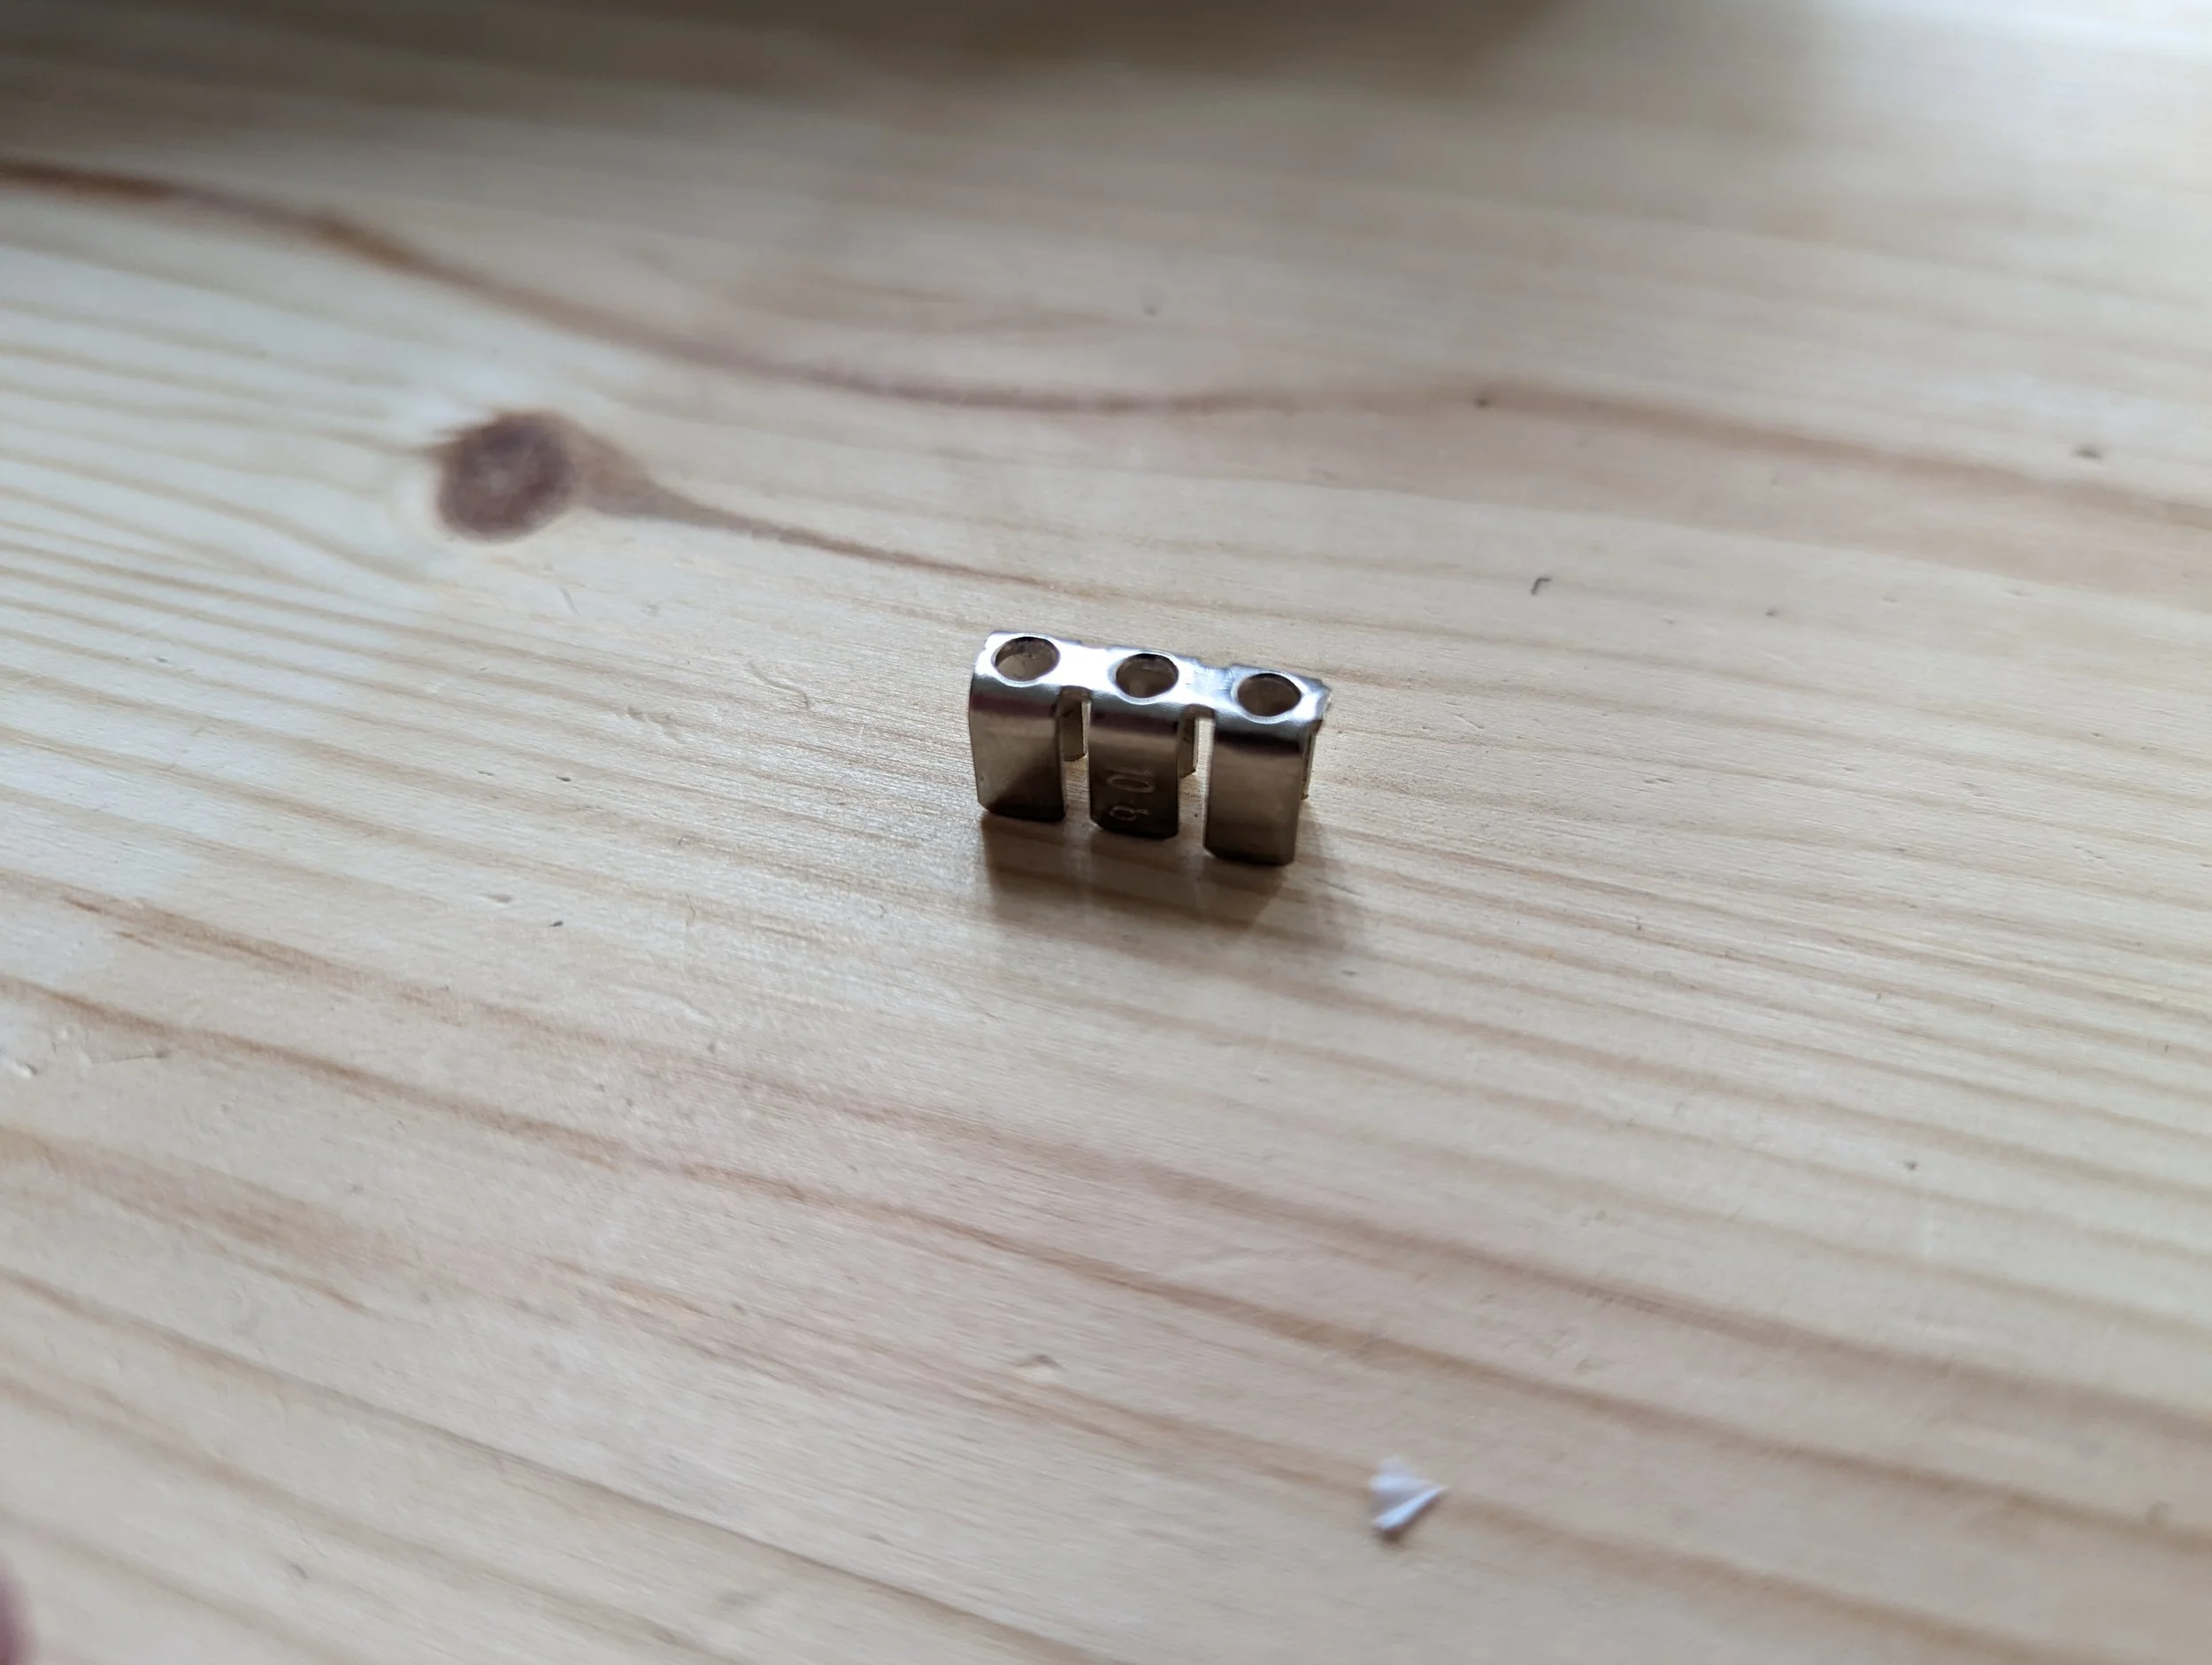
A Three Pcs segment looks like this.
Step 44
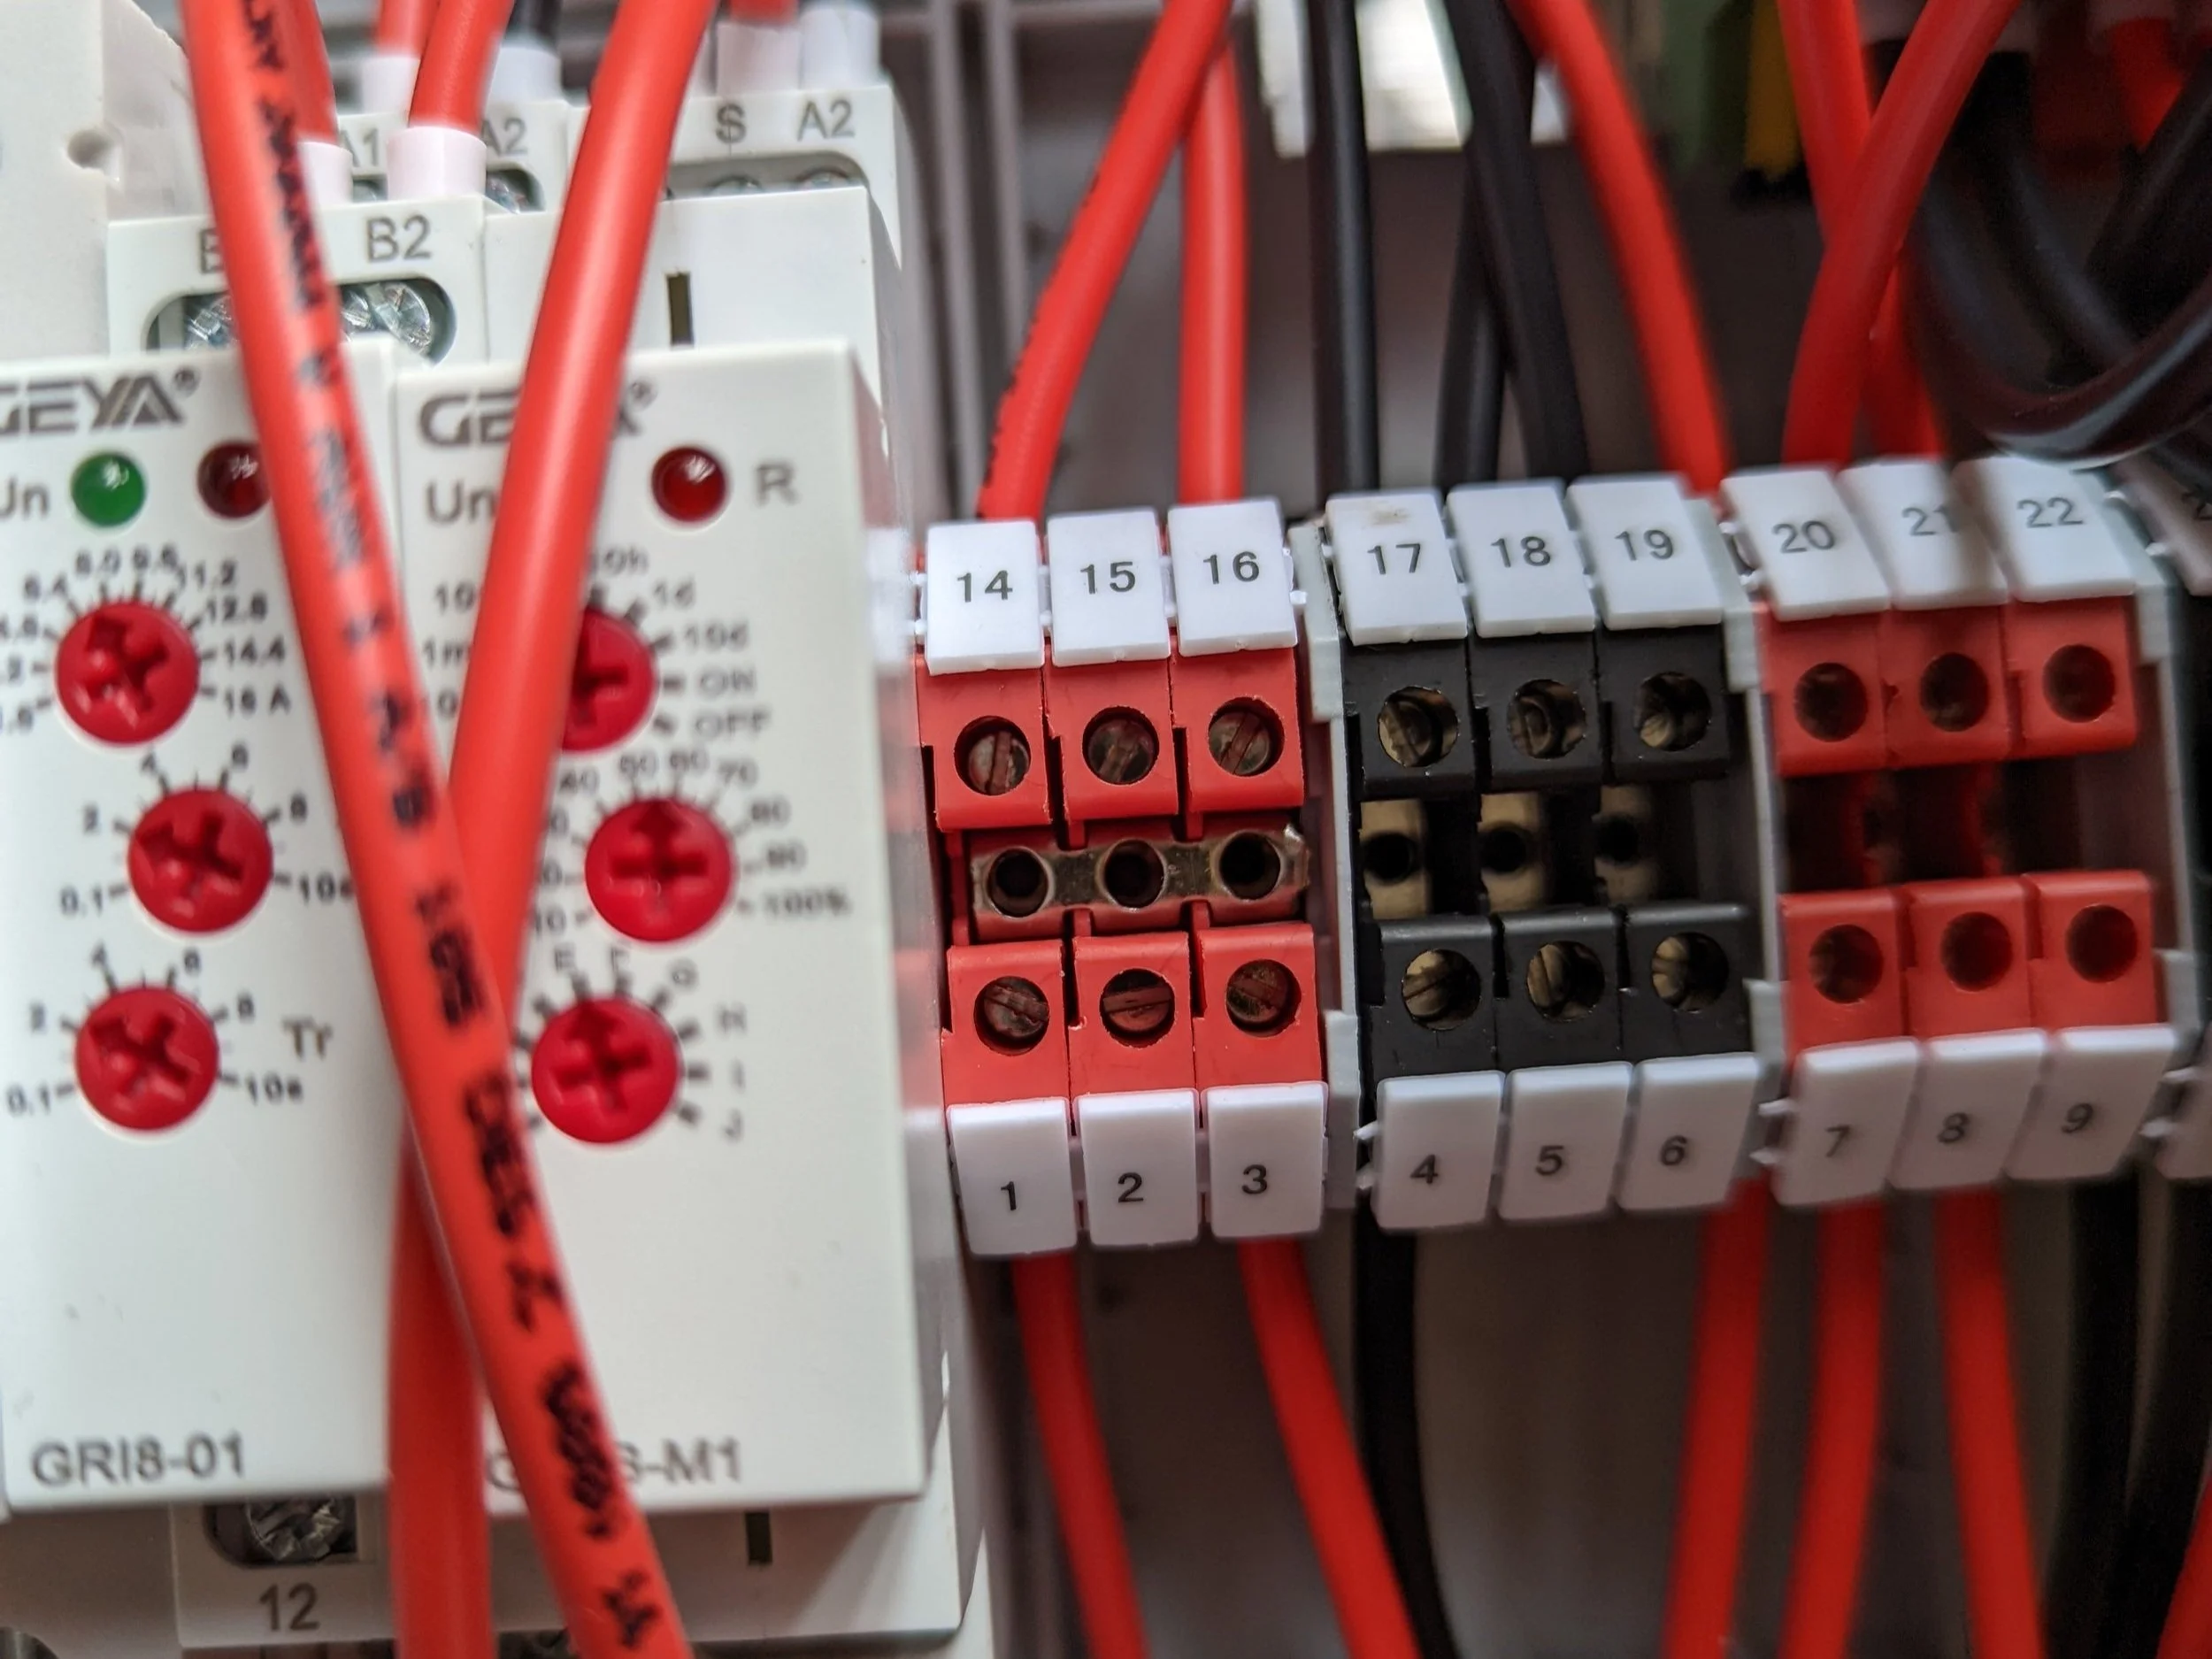
It is then placed into the space between 14-16 & 1-3 as shown.
Step 45
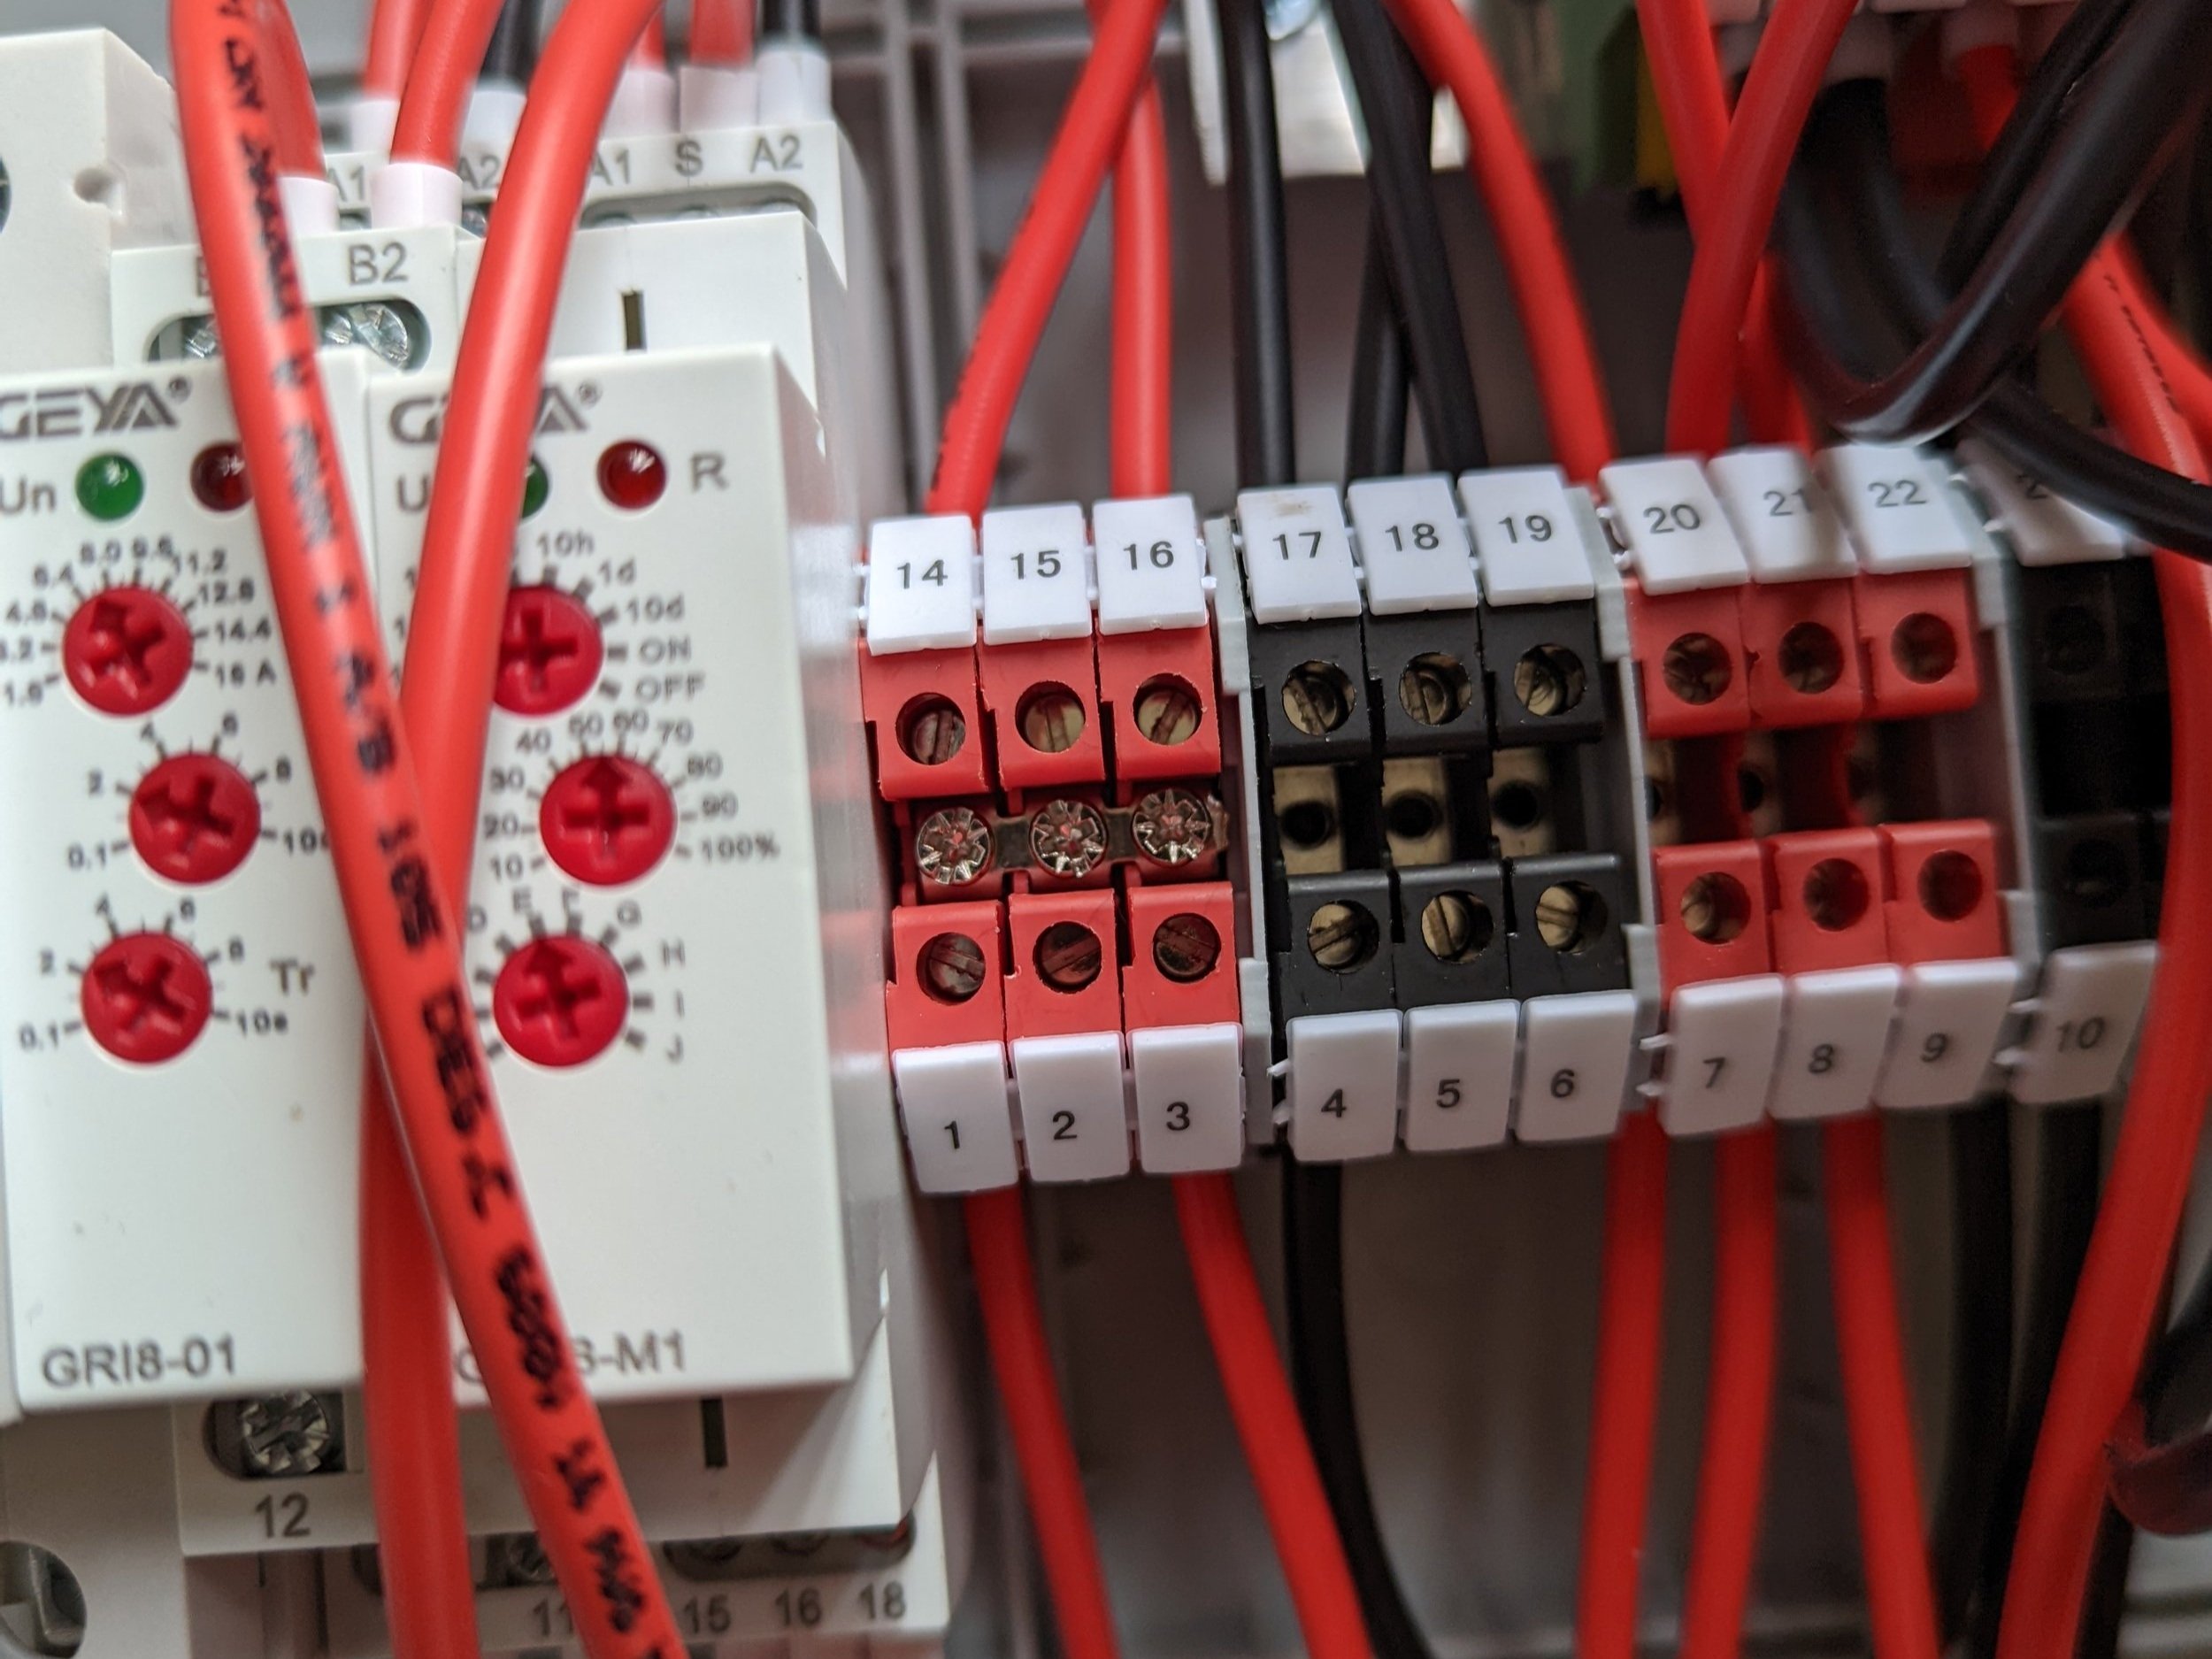
Then using the 3 small screws, place a screw into each hole, tightening into place.
These are bridging the contacts making sure 1,2,3,14,15,16 all are now connected.
Step 46
Now repeat this step for all the contacts. Filling in the gaps for all the sets of Three on the bottom rail and all the sets of Two on the top rail.
Step 47
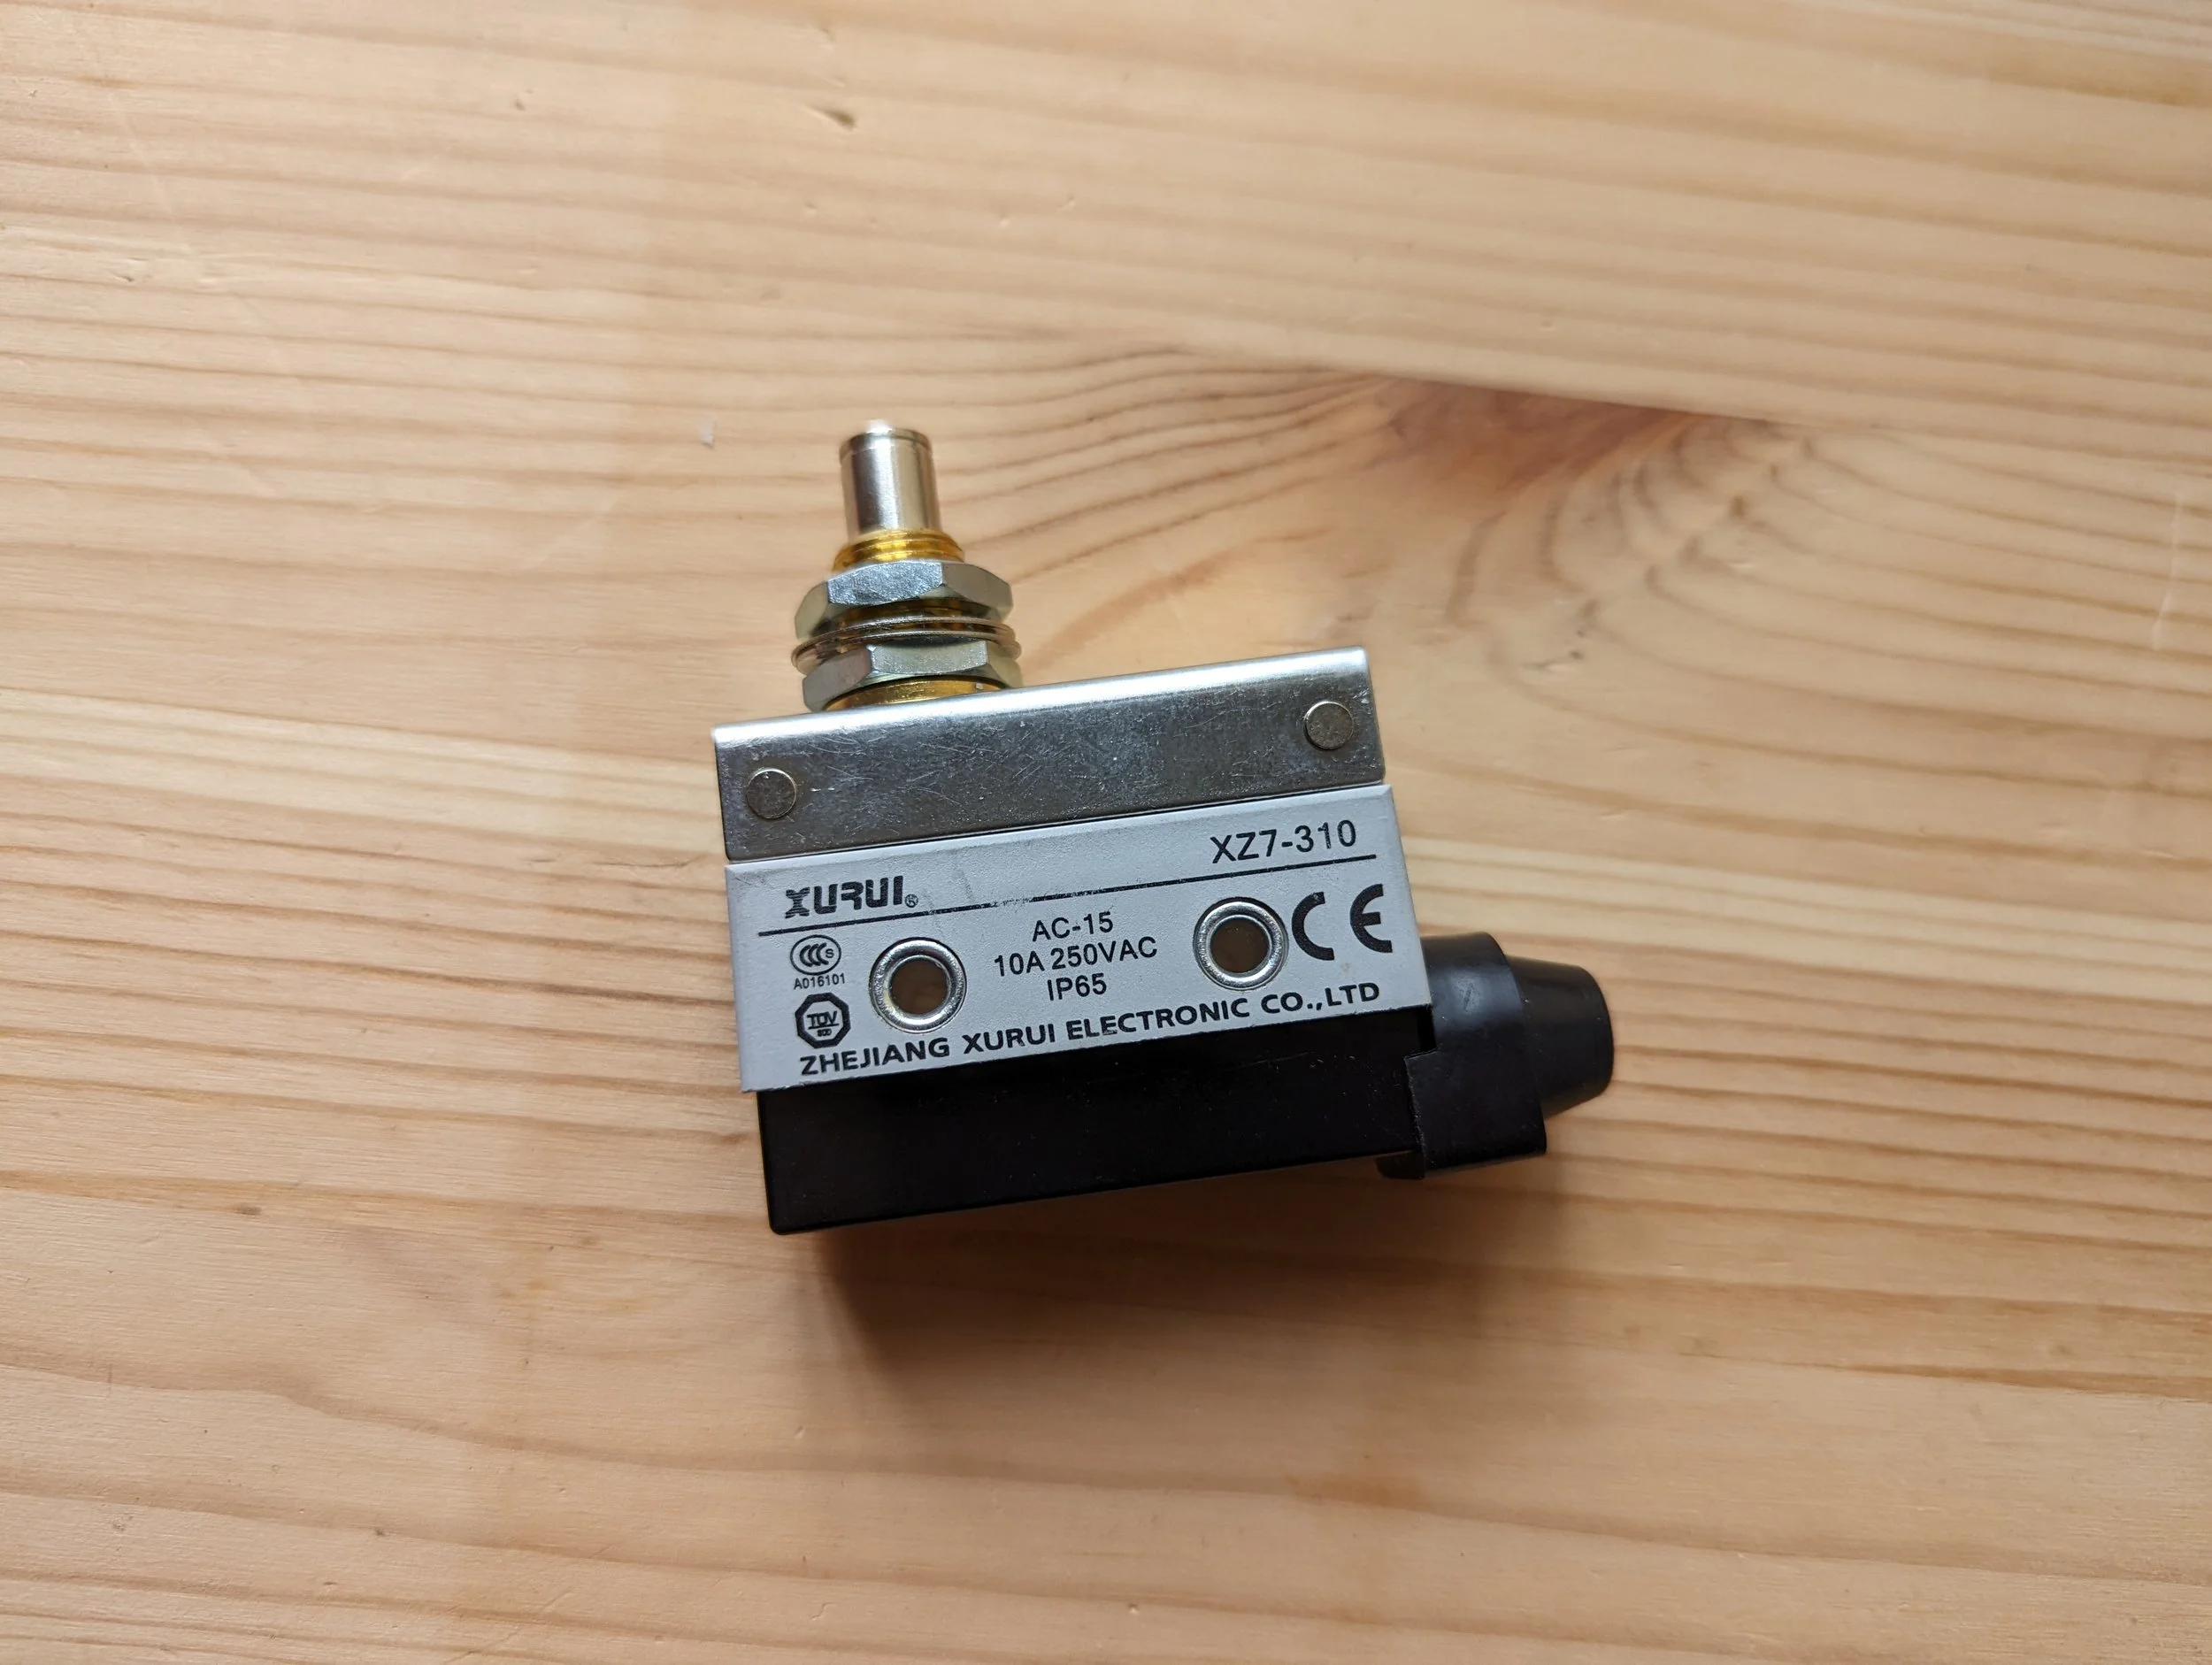
Now we need to switch our attention to the Press Switches.
Step 48
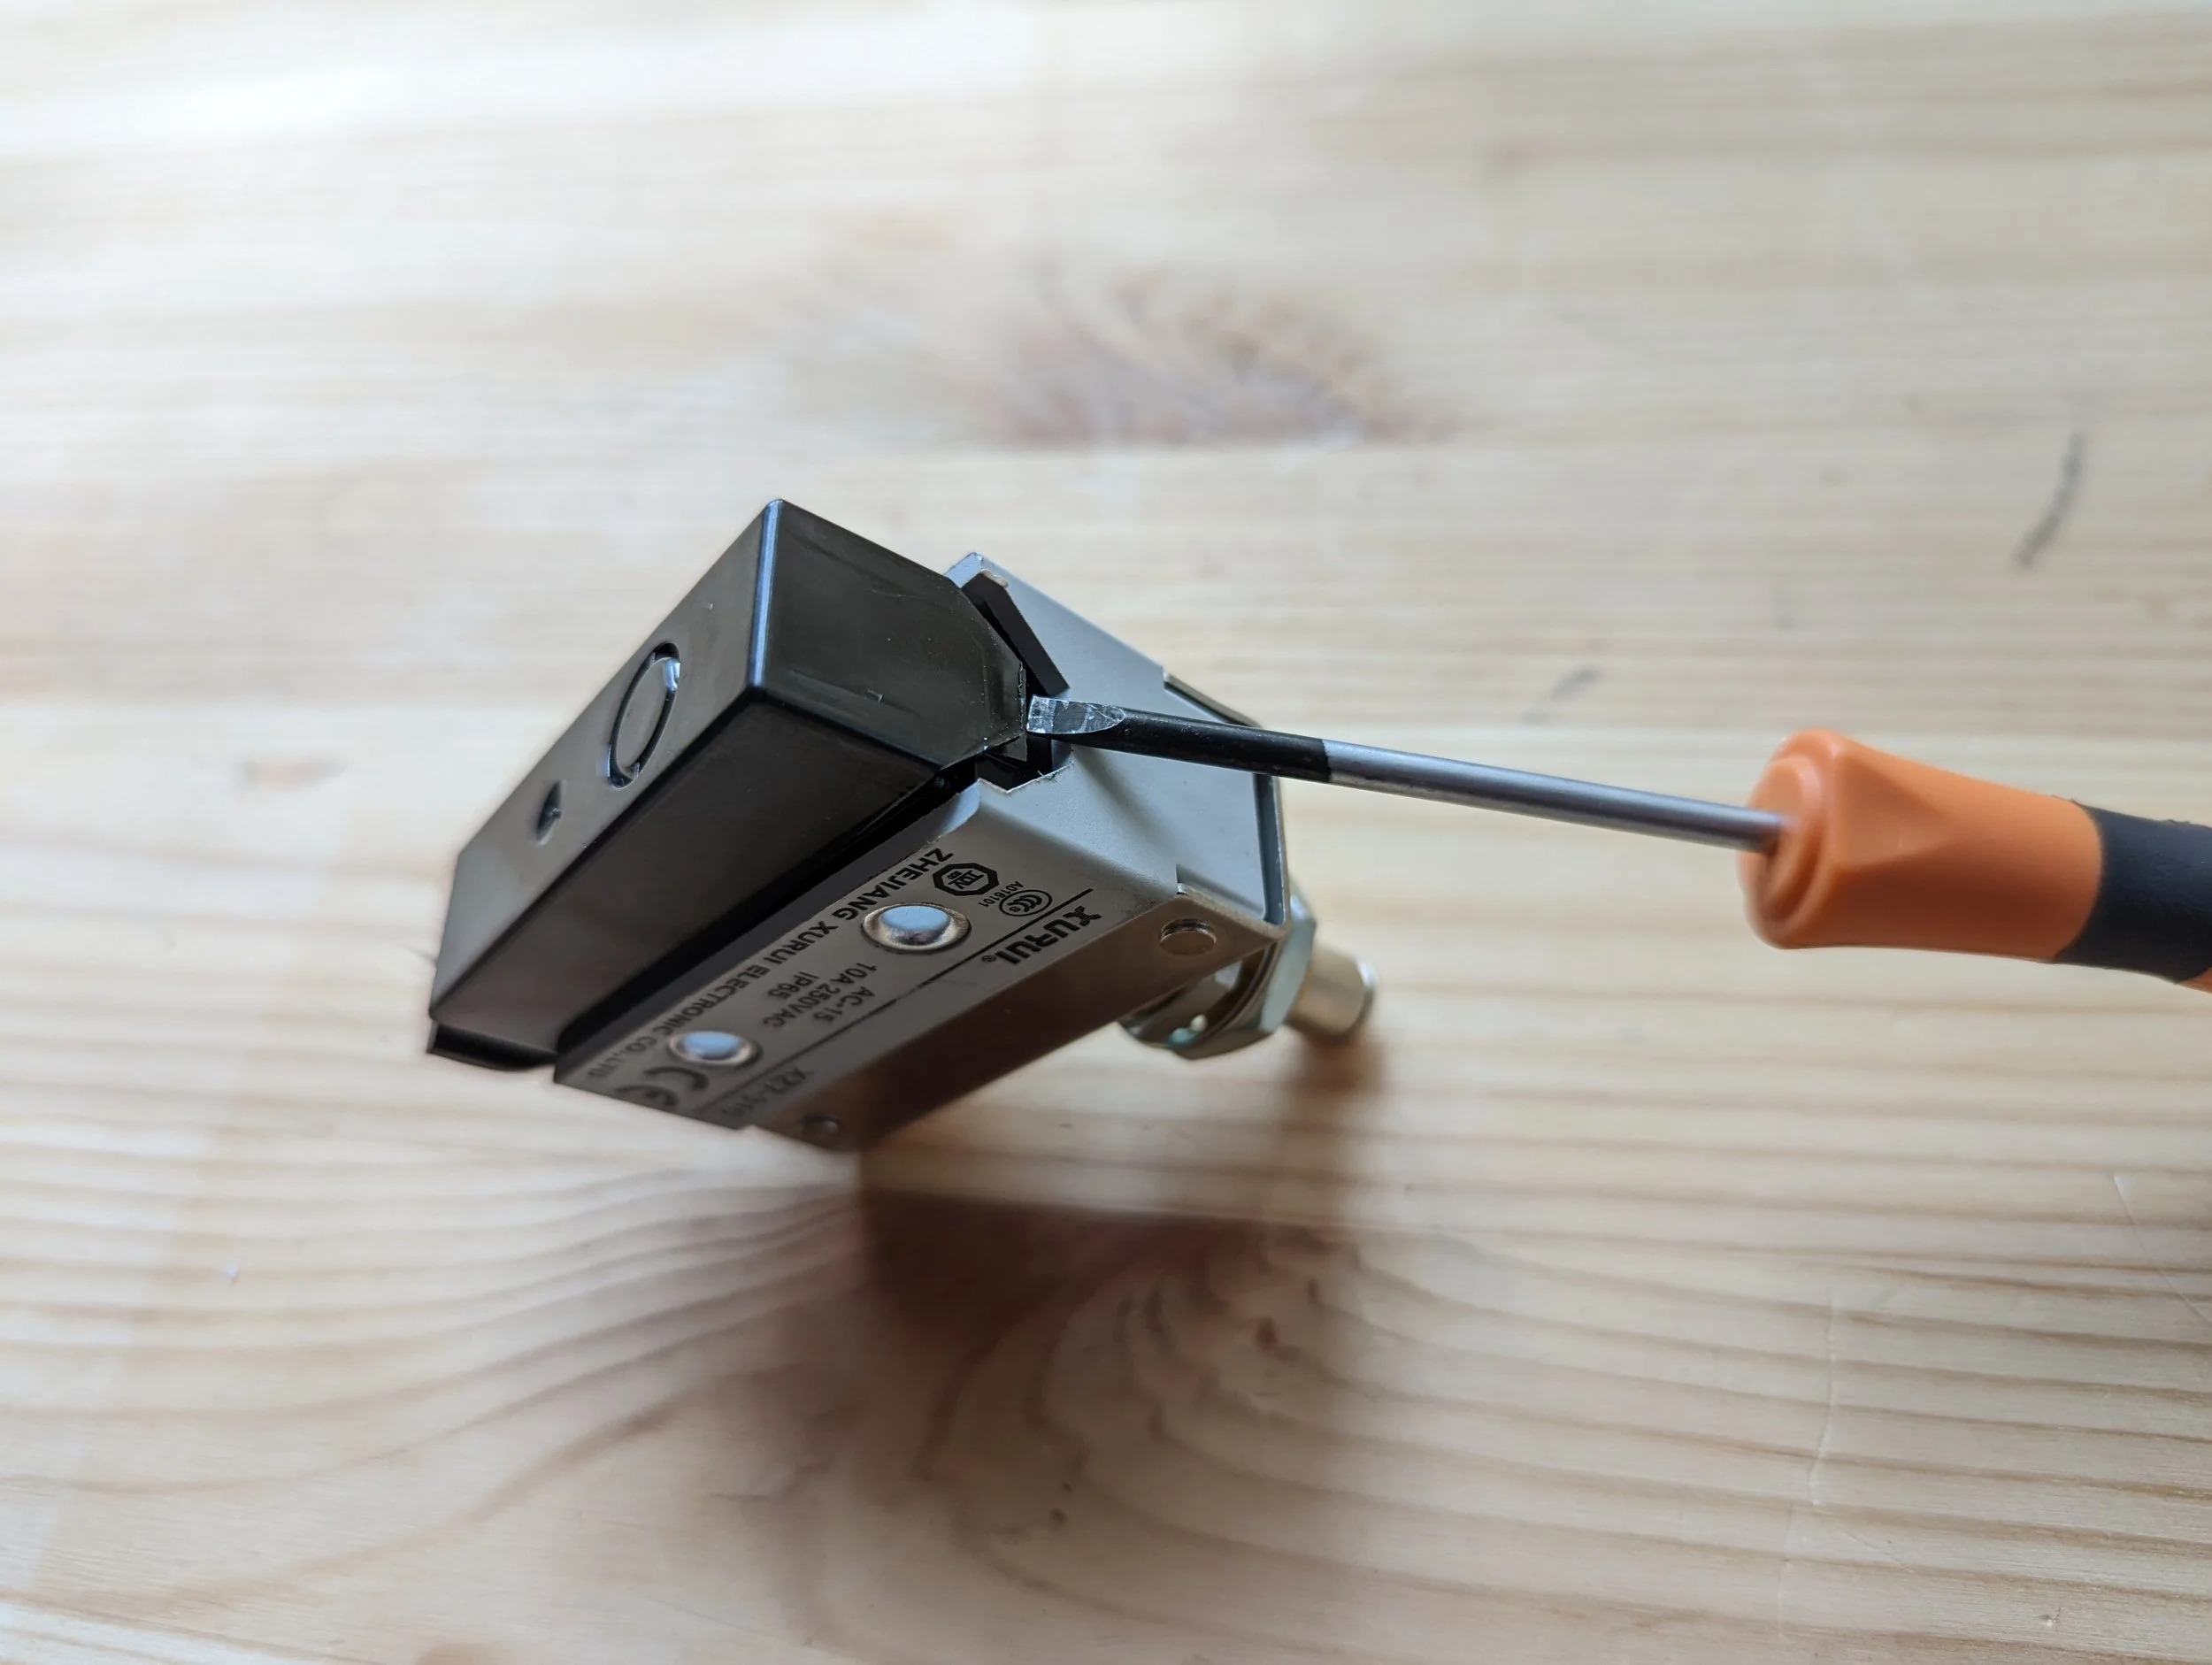
Using a narrow screwdriver, prise open the plastic cover.
Do this delicately from one side.
Step 49
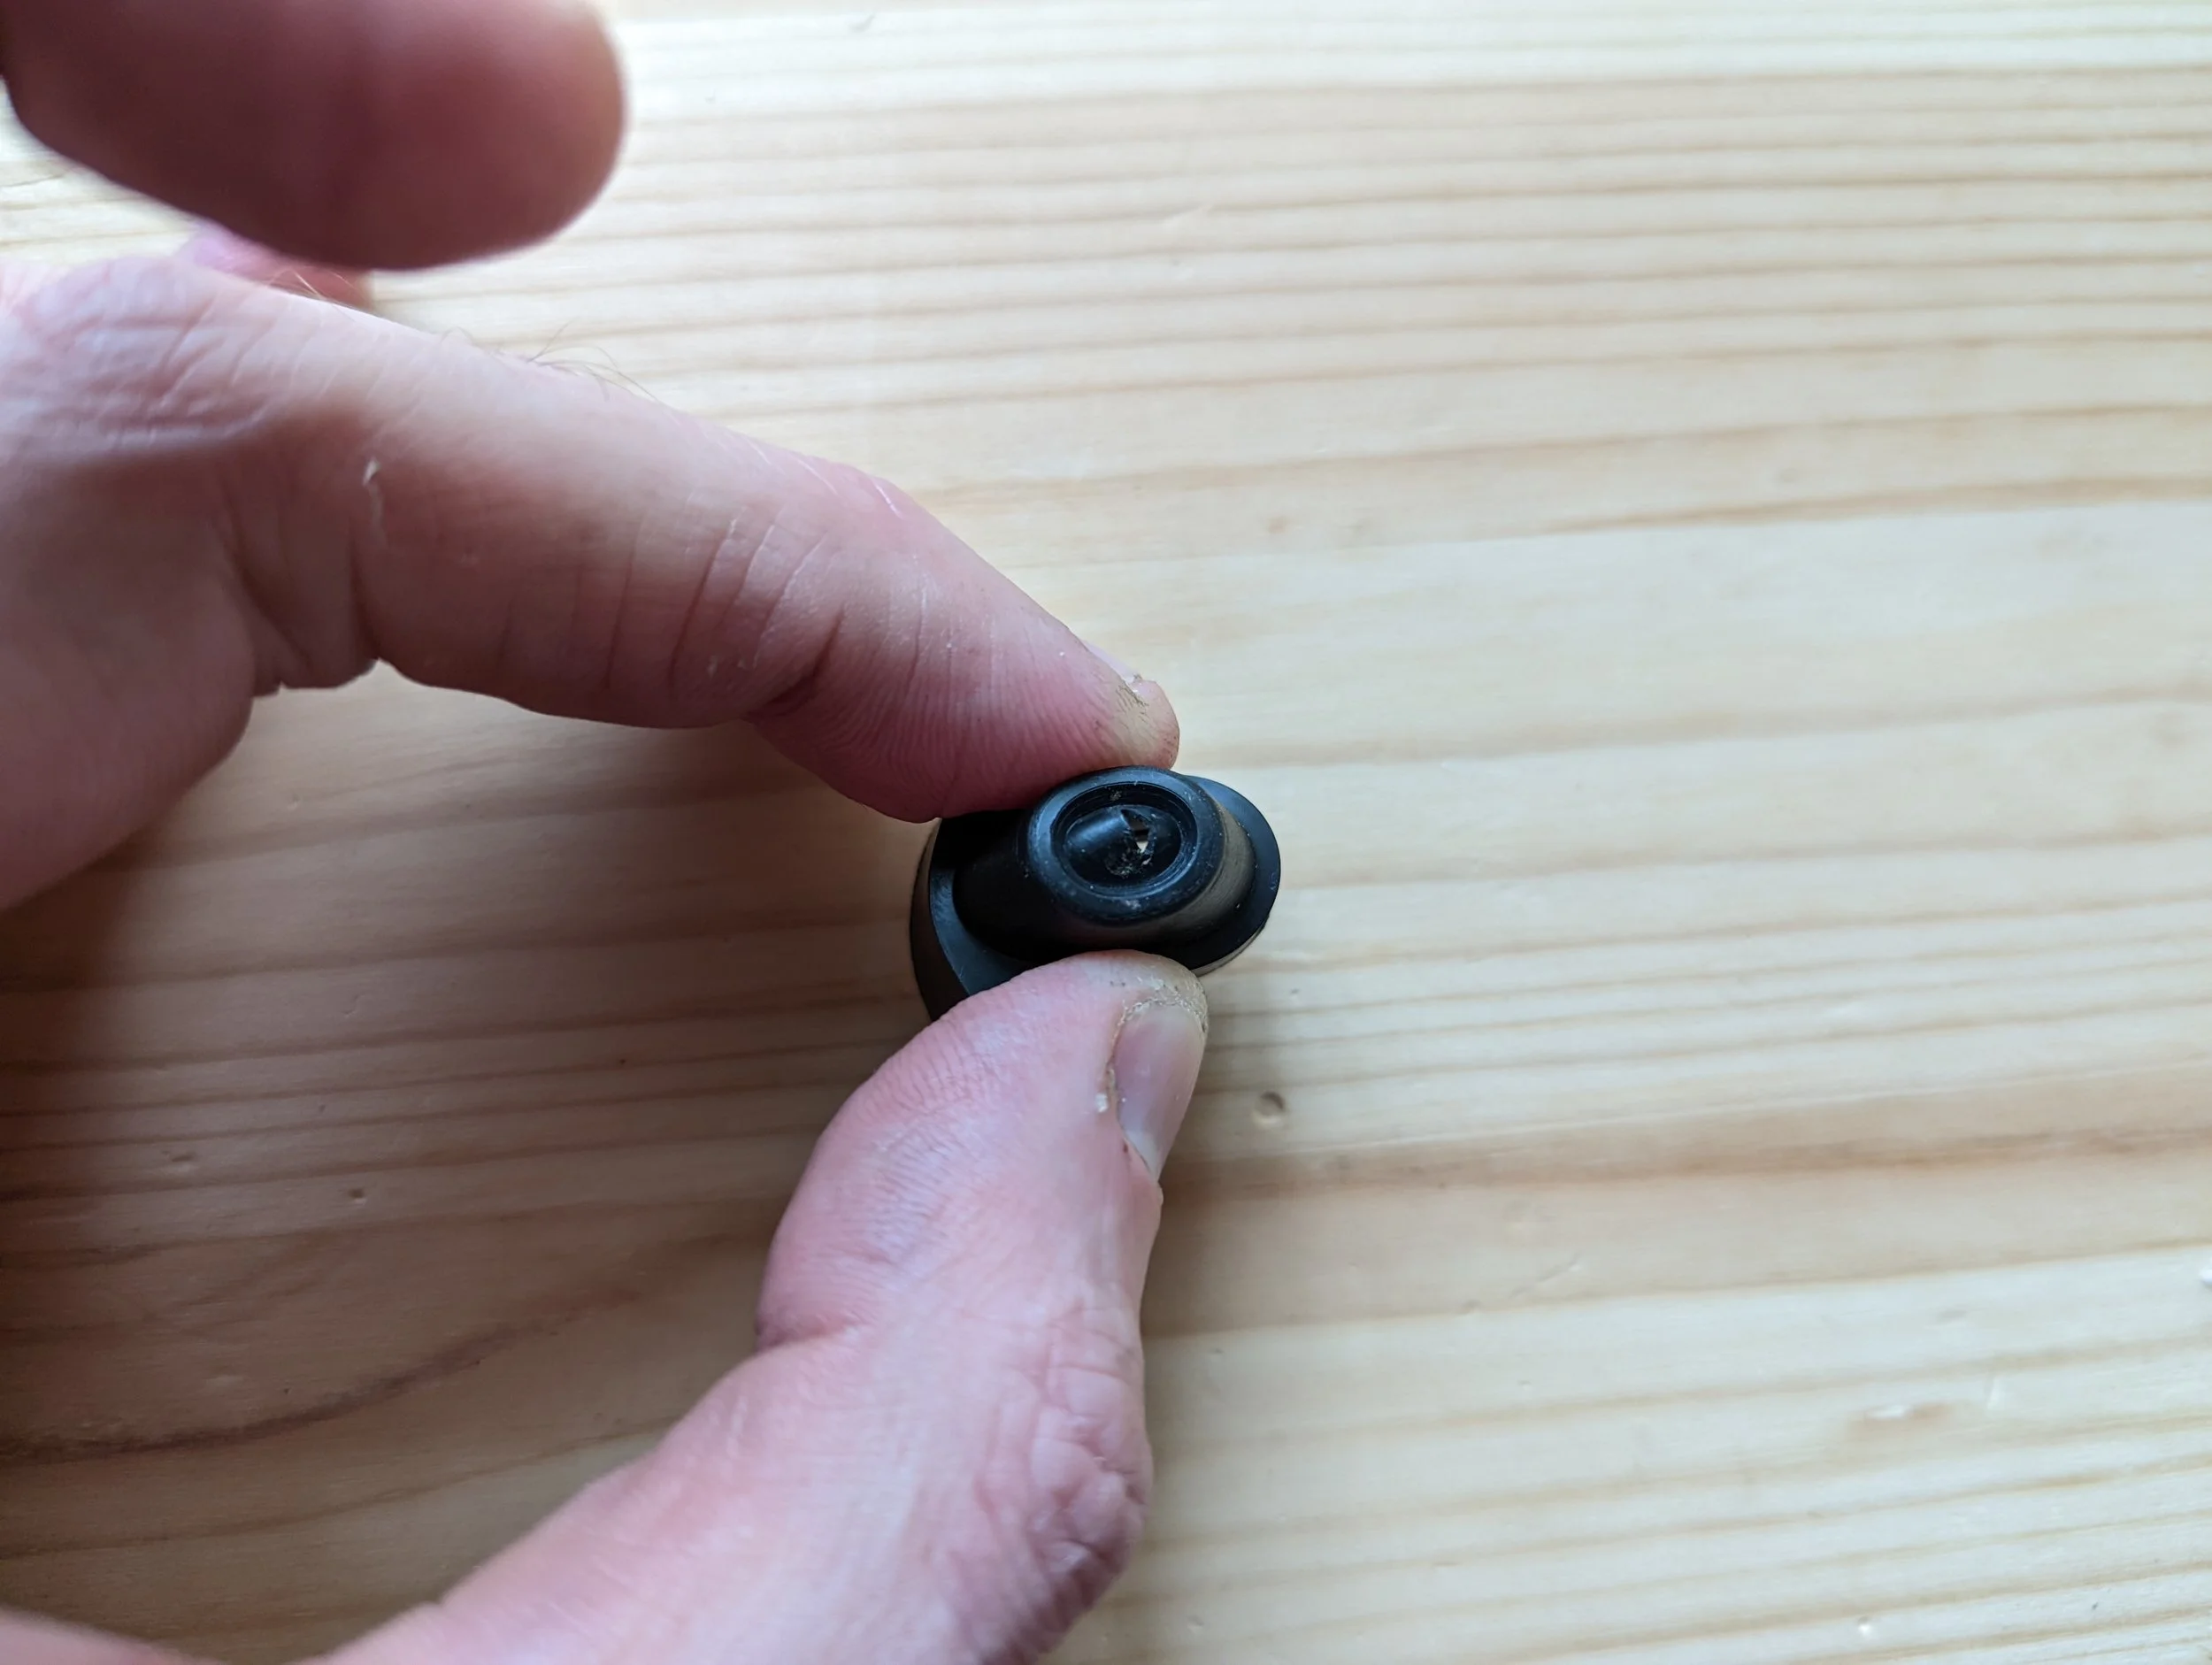
Using the screwdriver or scissors, snip a small hole in the end of the rubber cover. (Small hole because it stretches a lot!)
Step 50
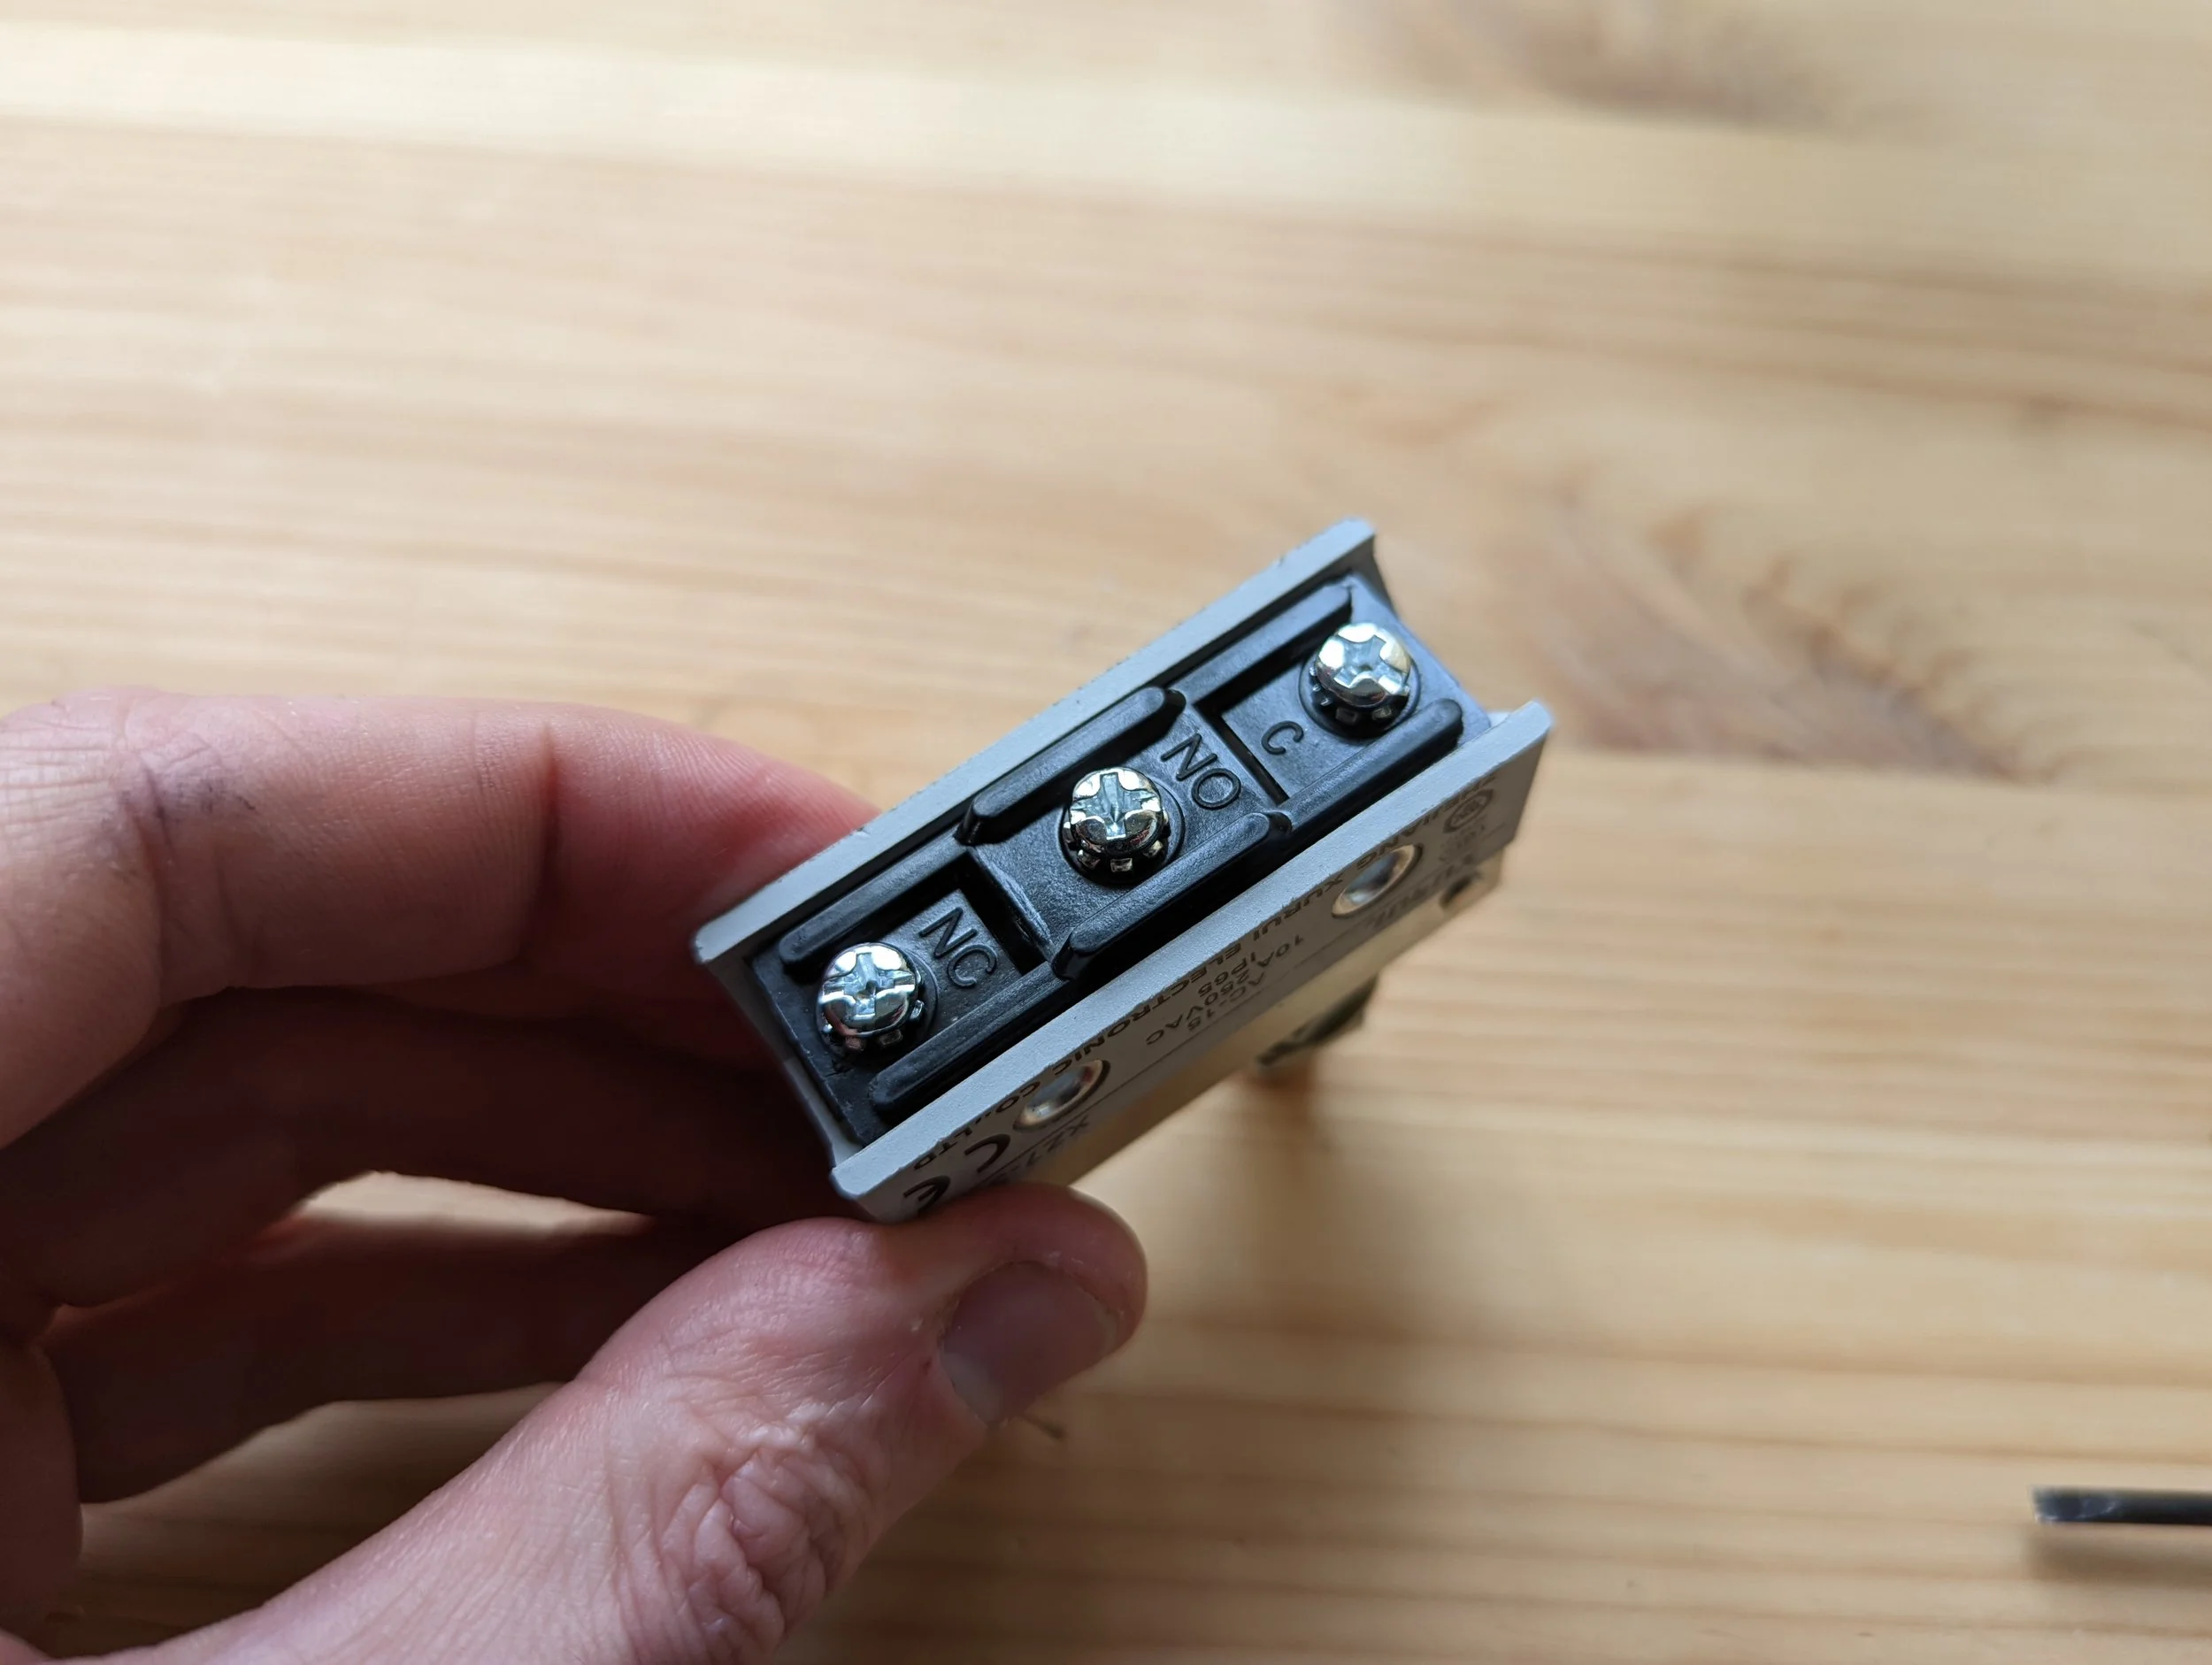
On the underside we have 3x Screws. We want to connect a cable to the C and the NO terminals.
Leave the NC terminal without anything wired to it.
Step 51
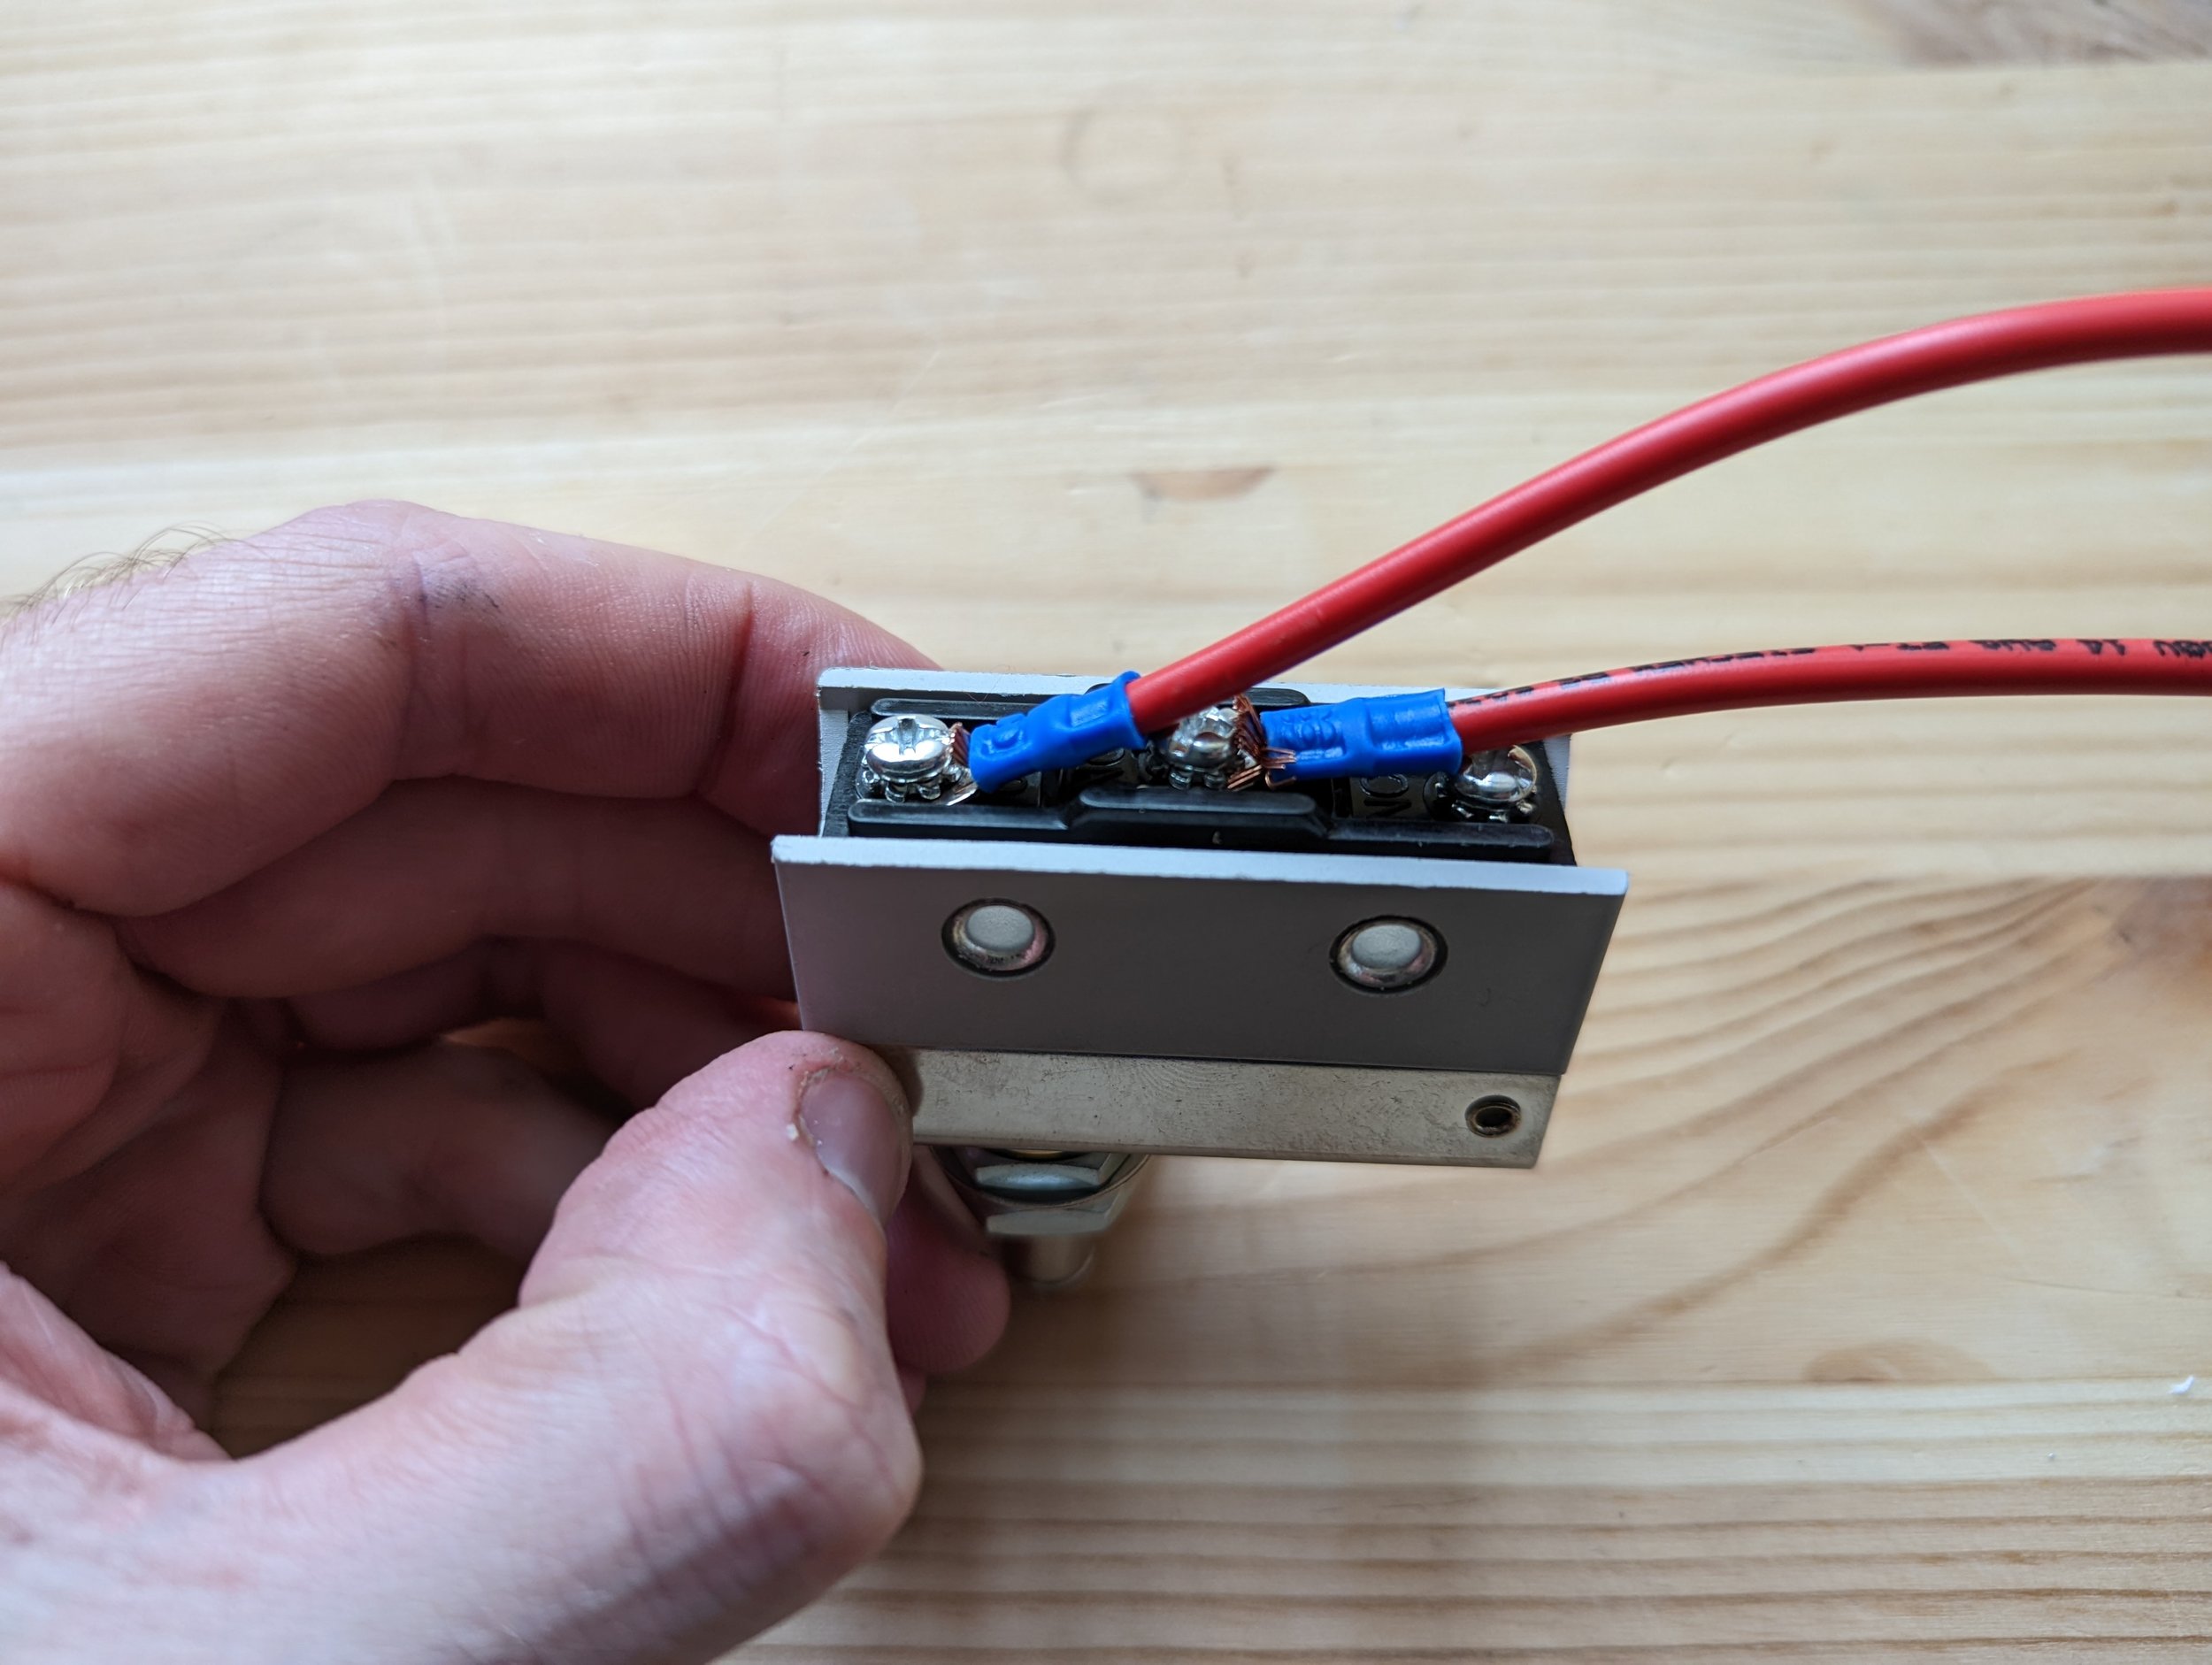
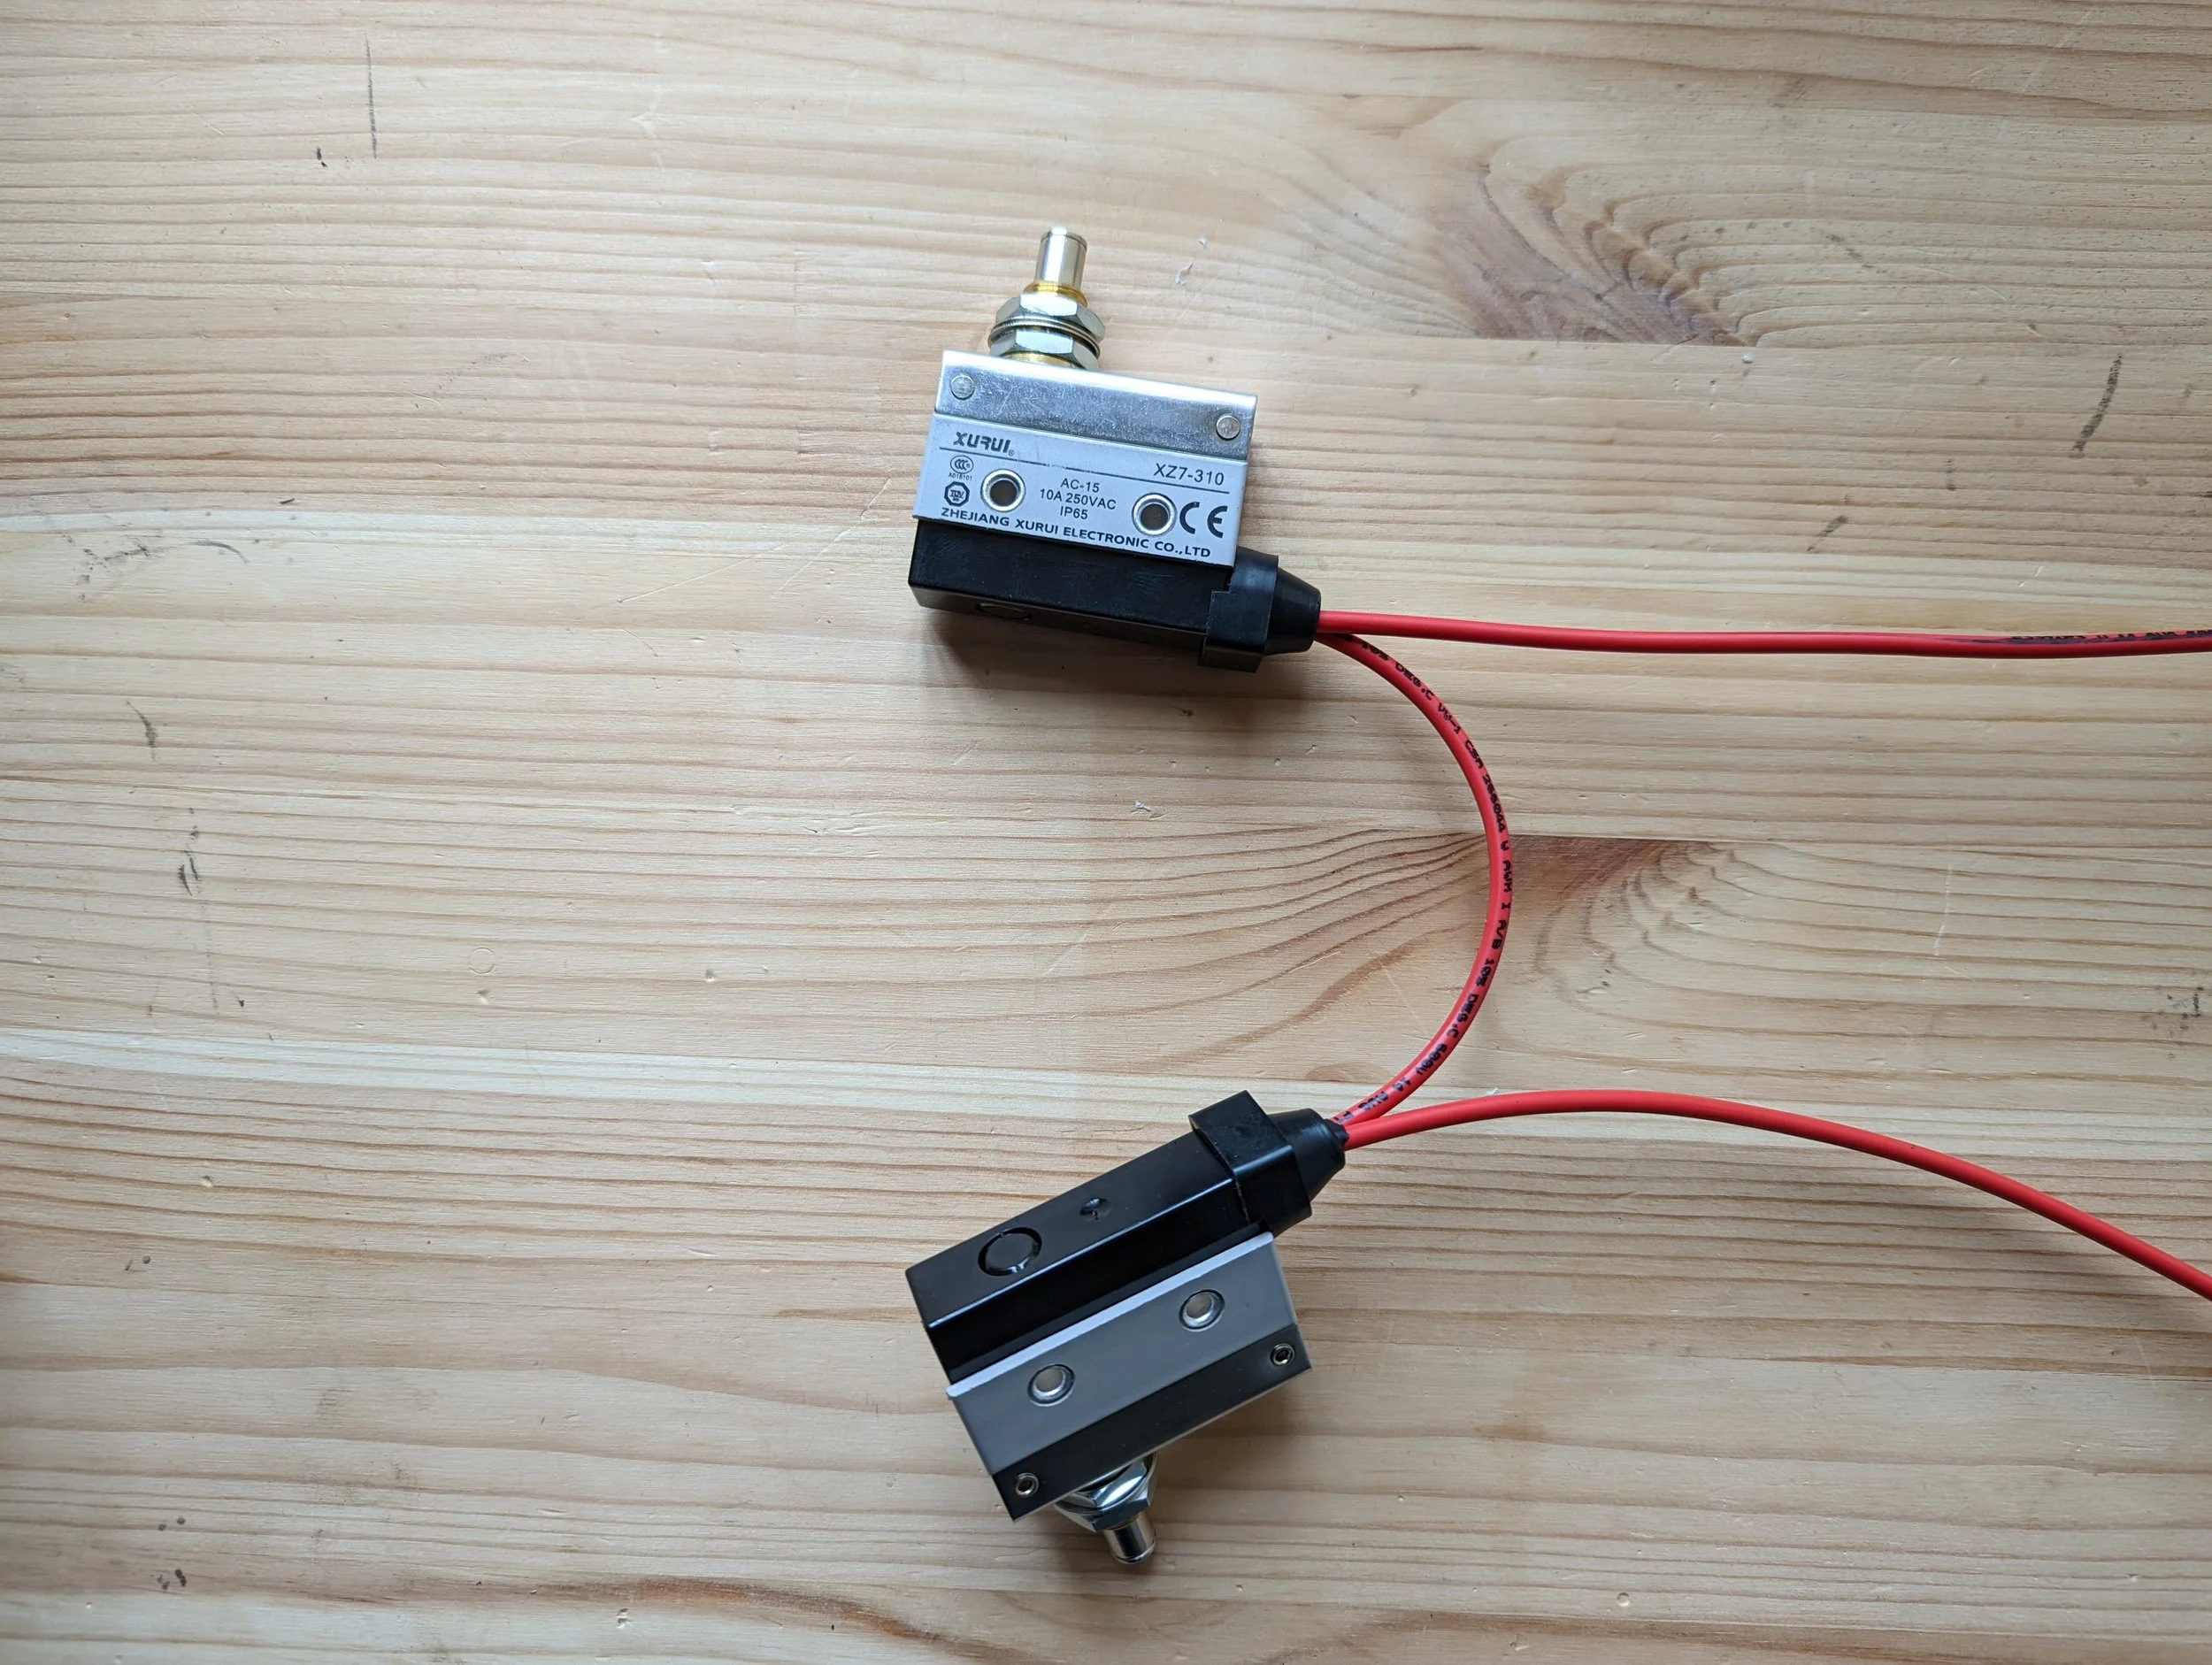
Using the 120cm Red Cable, and Short 20cm Red Cable (With a Loop Connector on each side) connect the Long Cable to the C, and the Short cable to the NO points firmly.
Take note to copy the cable orientation.
Step 52
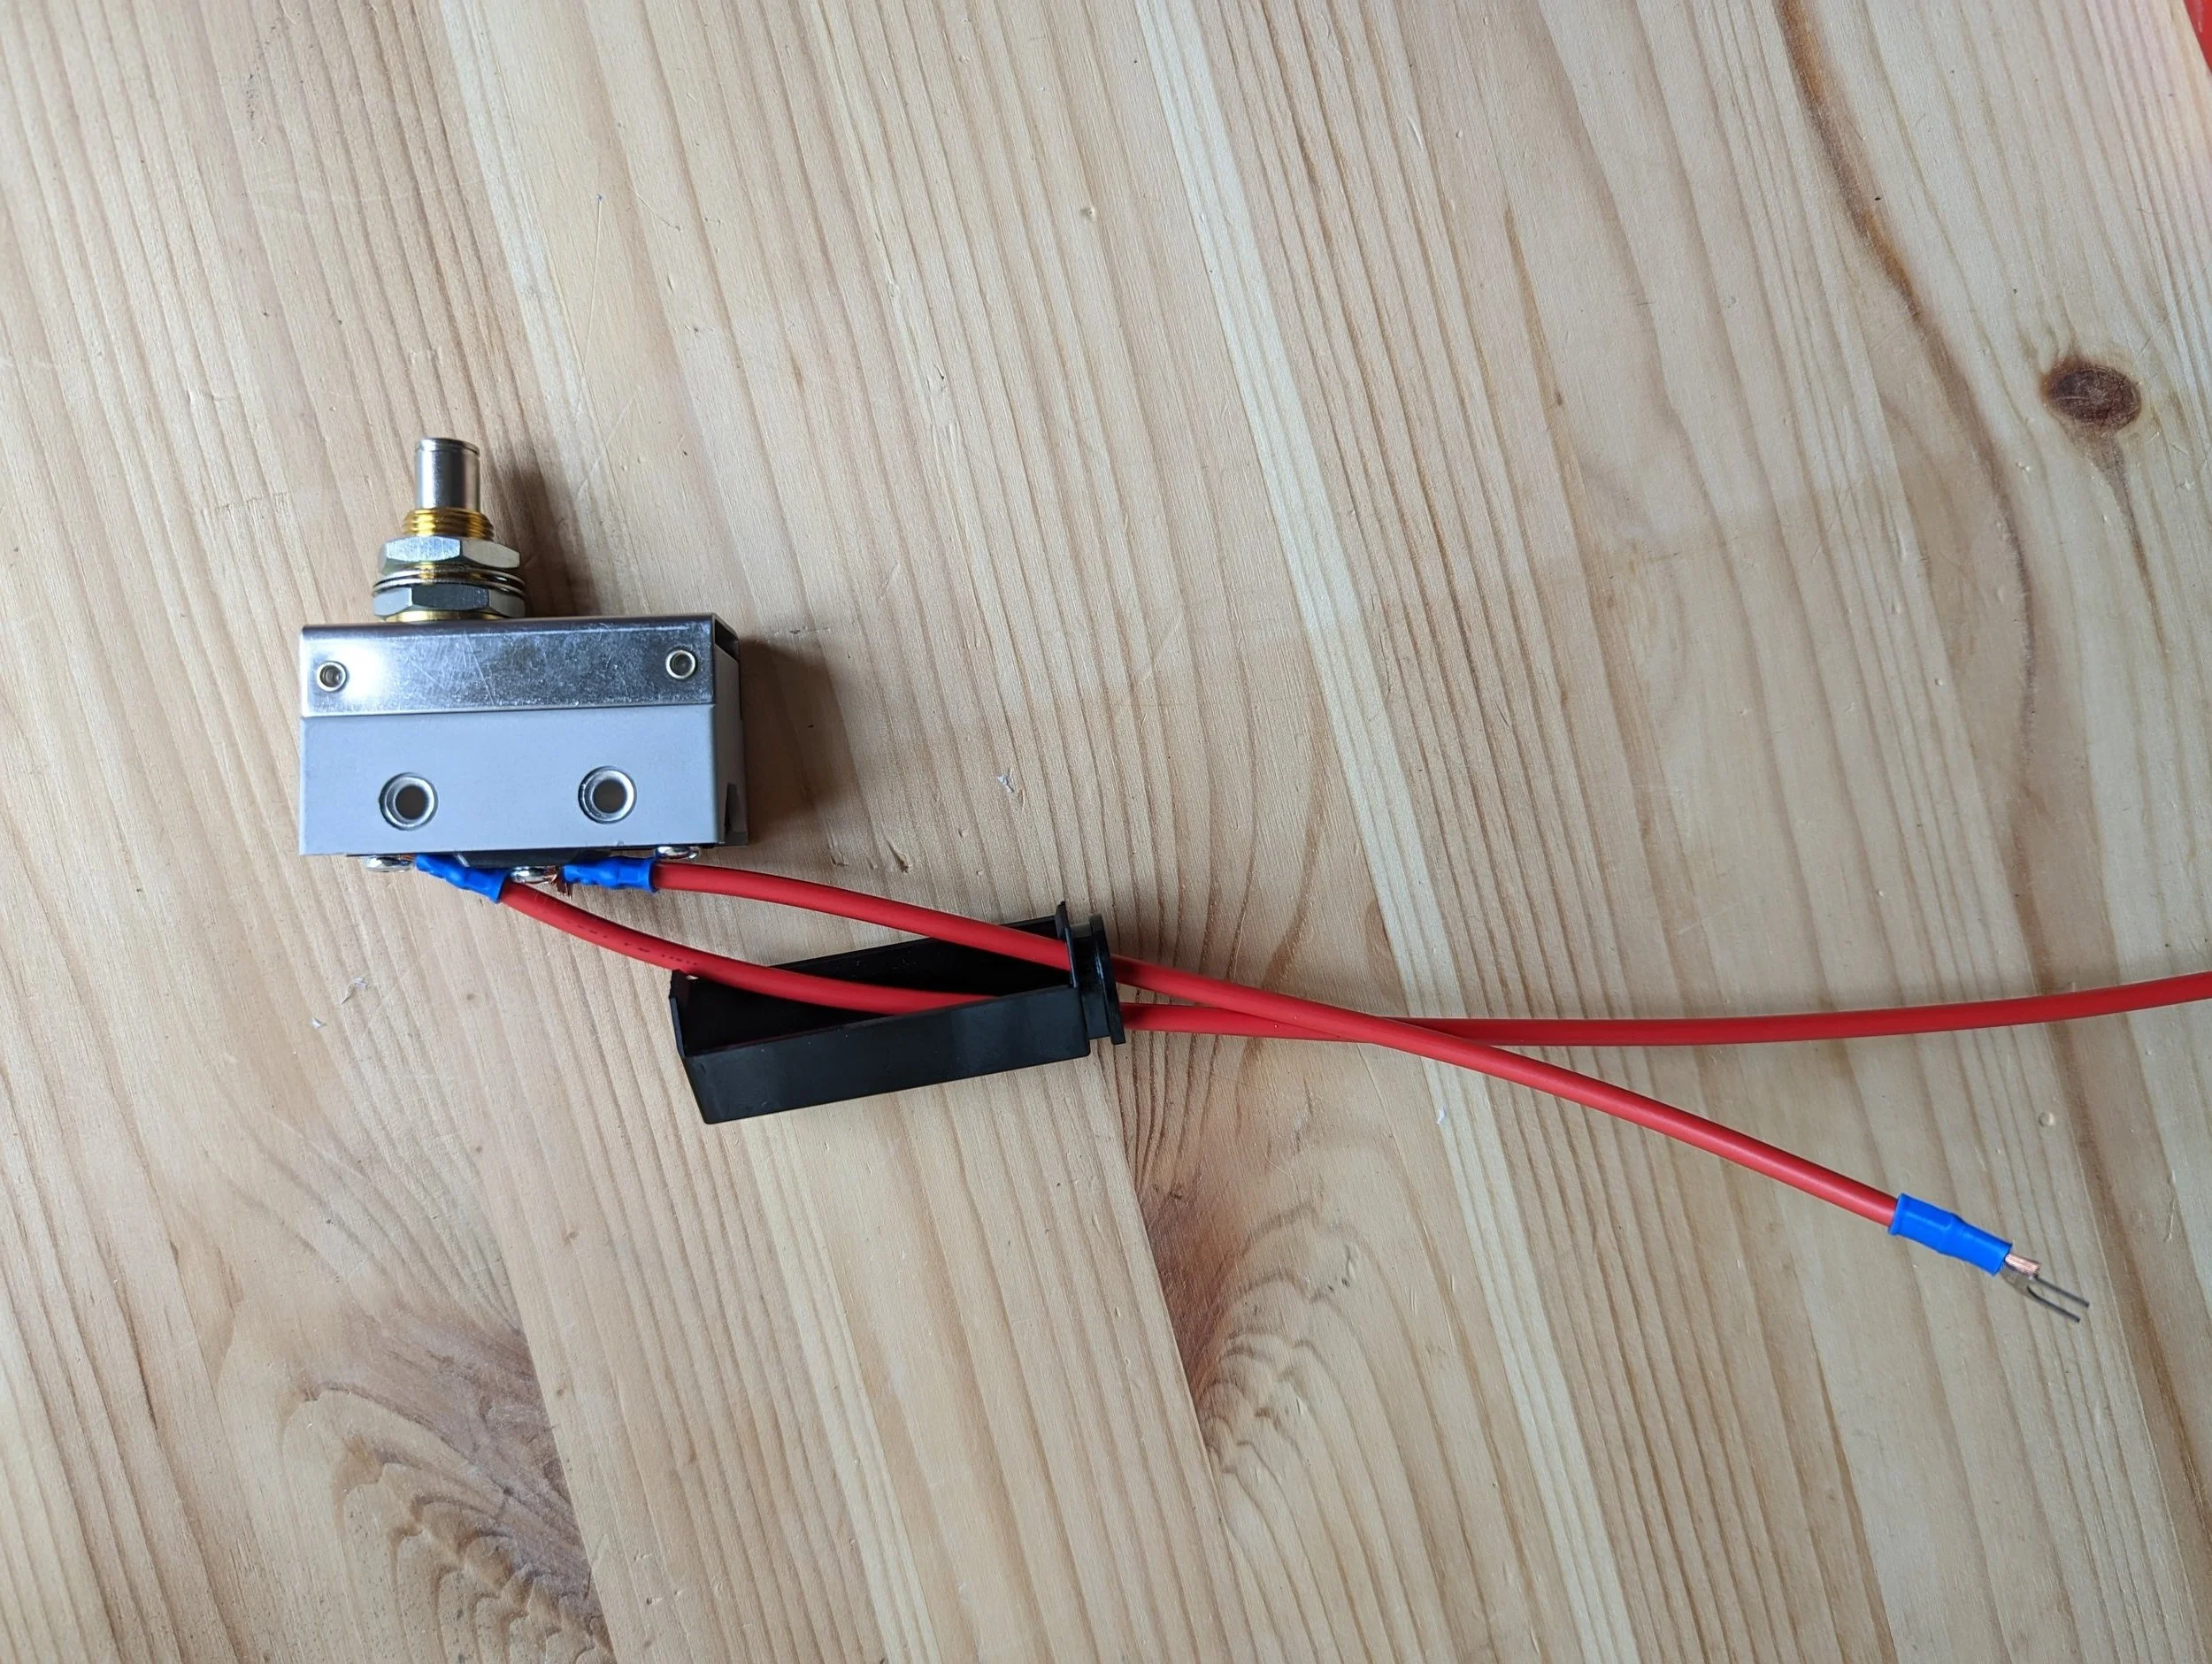
Now thread the protective cover onto the switch as shown and clip back into place.
Step 53
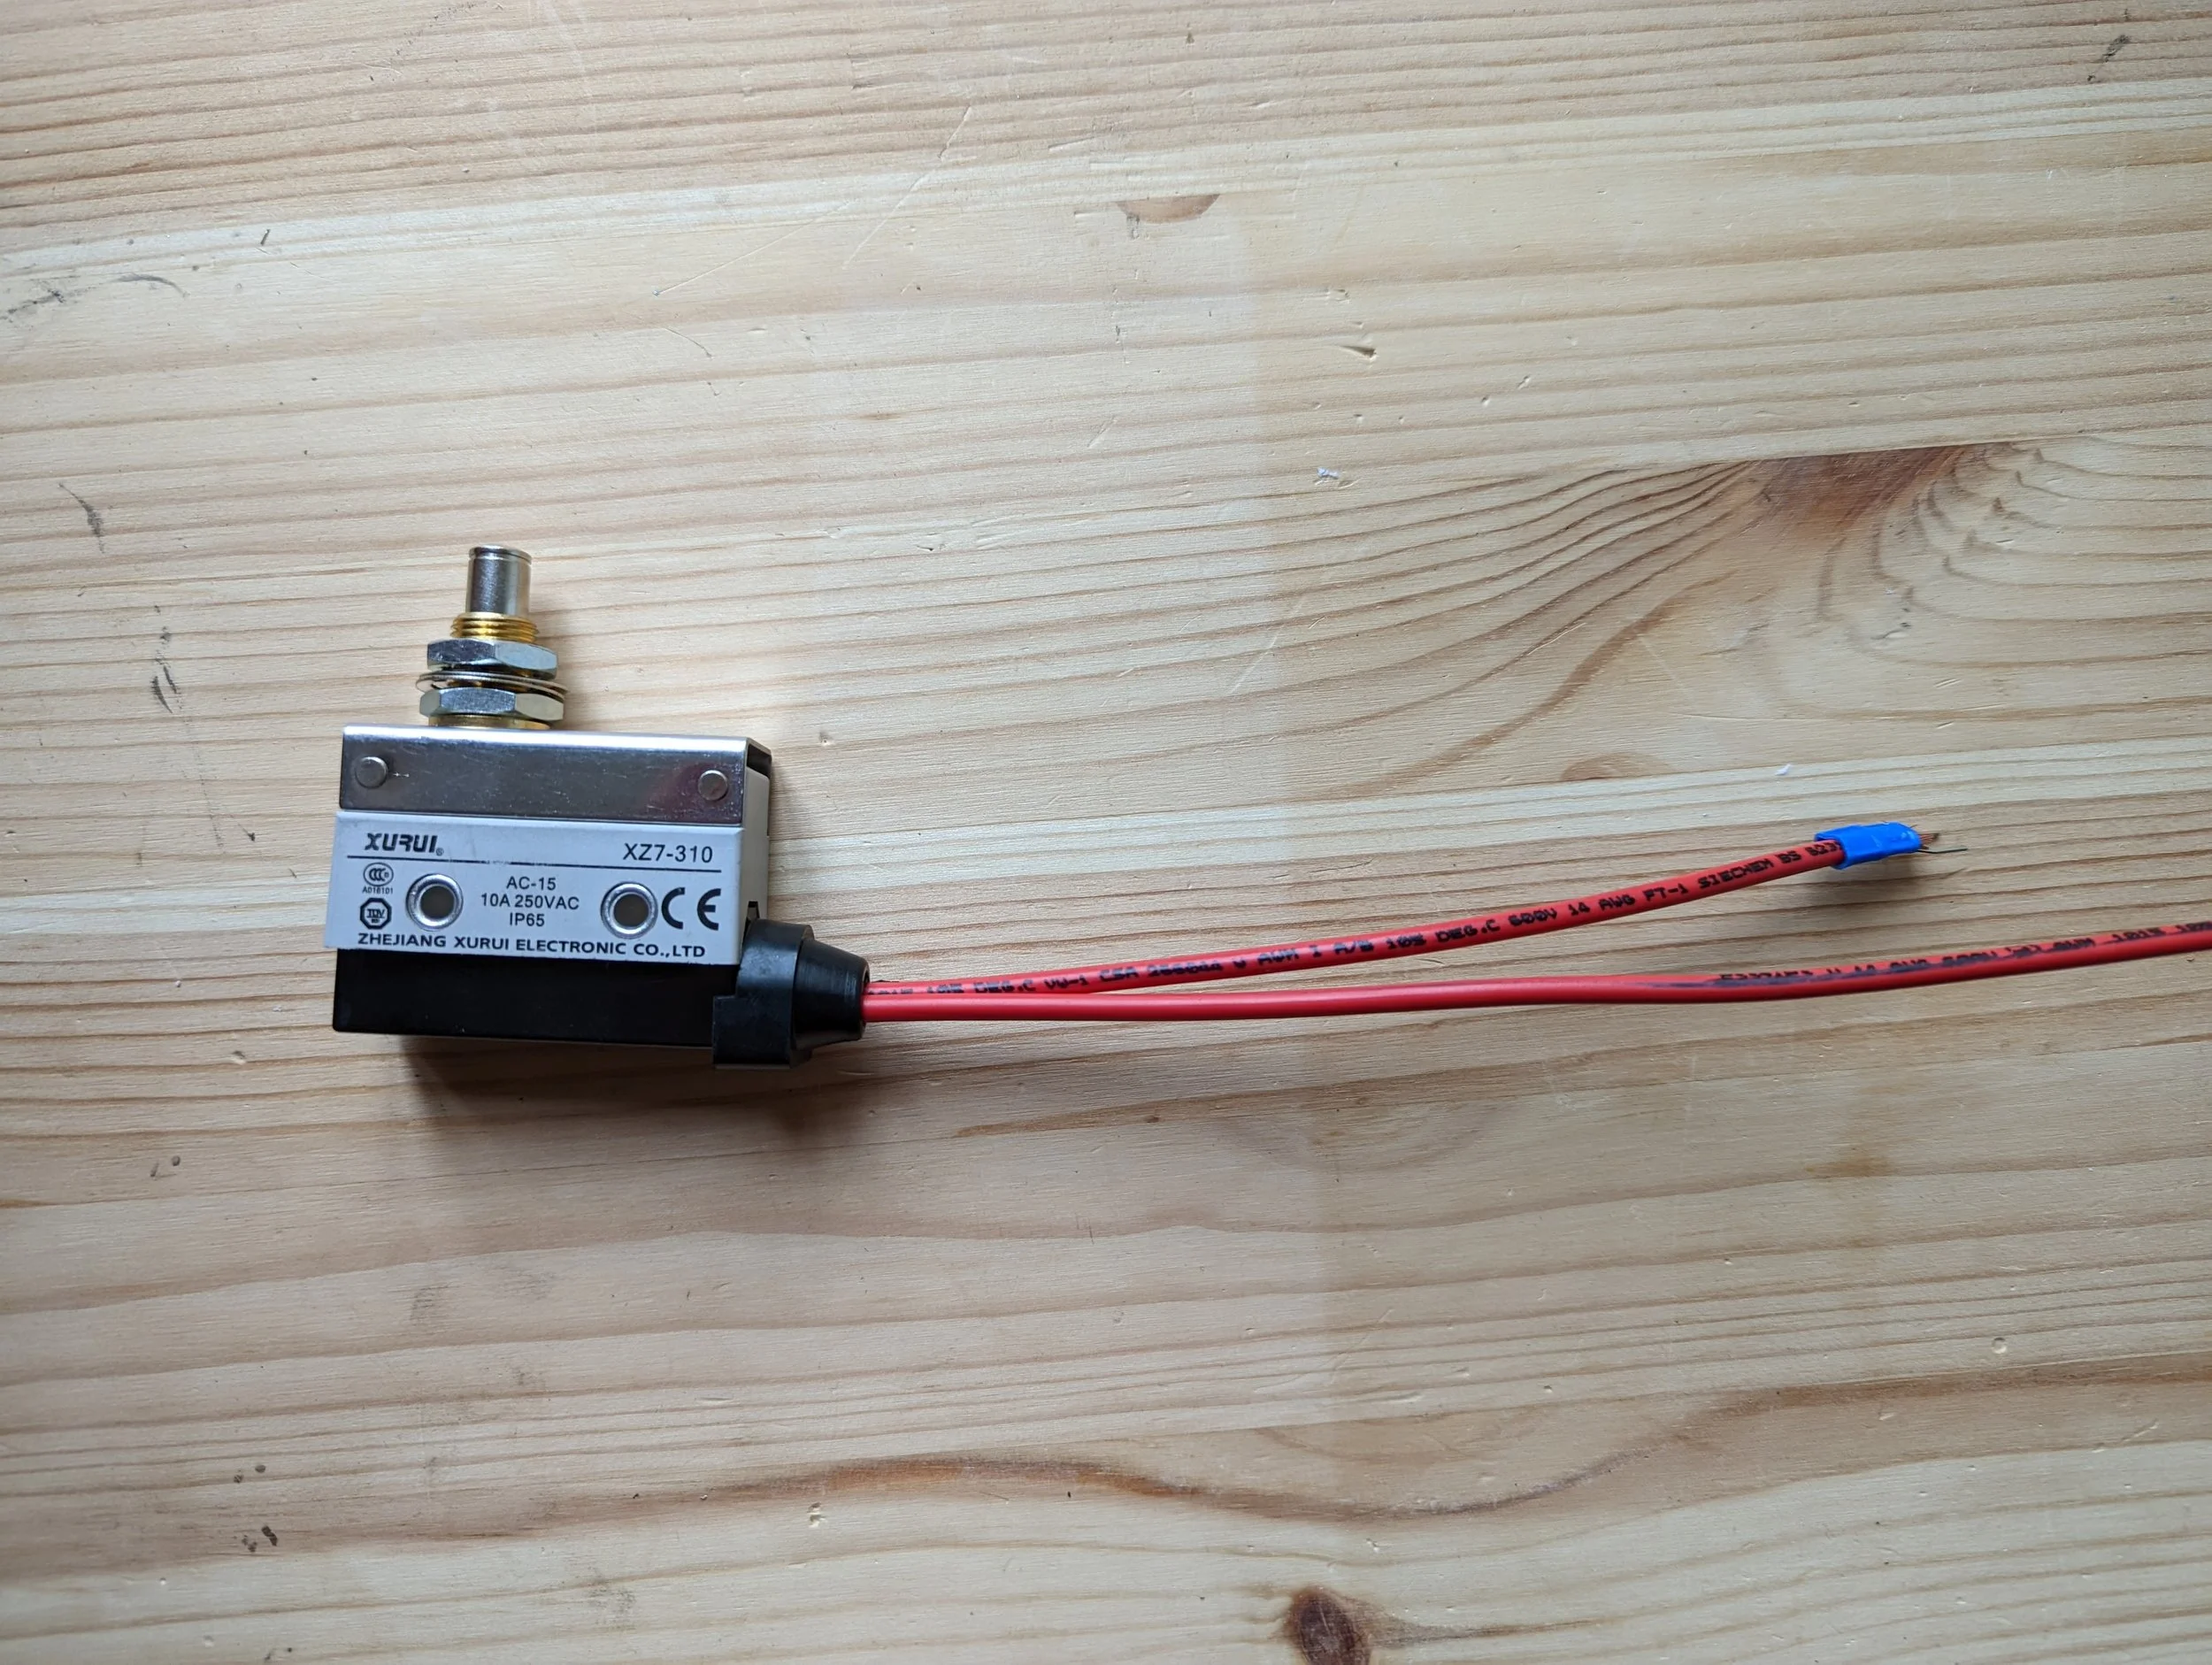
Then slide the rubber cover on that we previously punched a hole in and secure it in place.
Step 54
Now repeat for the remaining switch, however make sure to thread the rubber and protective cover on before you secure the cables to the switch.
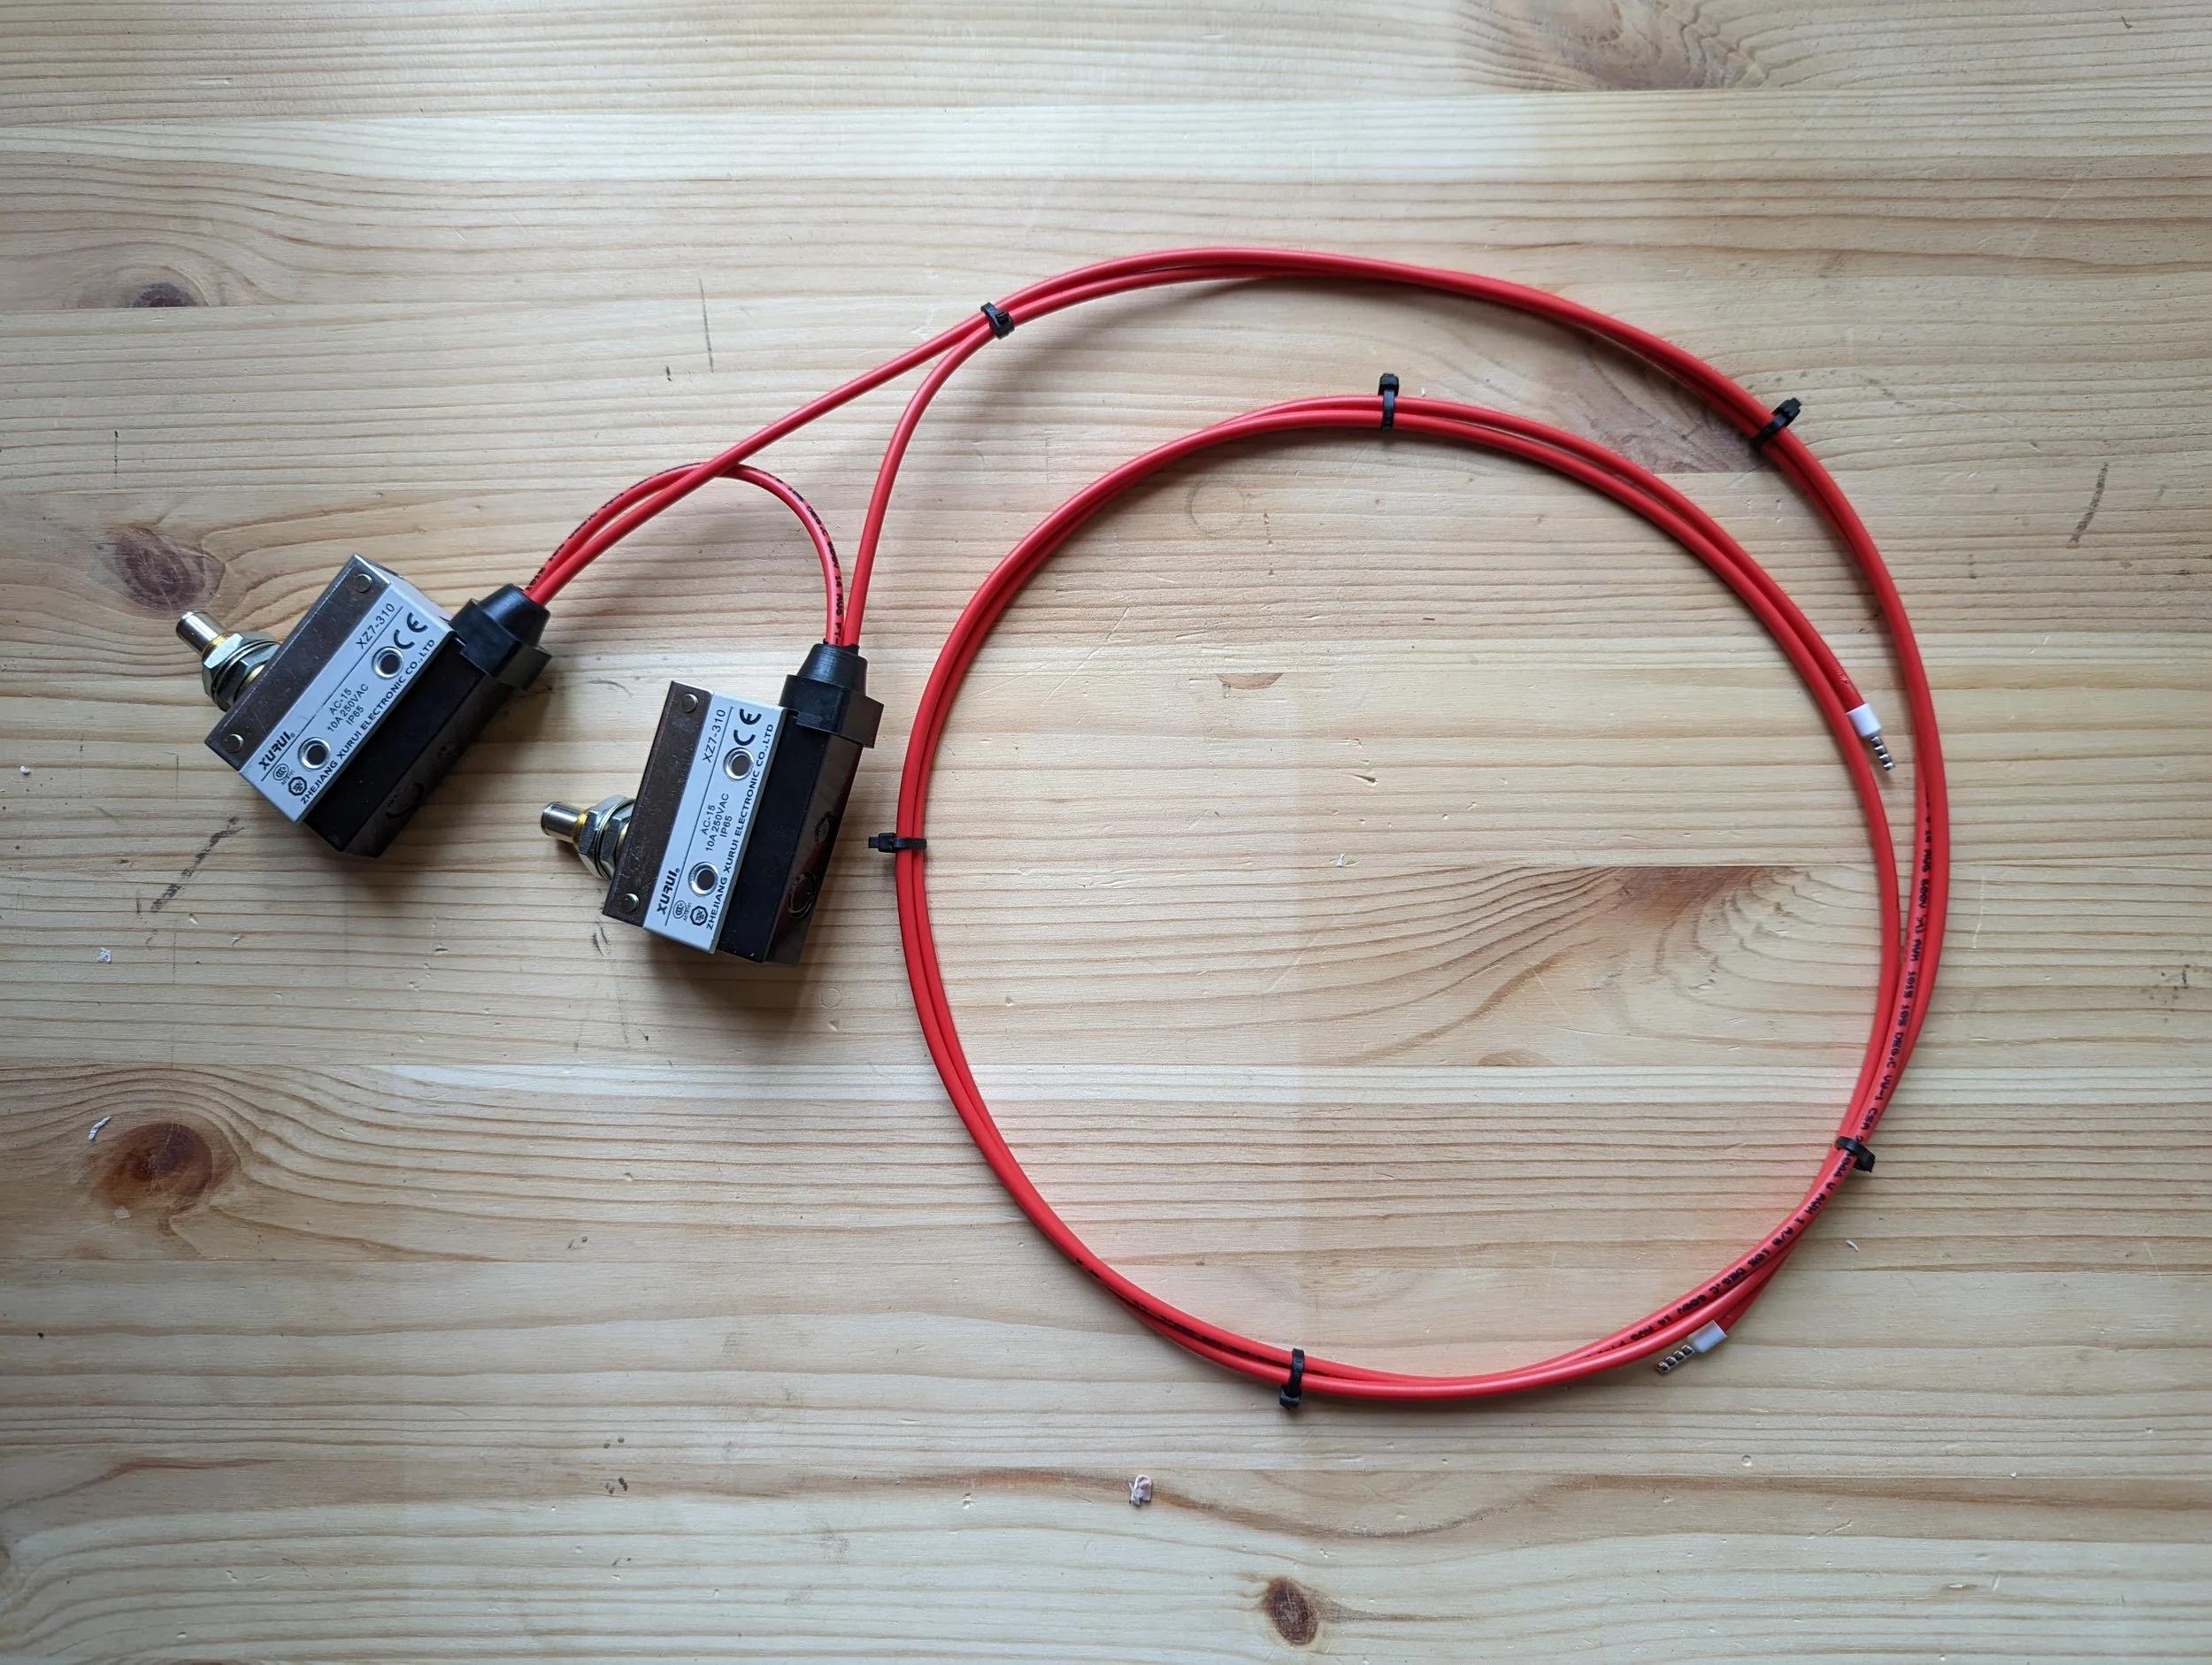
In the end you should be left with something like this.
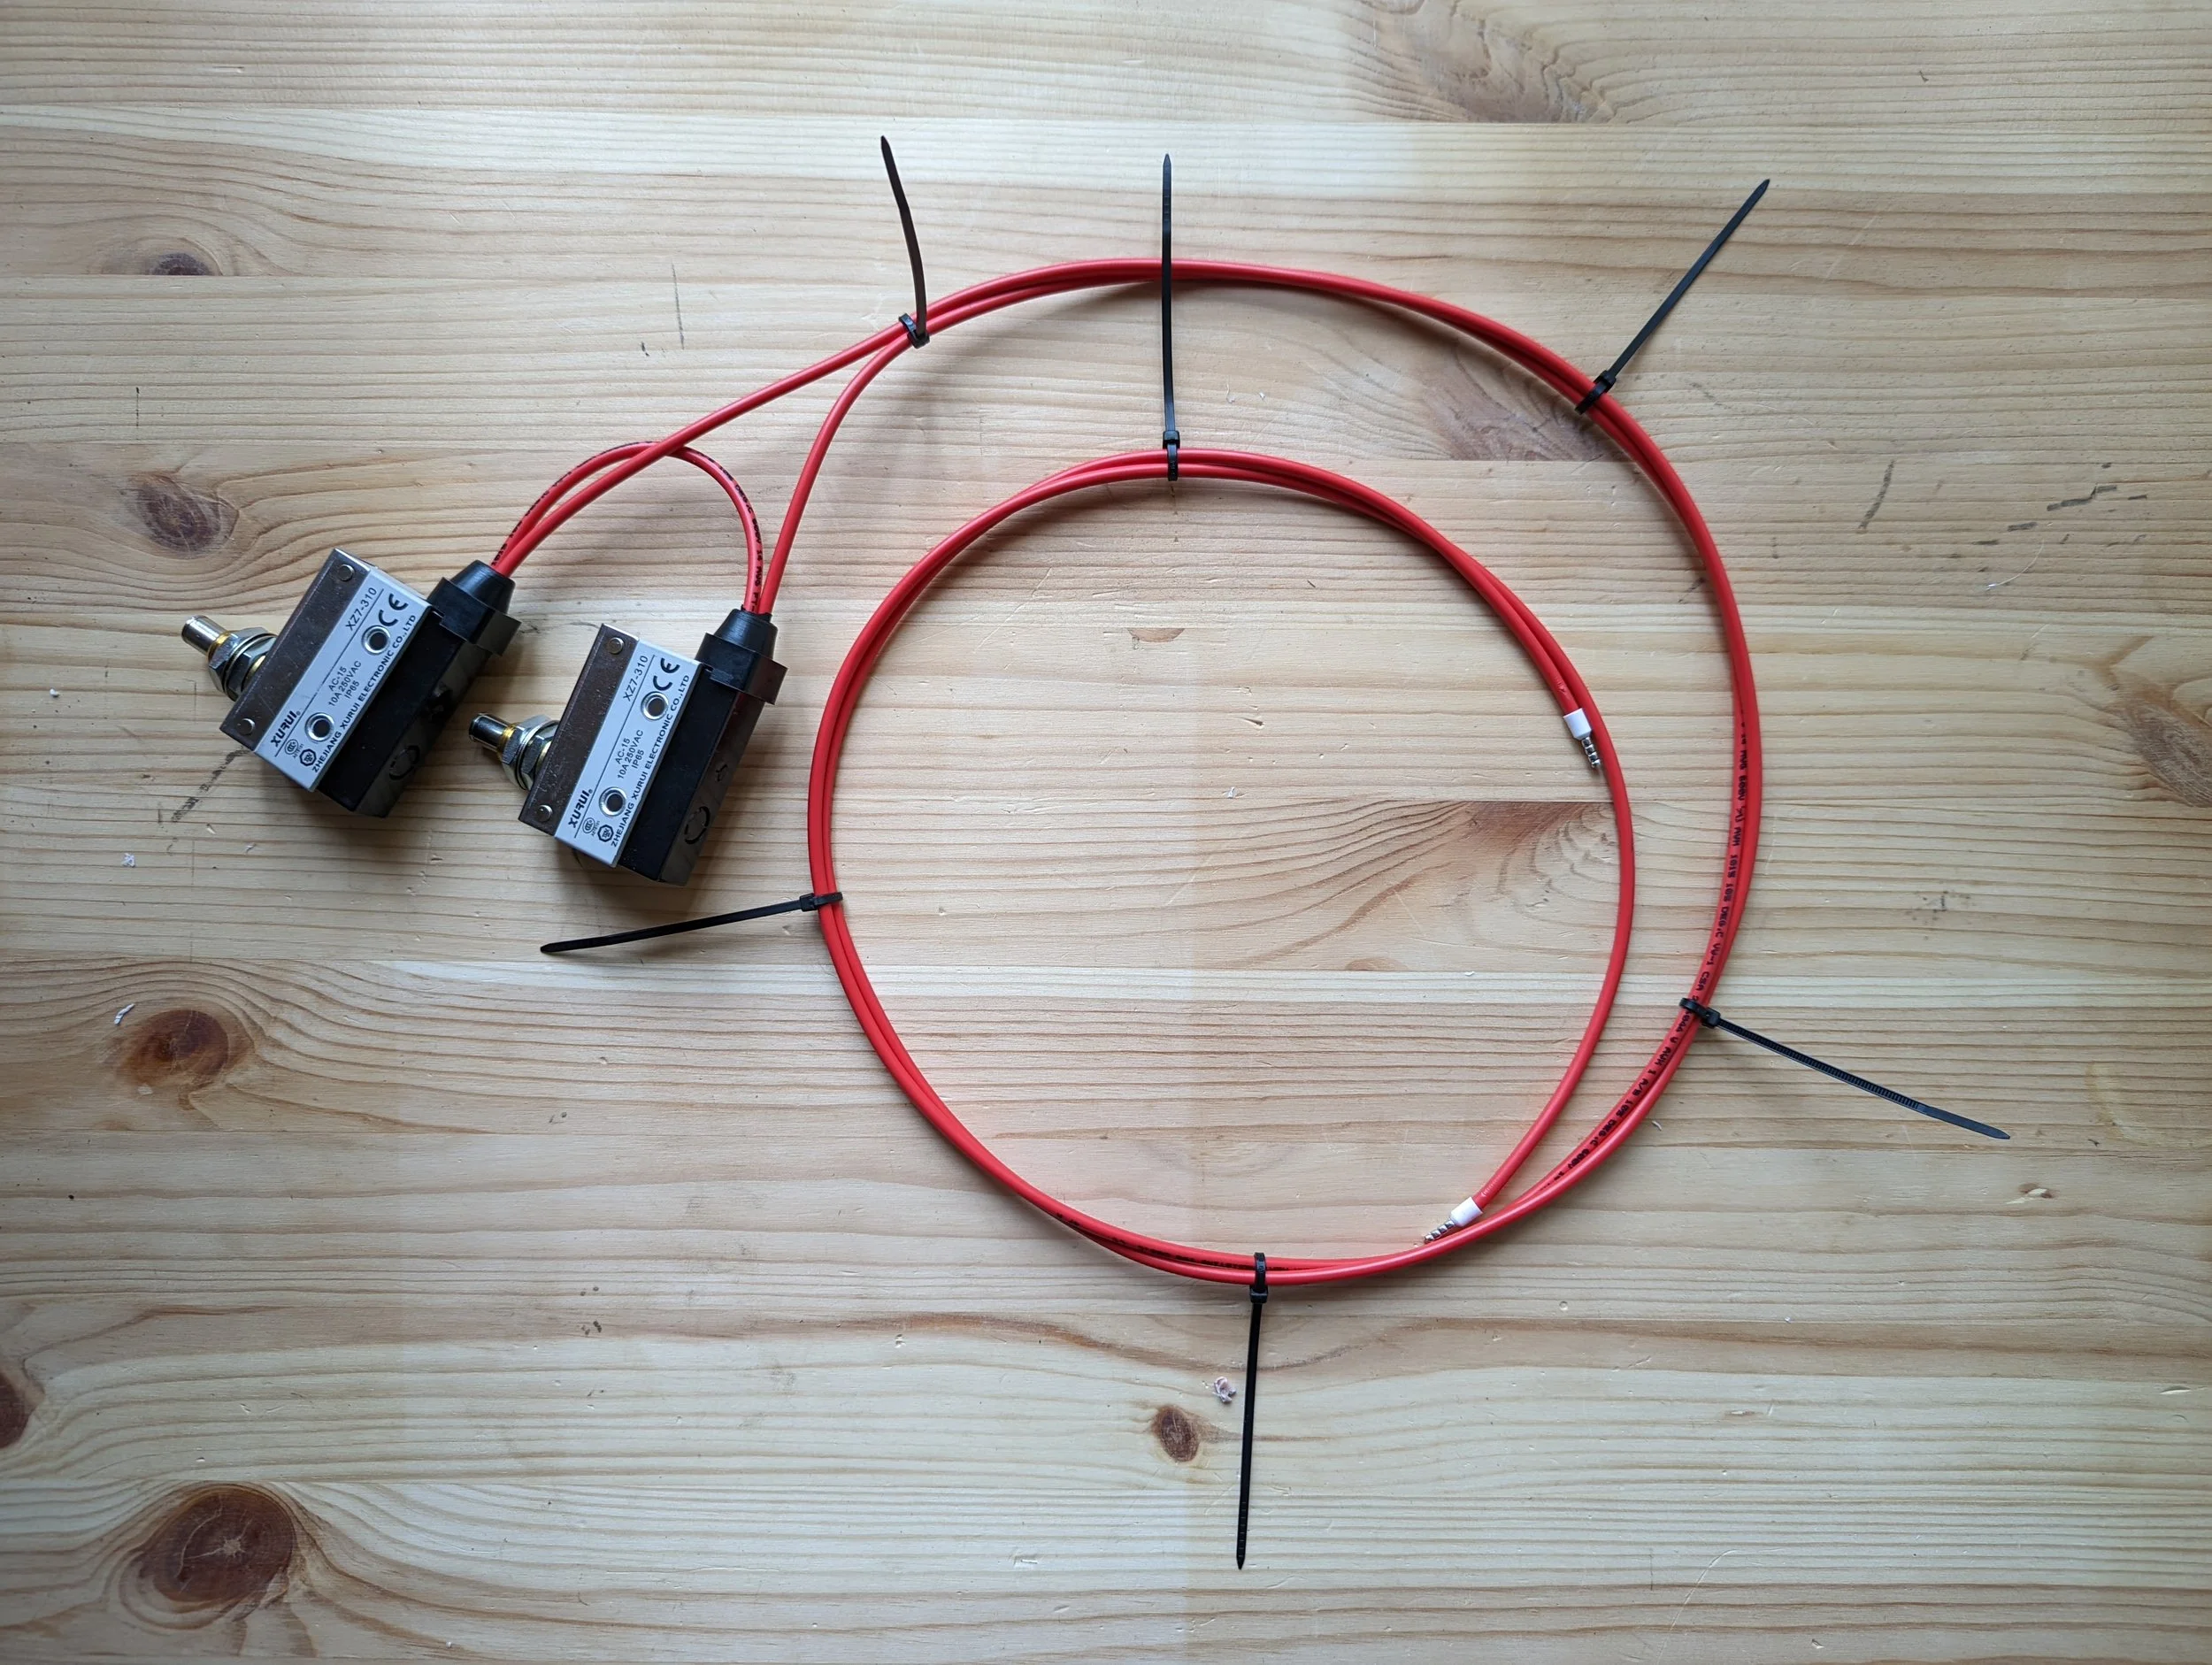
Step 55
Using the cable ties, neatly connect the two long cables together.
Step 56
And snip the excess away.
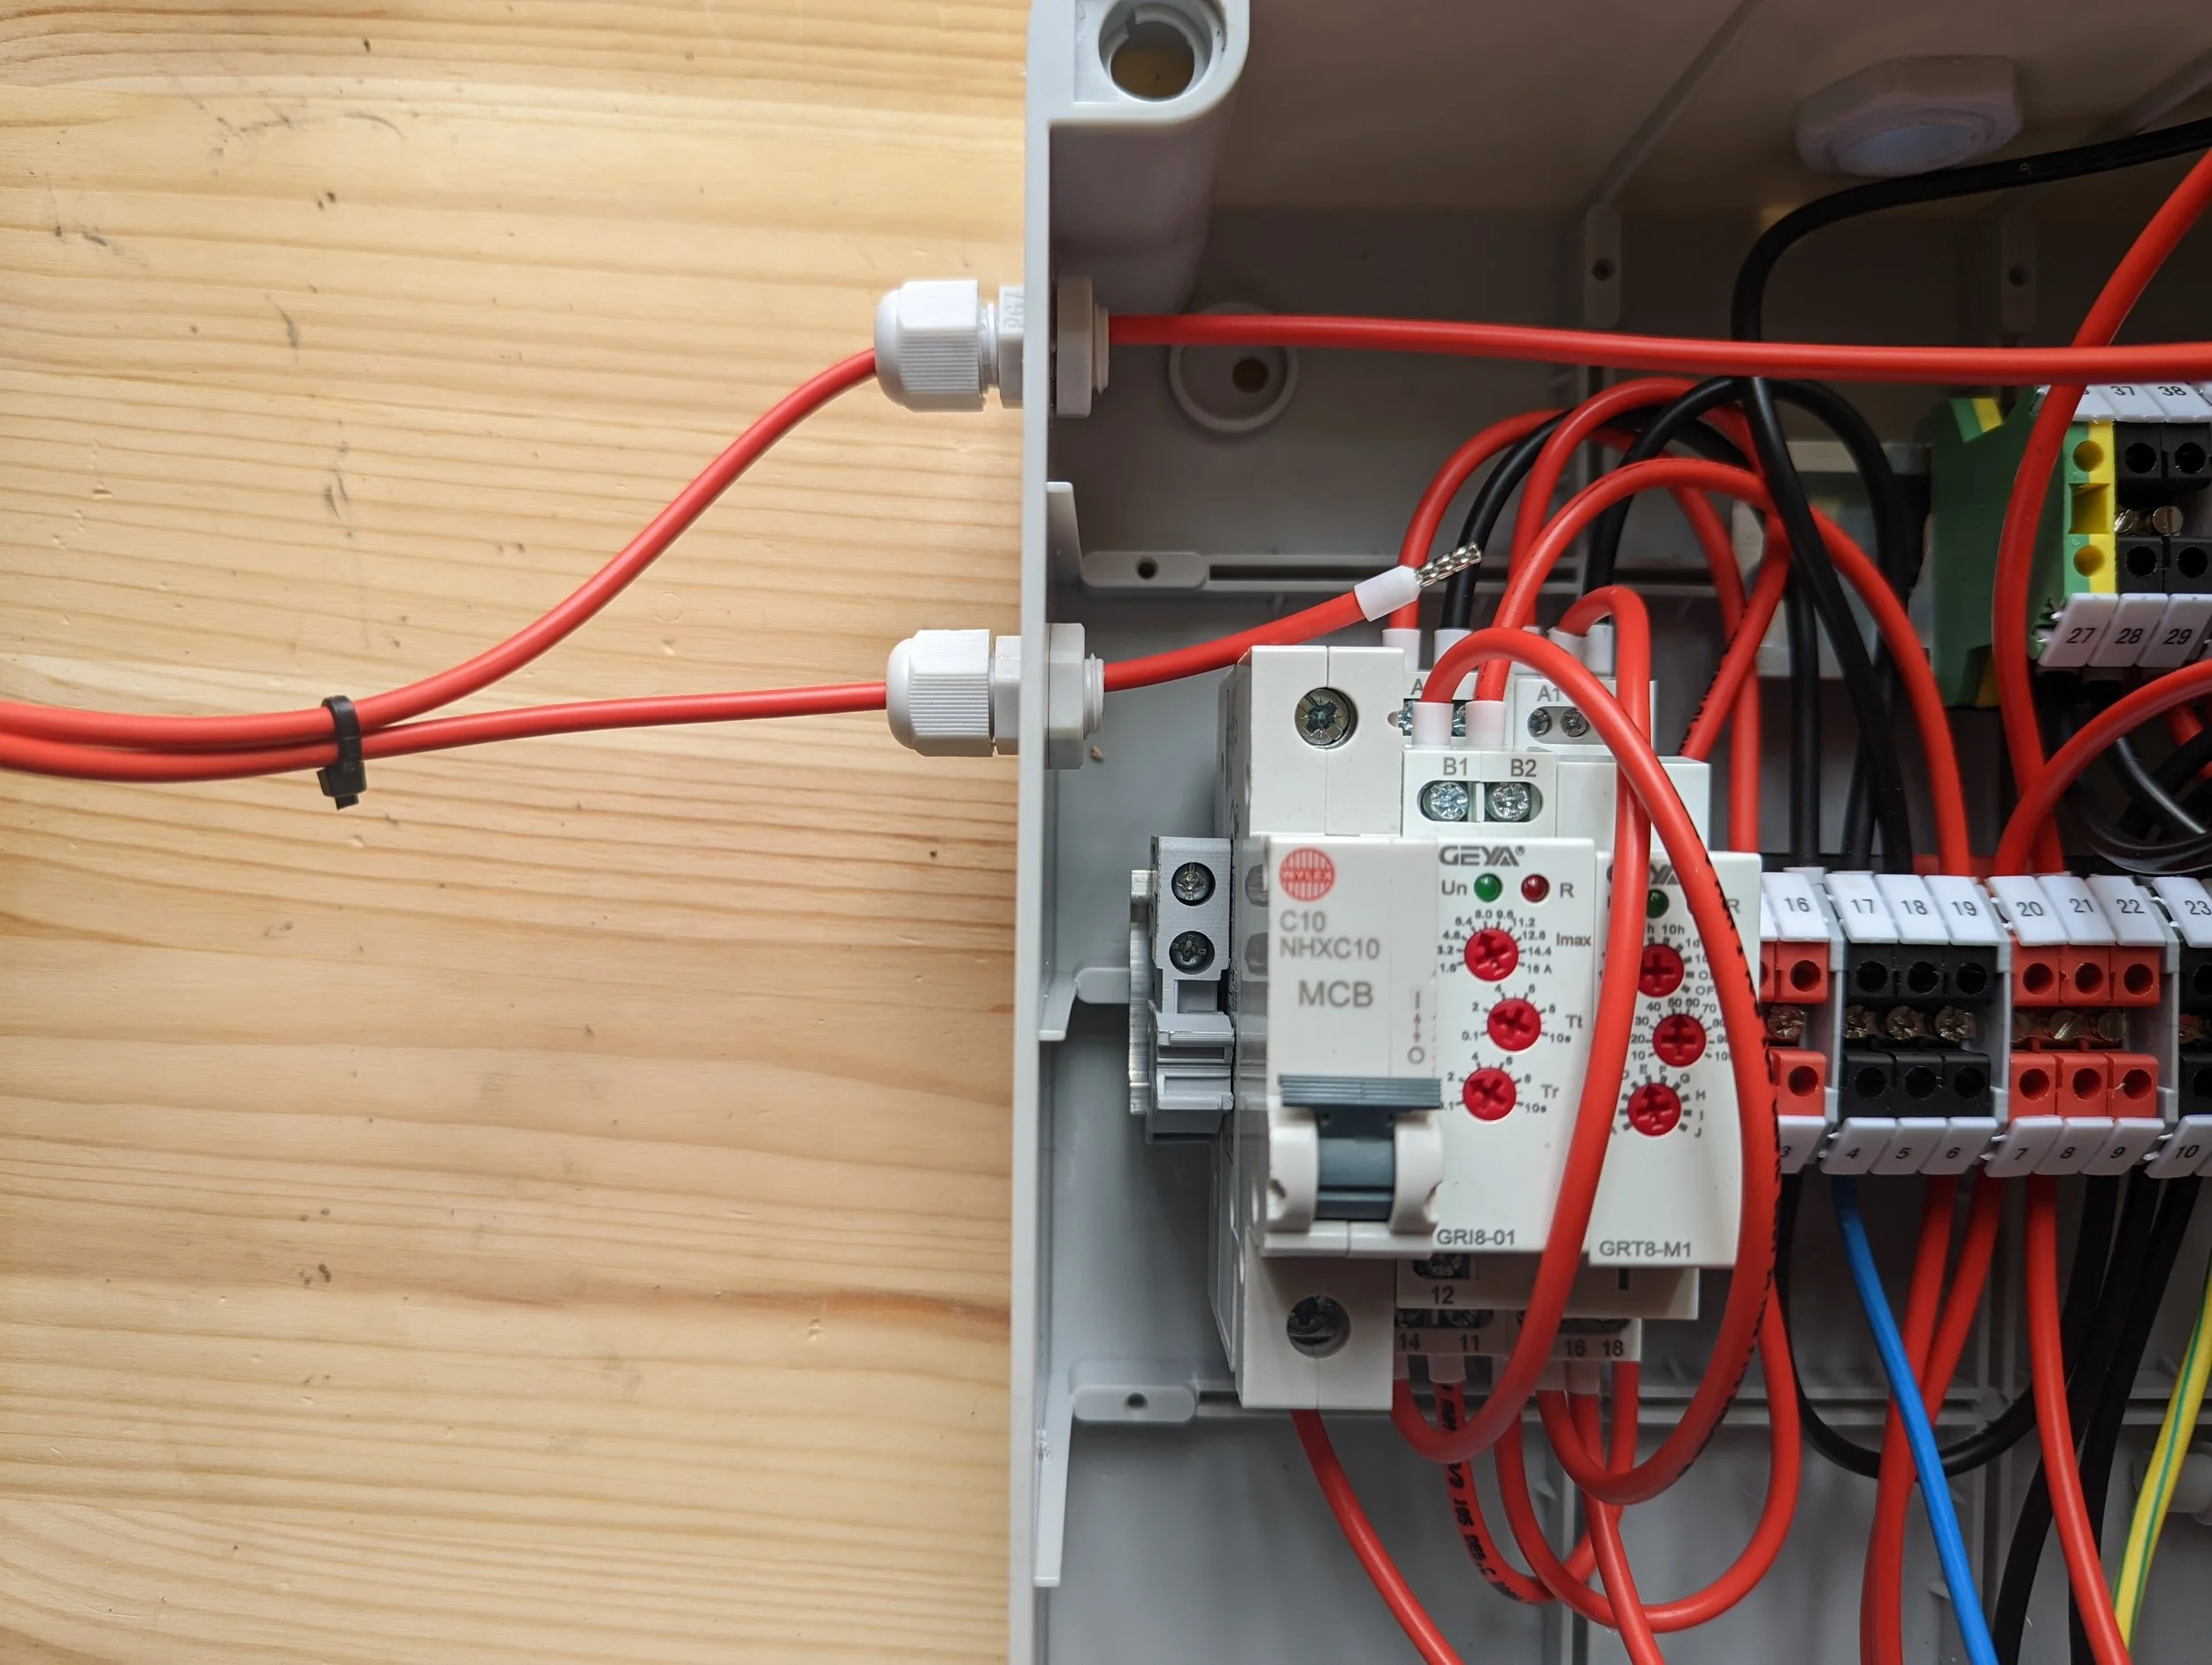
Step 57
Now thread the longer of two cables through the top of the two small cable glands and the shorter through the lower cable gland as shown.
Step 58
The shorter of the two cables goes into the top of the MCB as shown, and the longer of the two cables goes into DIN Terminal Block 15.
Step 59
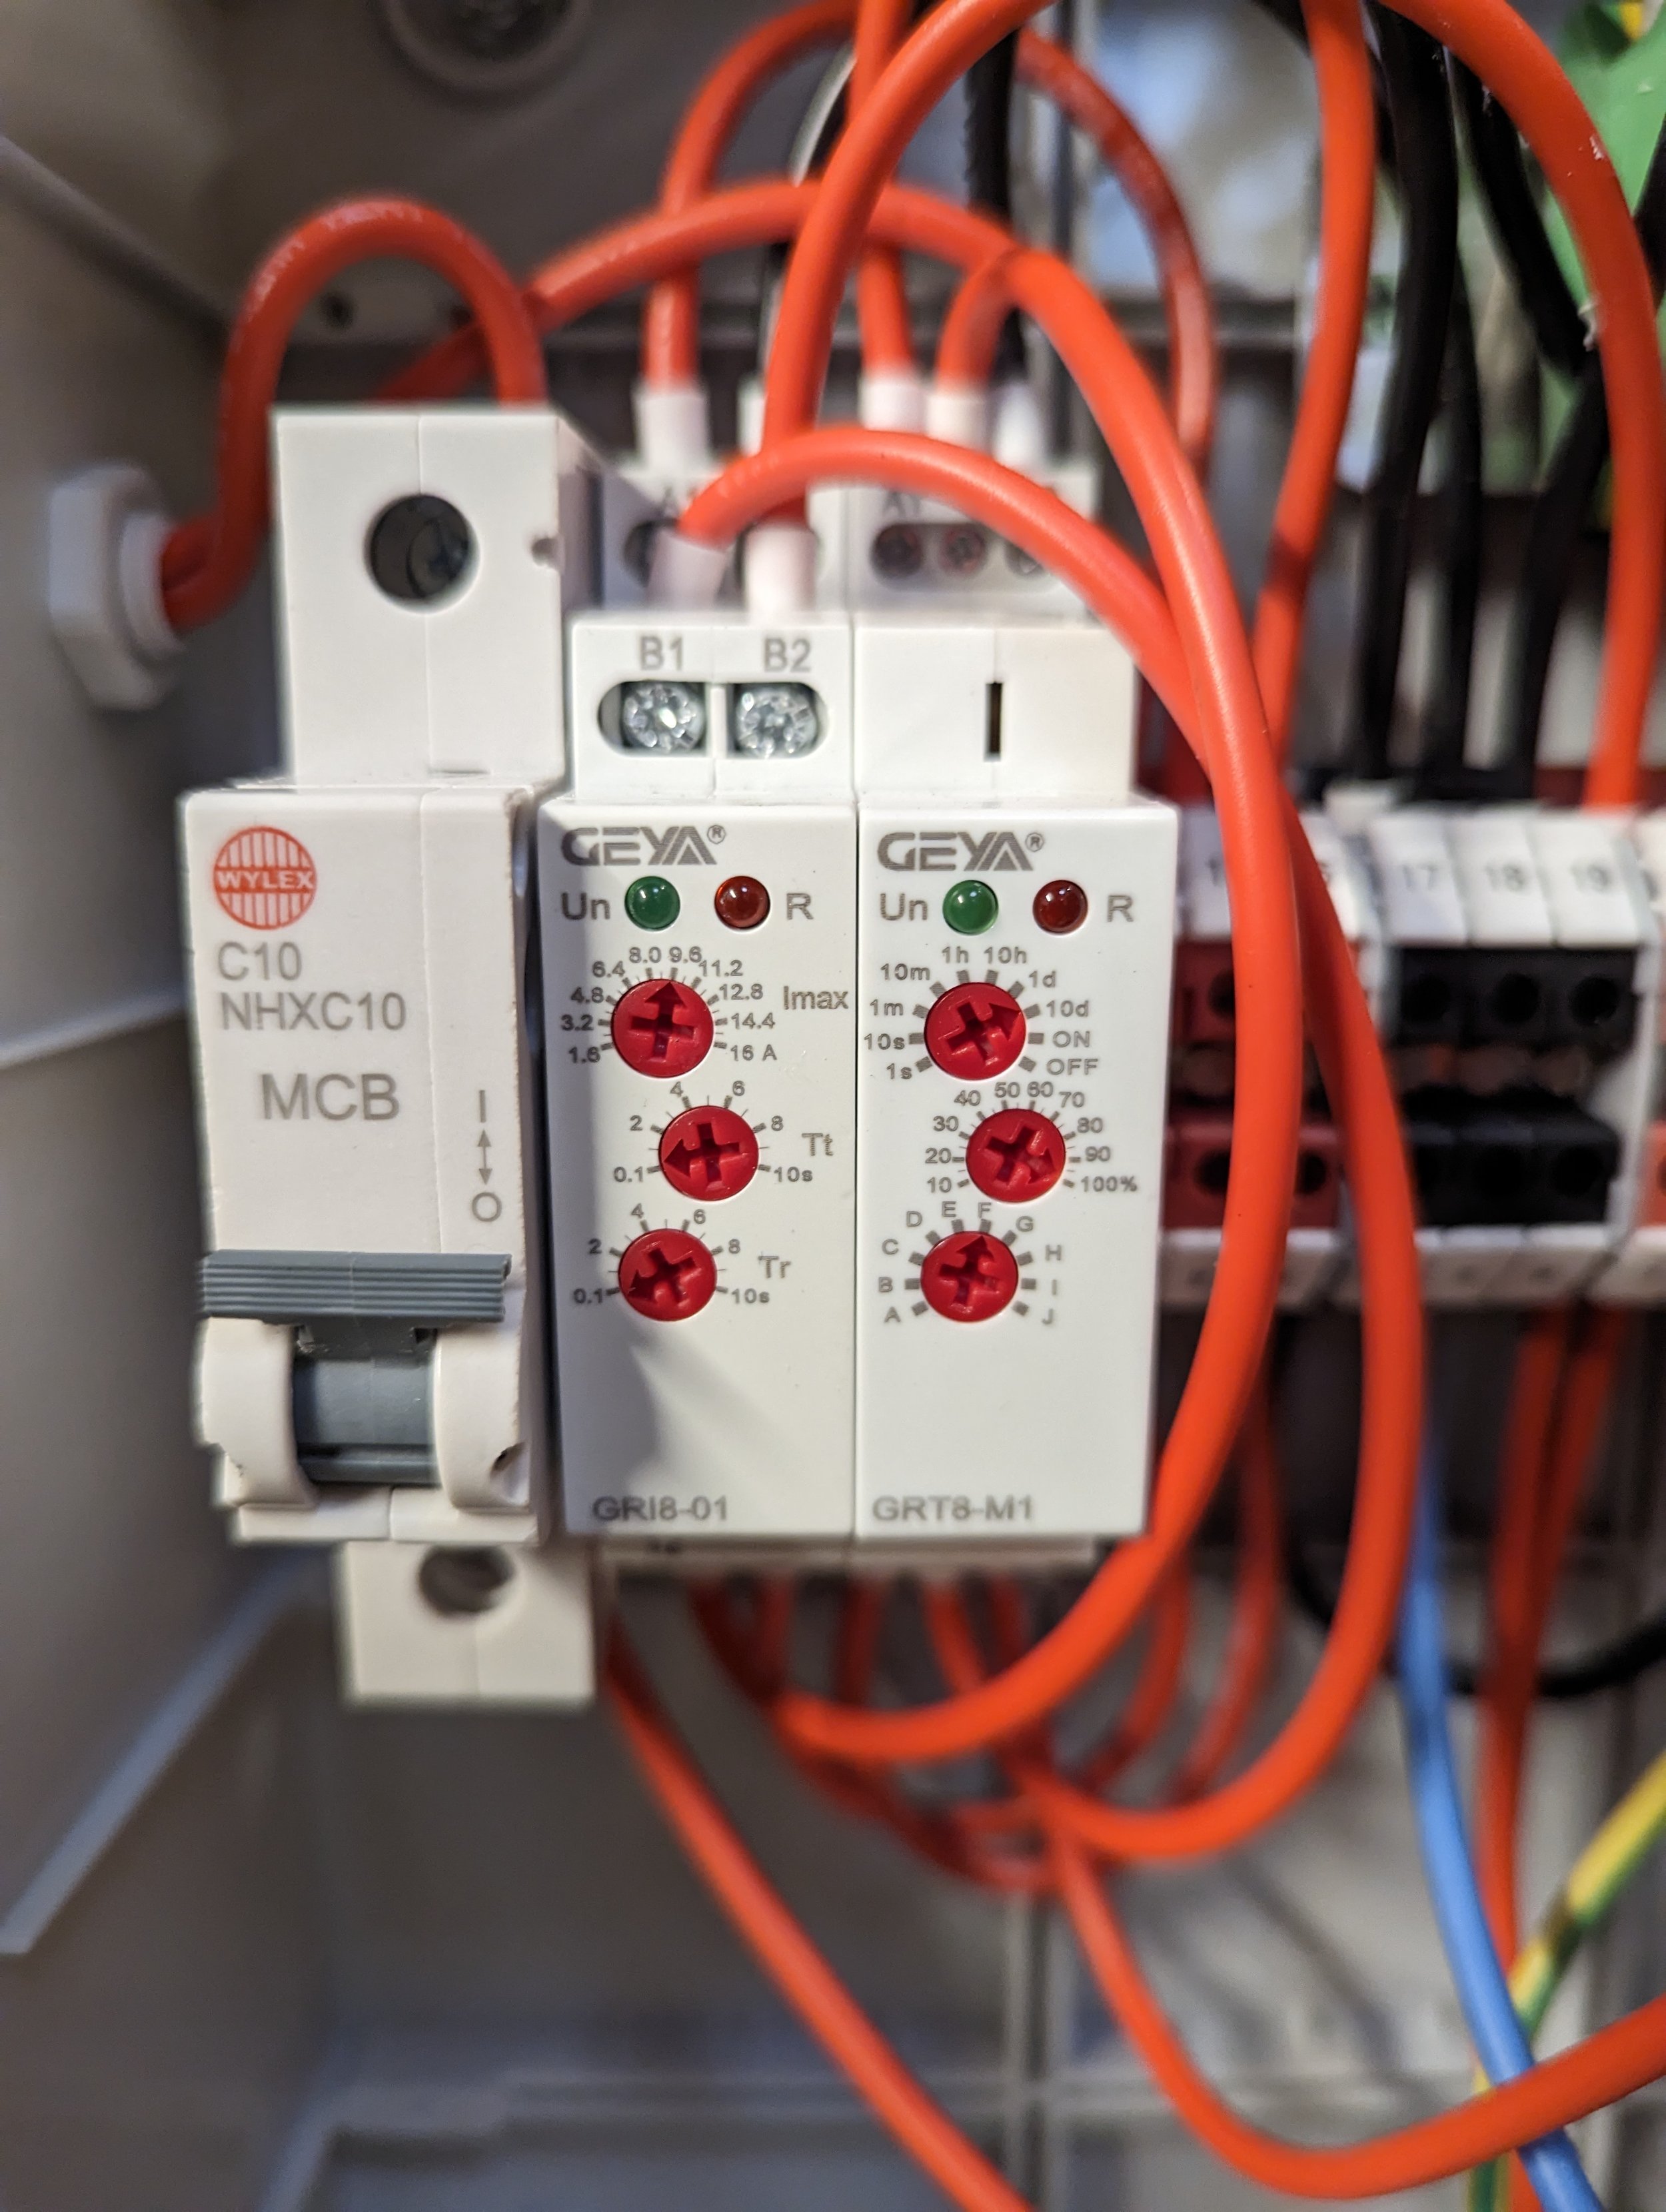
Now we need to adjust the Auto Jam Detection Settings using a small screwdriver.
Imax - 9.6
Tt - 1
Tr - 1
Time - 10d
Percent - 100%
Setting - F
This will ensure the machine cuts off when a jam is detected.
Step 60
The last cables to connect are the ones for the motor. This is the short, but super thick cable with 5 leads.
Thread this through the top Cable glands and connect the cables as shown.
This will be quite tight, and hard to do, but take it slowly. If needed the Black outer housing can be cut slightly to give you more room.
Put the two remaining plastic screws for the cover somewhere safe as we wont be closing the electronics box just yet, however we are currently done with wiring the box.

